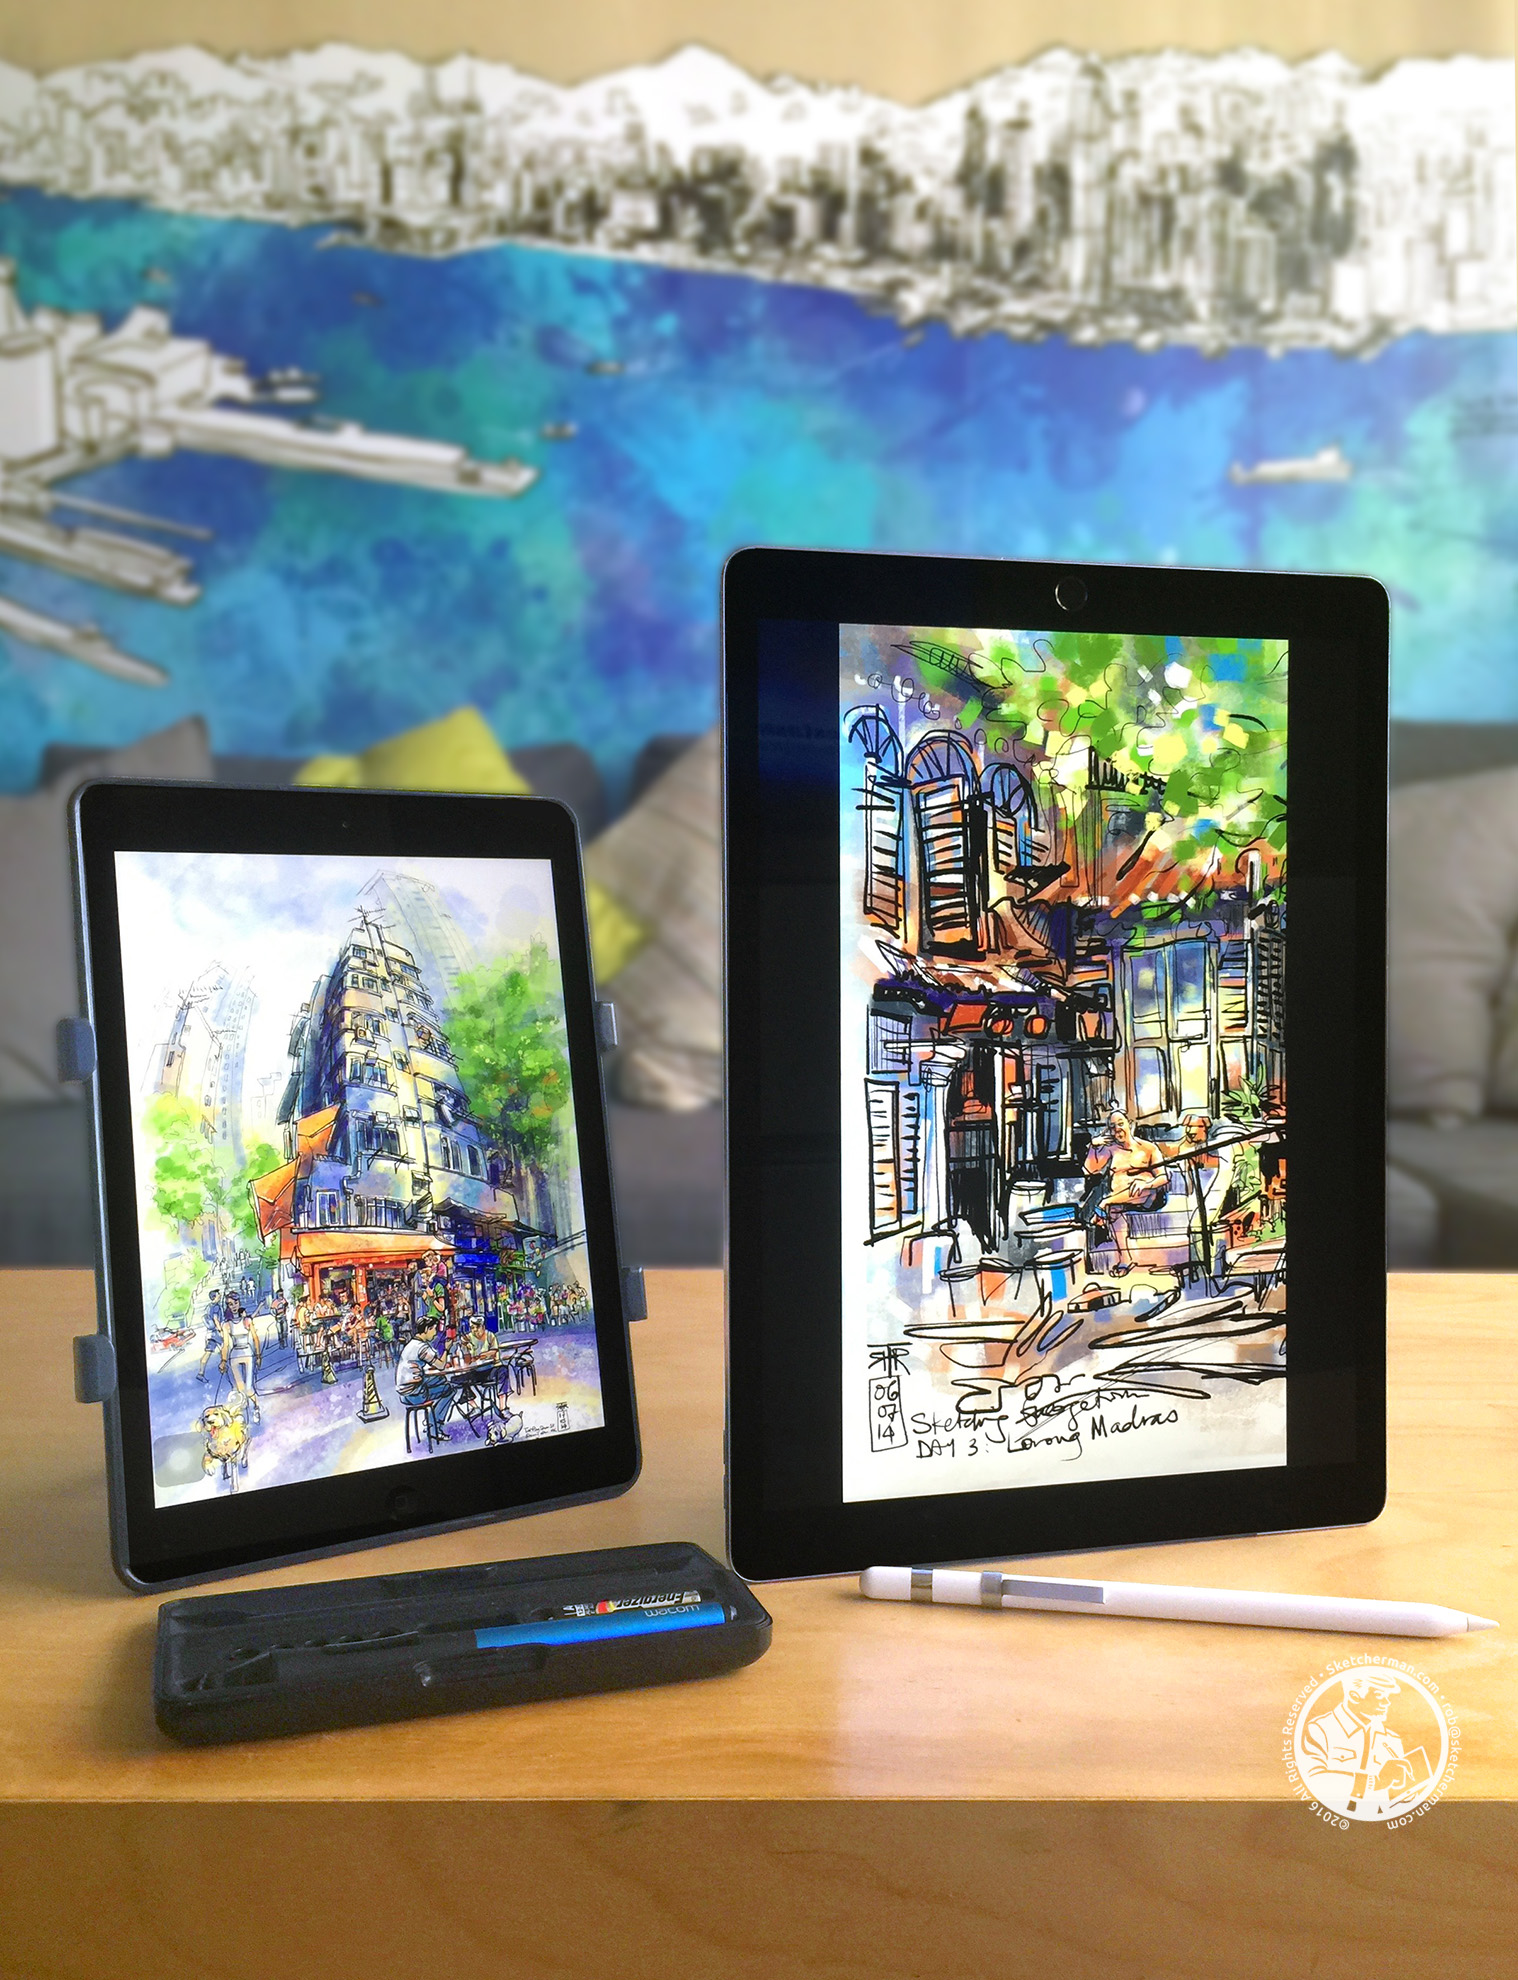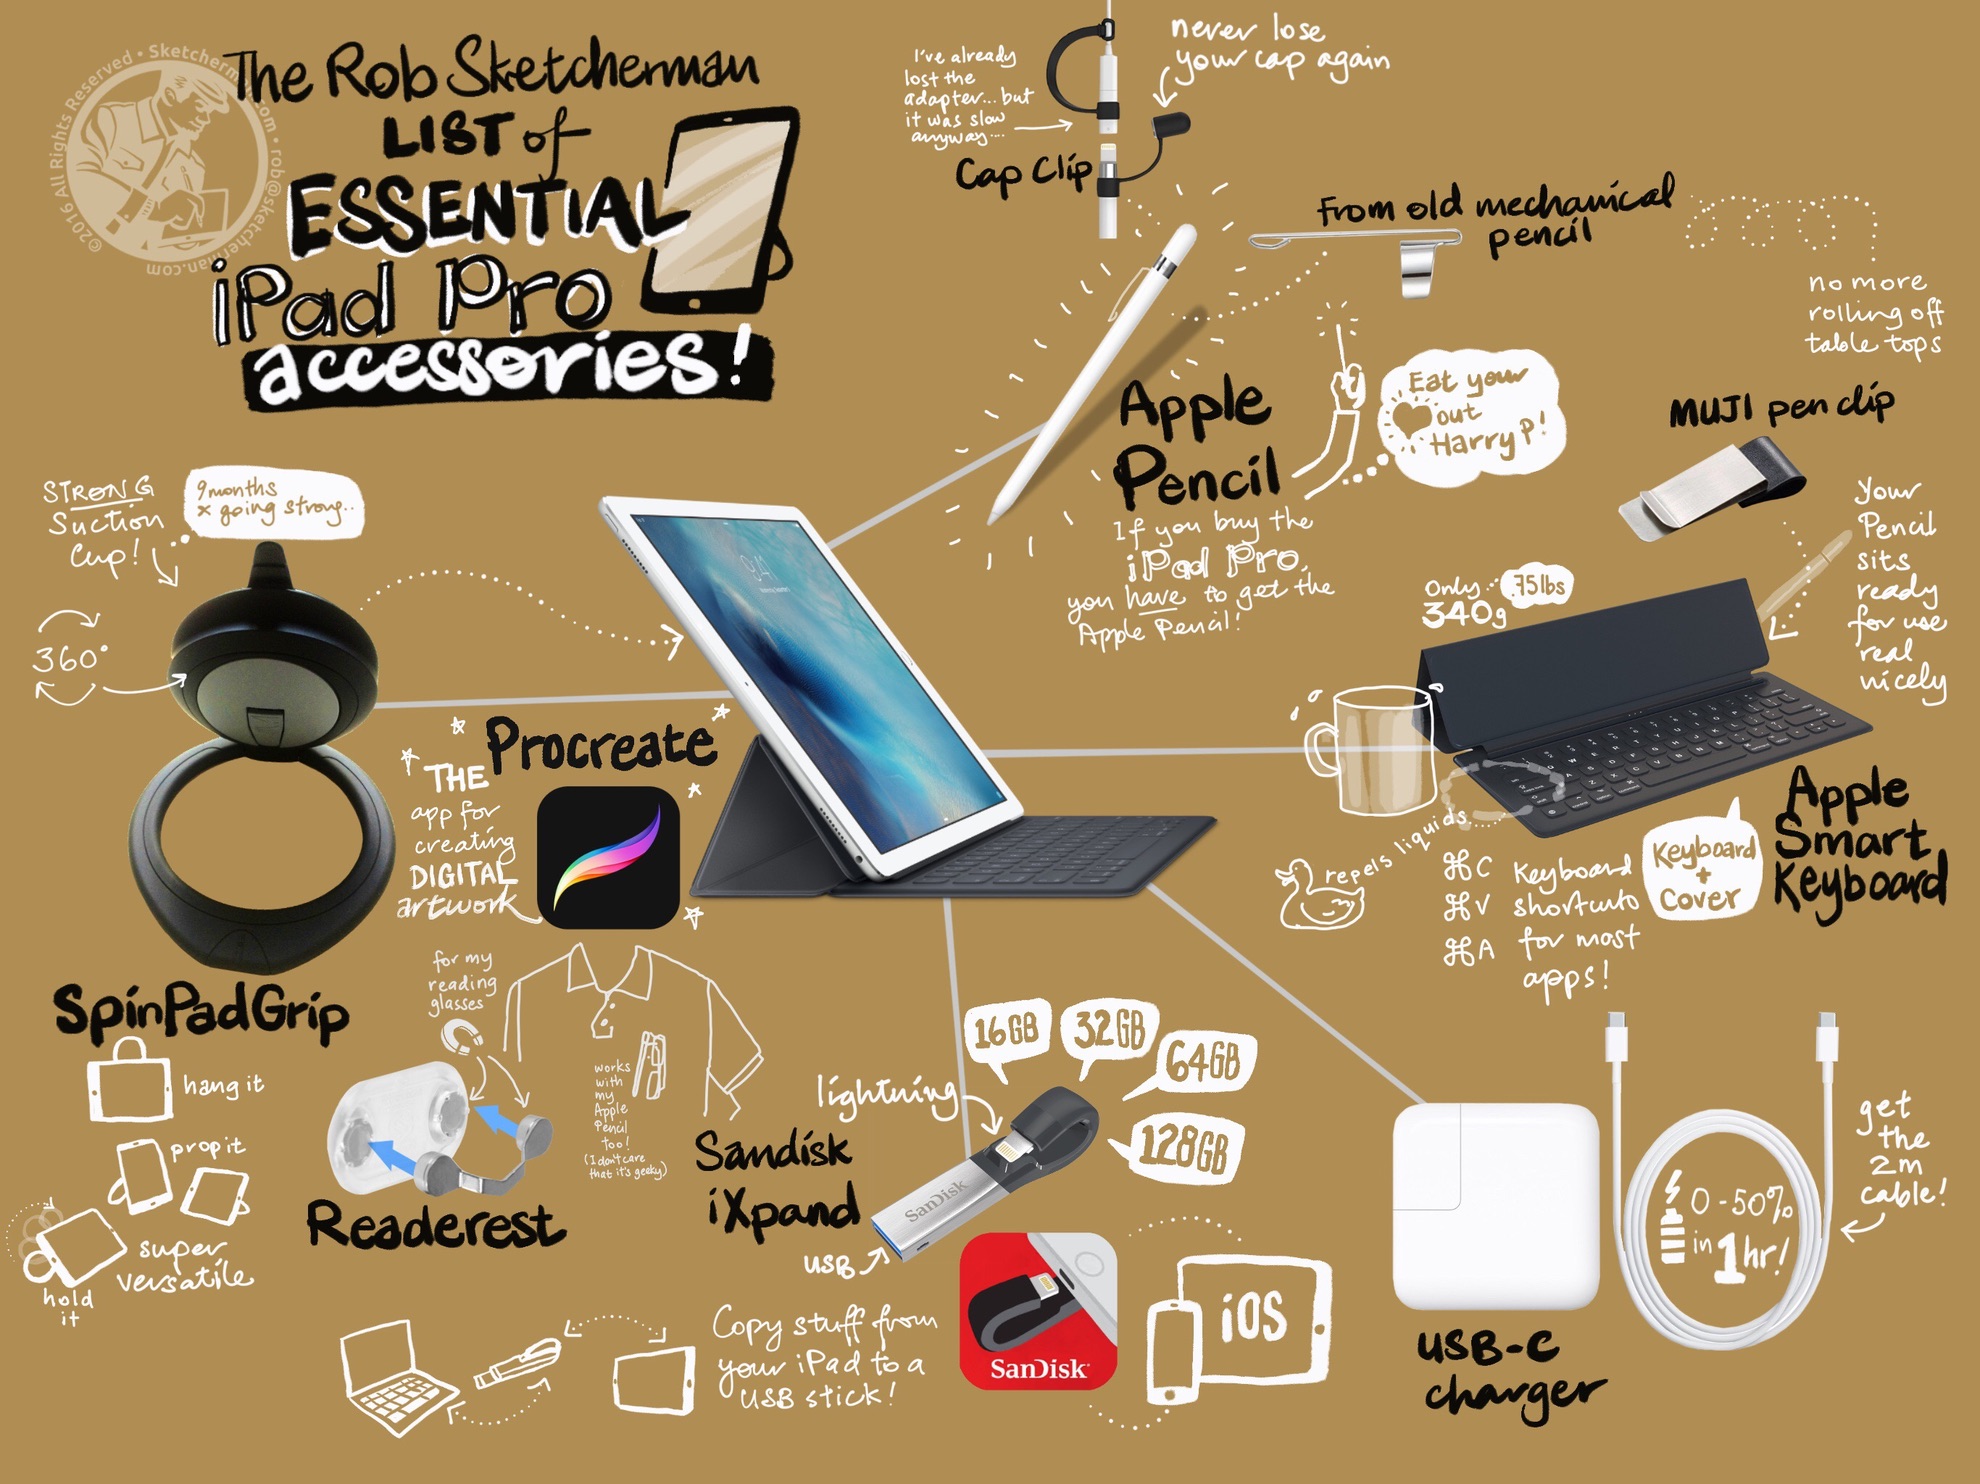
I made this chart in Procreate for a recent workshop on iPad Pro Creative Workflows, which lists all the gear I use daily with my iPad Pro. Details below!
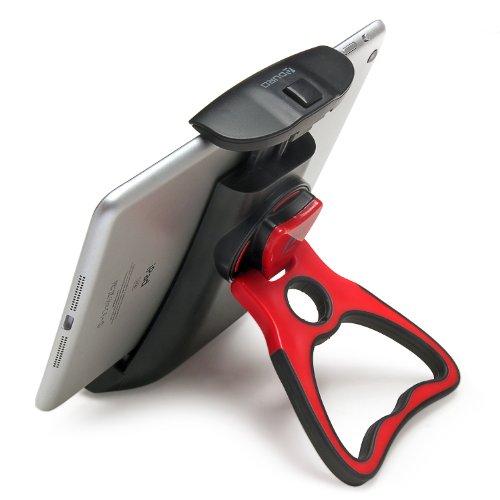
I talked about tablet holders recently and today, will discuss other gear I've discovered and consider essential. This is what I have with me when I'm out with my Jumbo Pro. Some items are really simple, and you probably already have options lying around your home, like the clip I use for my Apple Pencil. My most recent discovery on the other hand, has been in the market for a couple years, and I am so glad I finally stumbled across it!
Full disclosure: I have Amazon affiliate links in this post. (...and thank you if you support me through the links!)
Right! Let's jump straight into things then...
Keep your Apple Pencil from rolling away
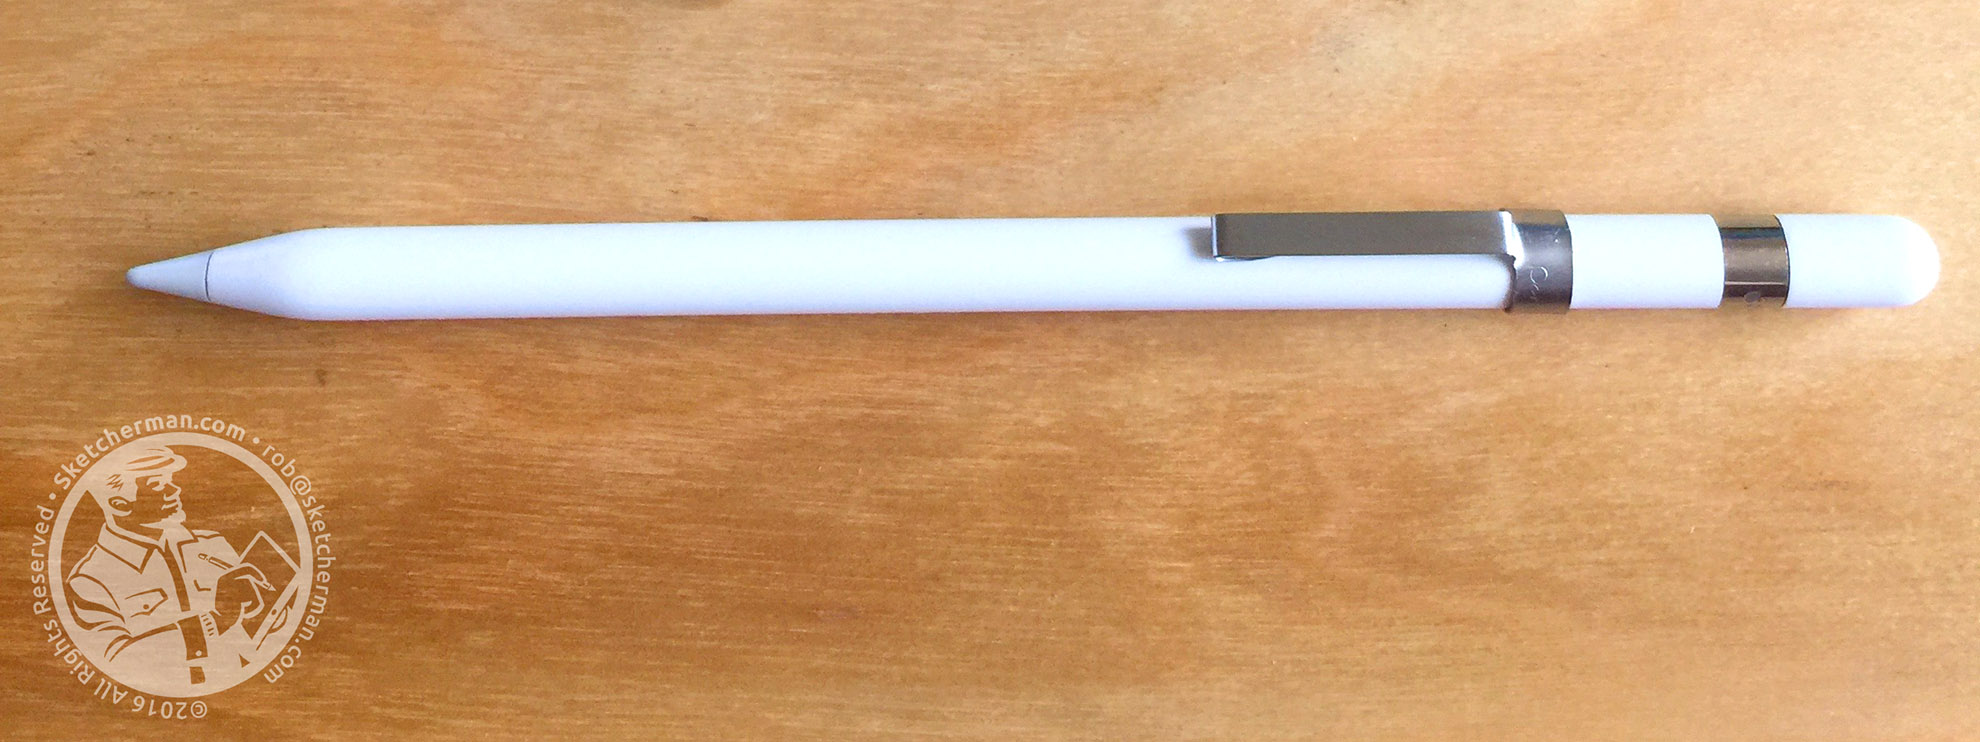
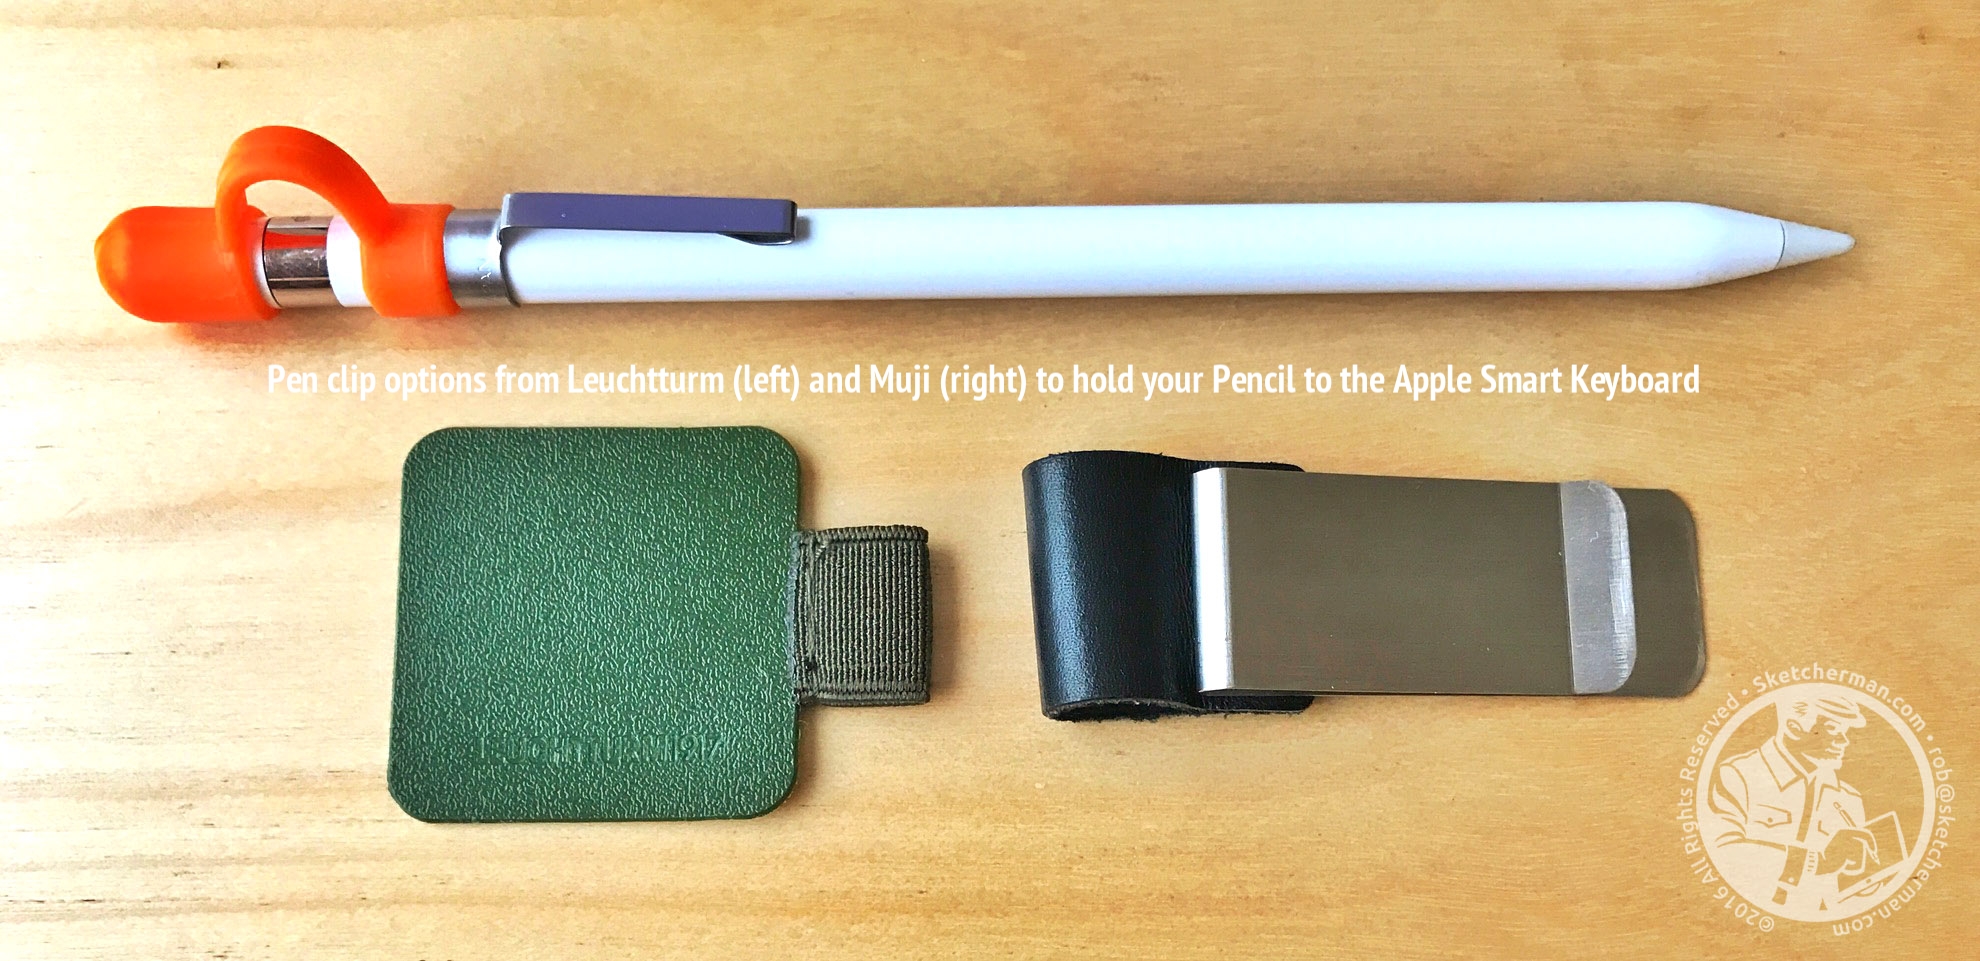
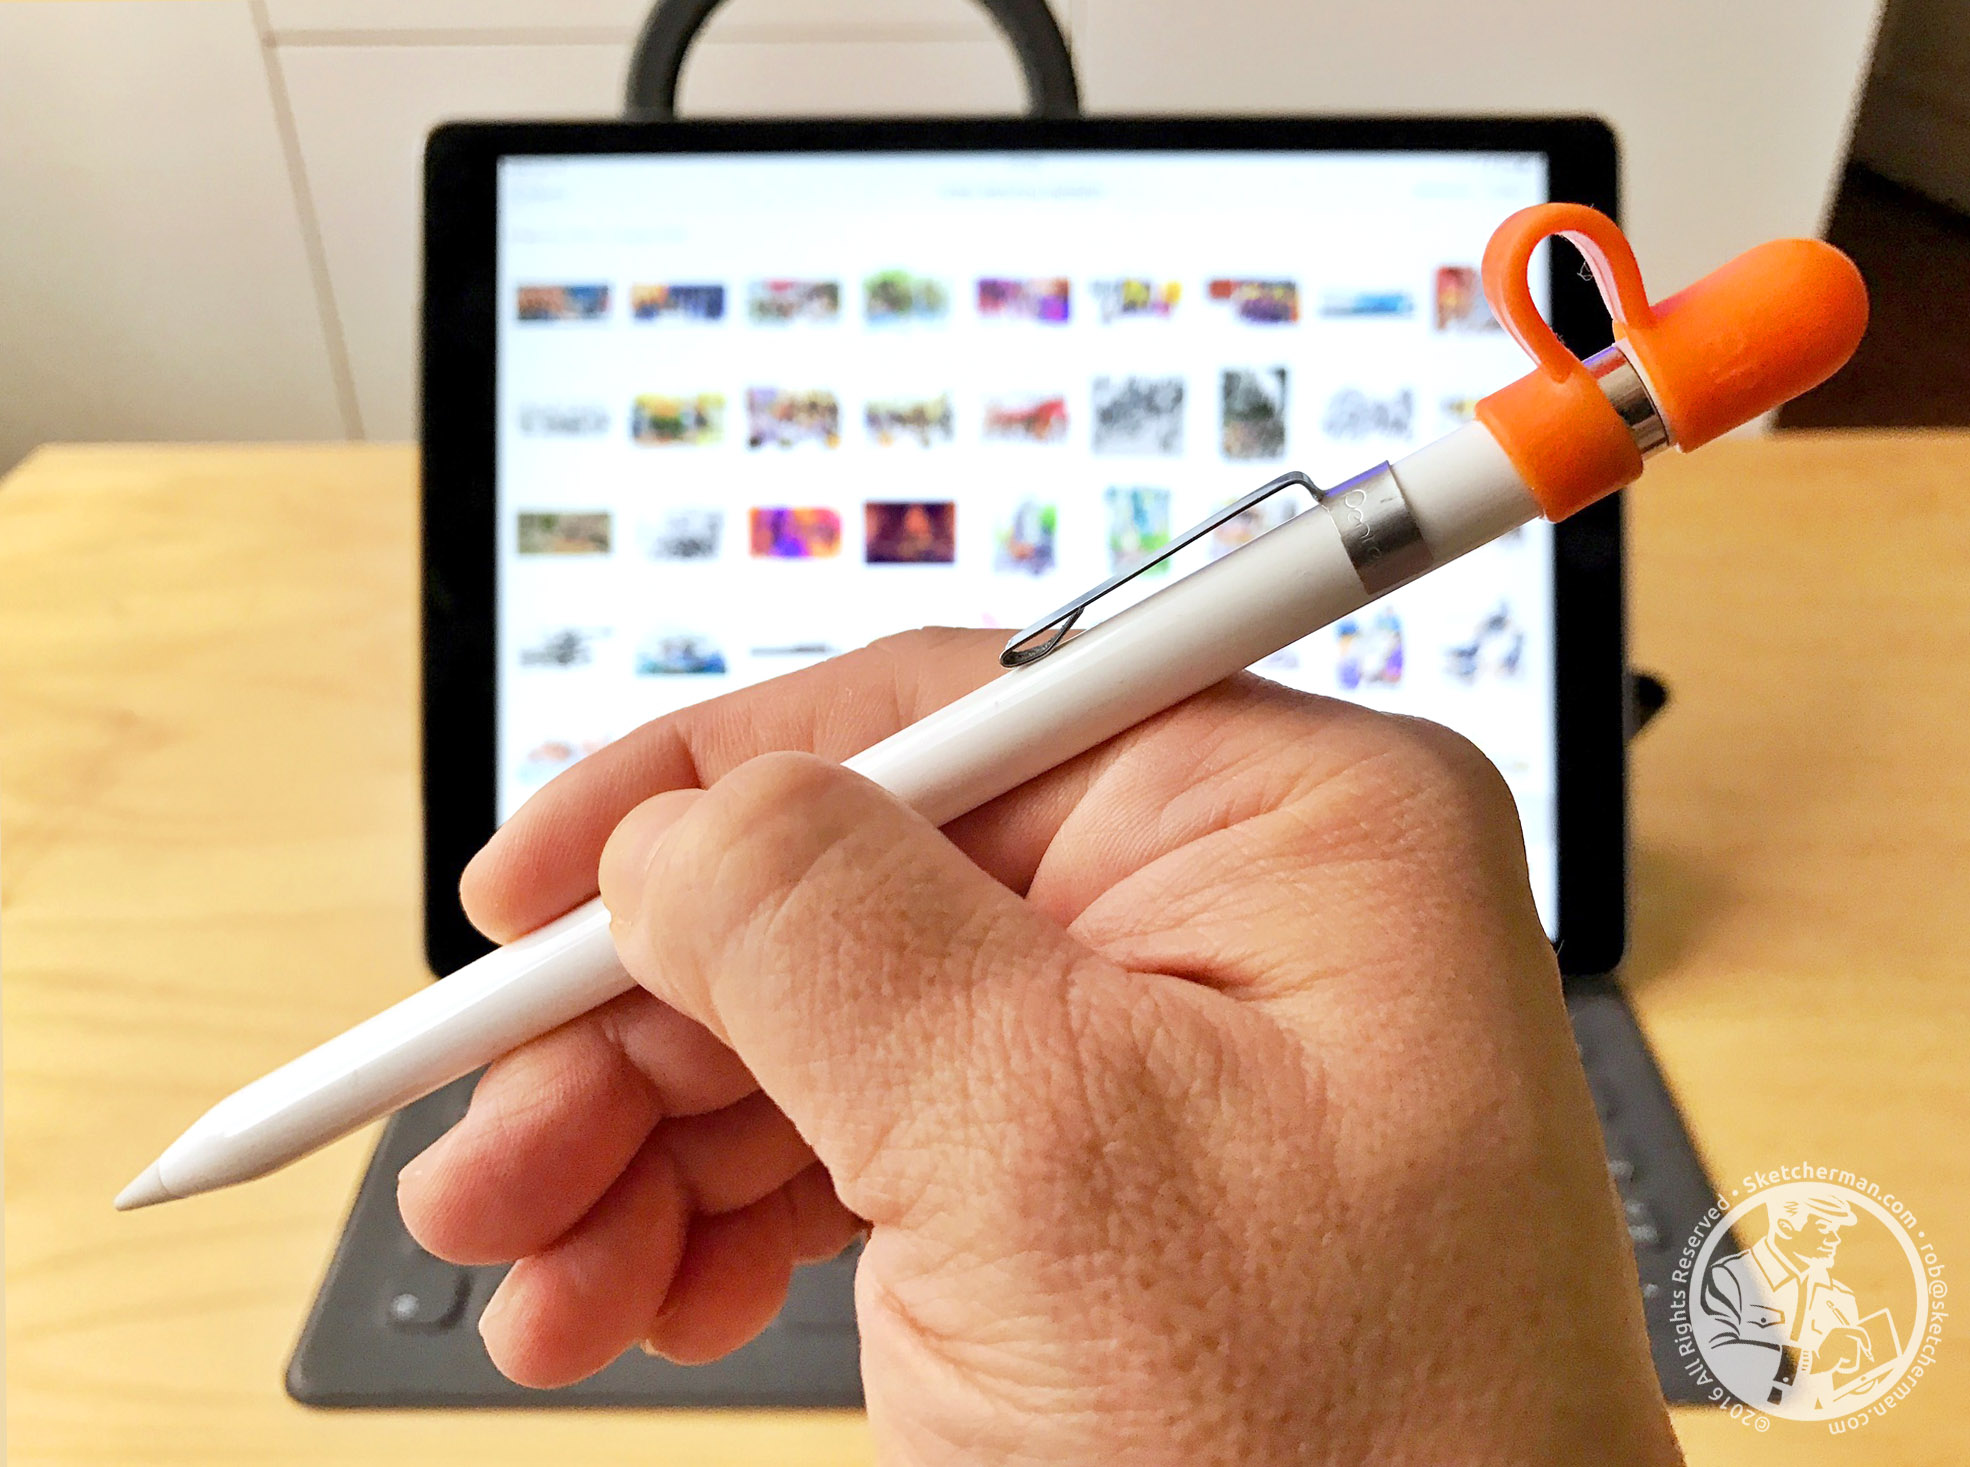
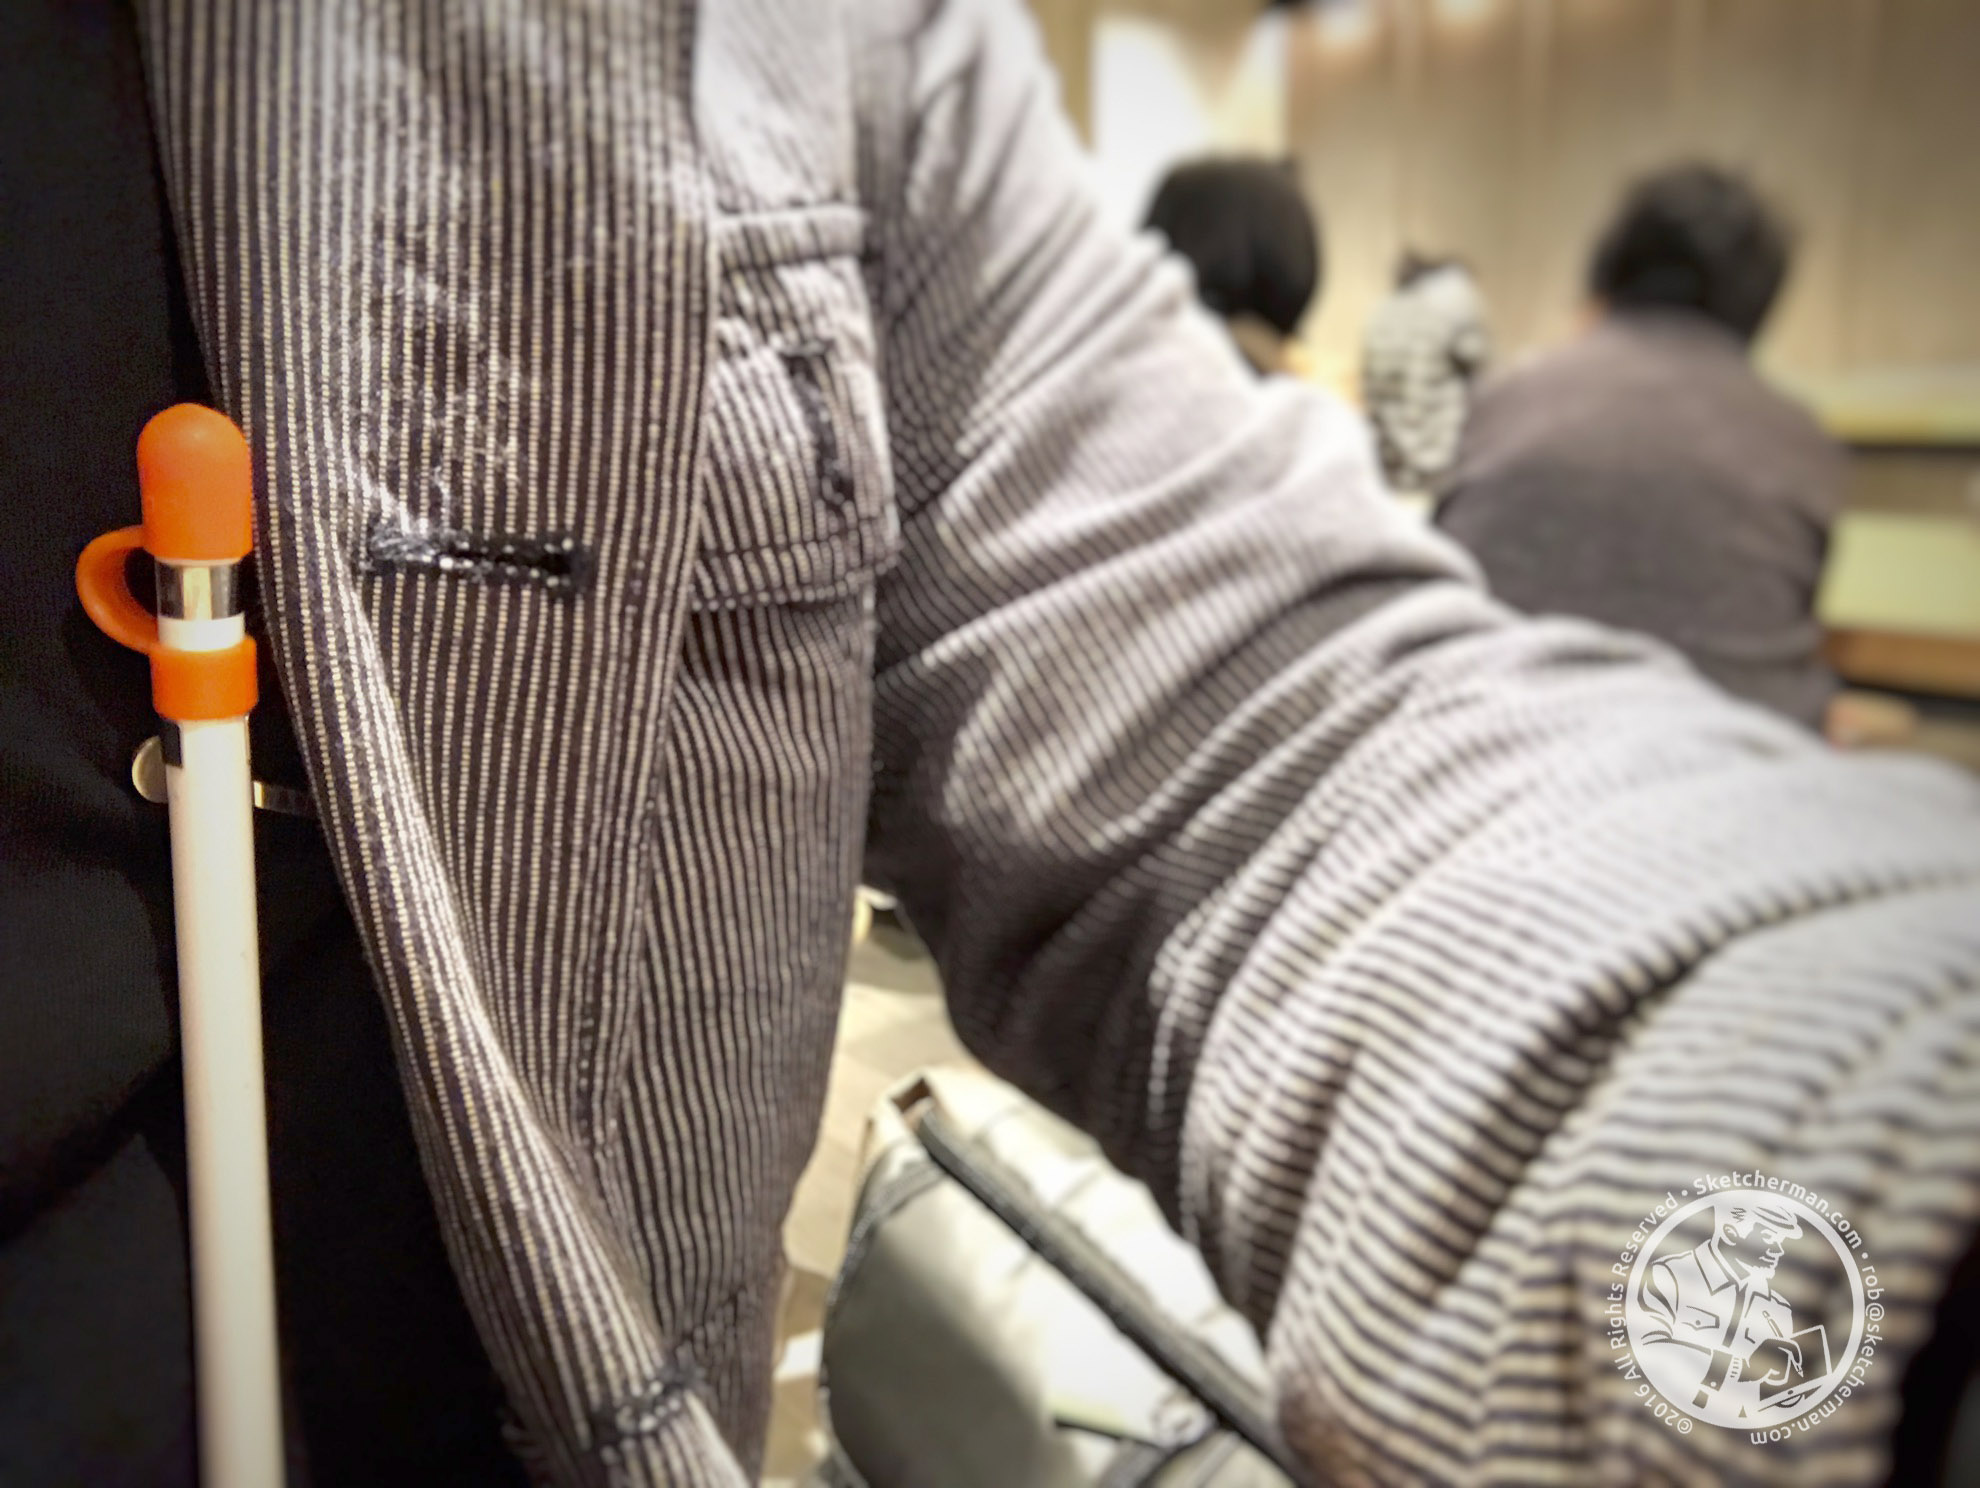
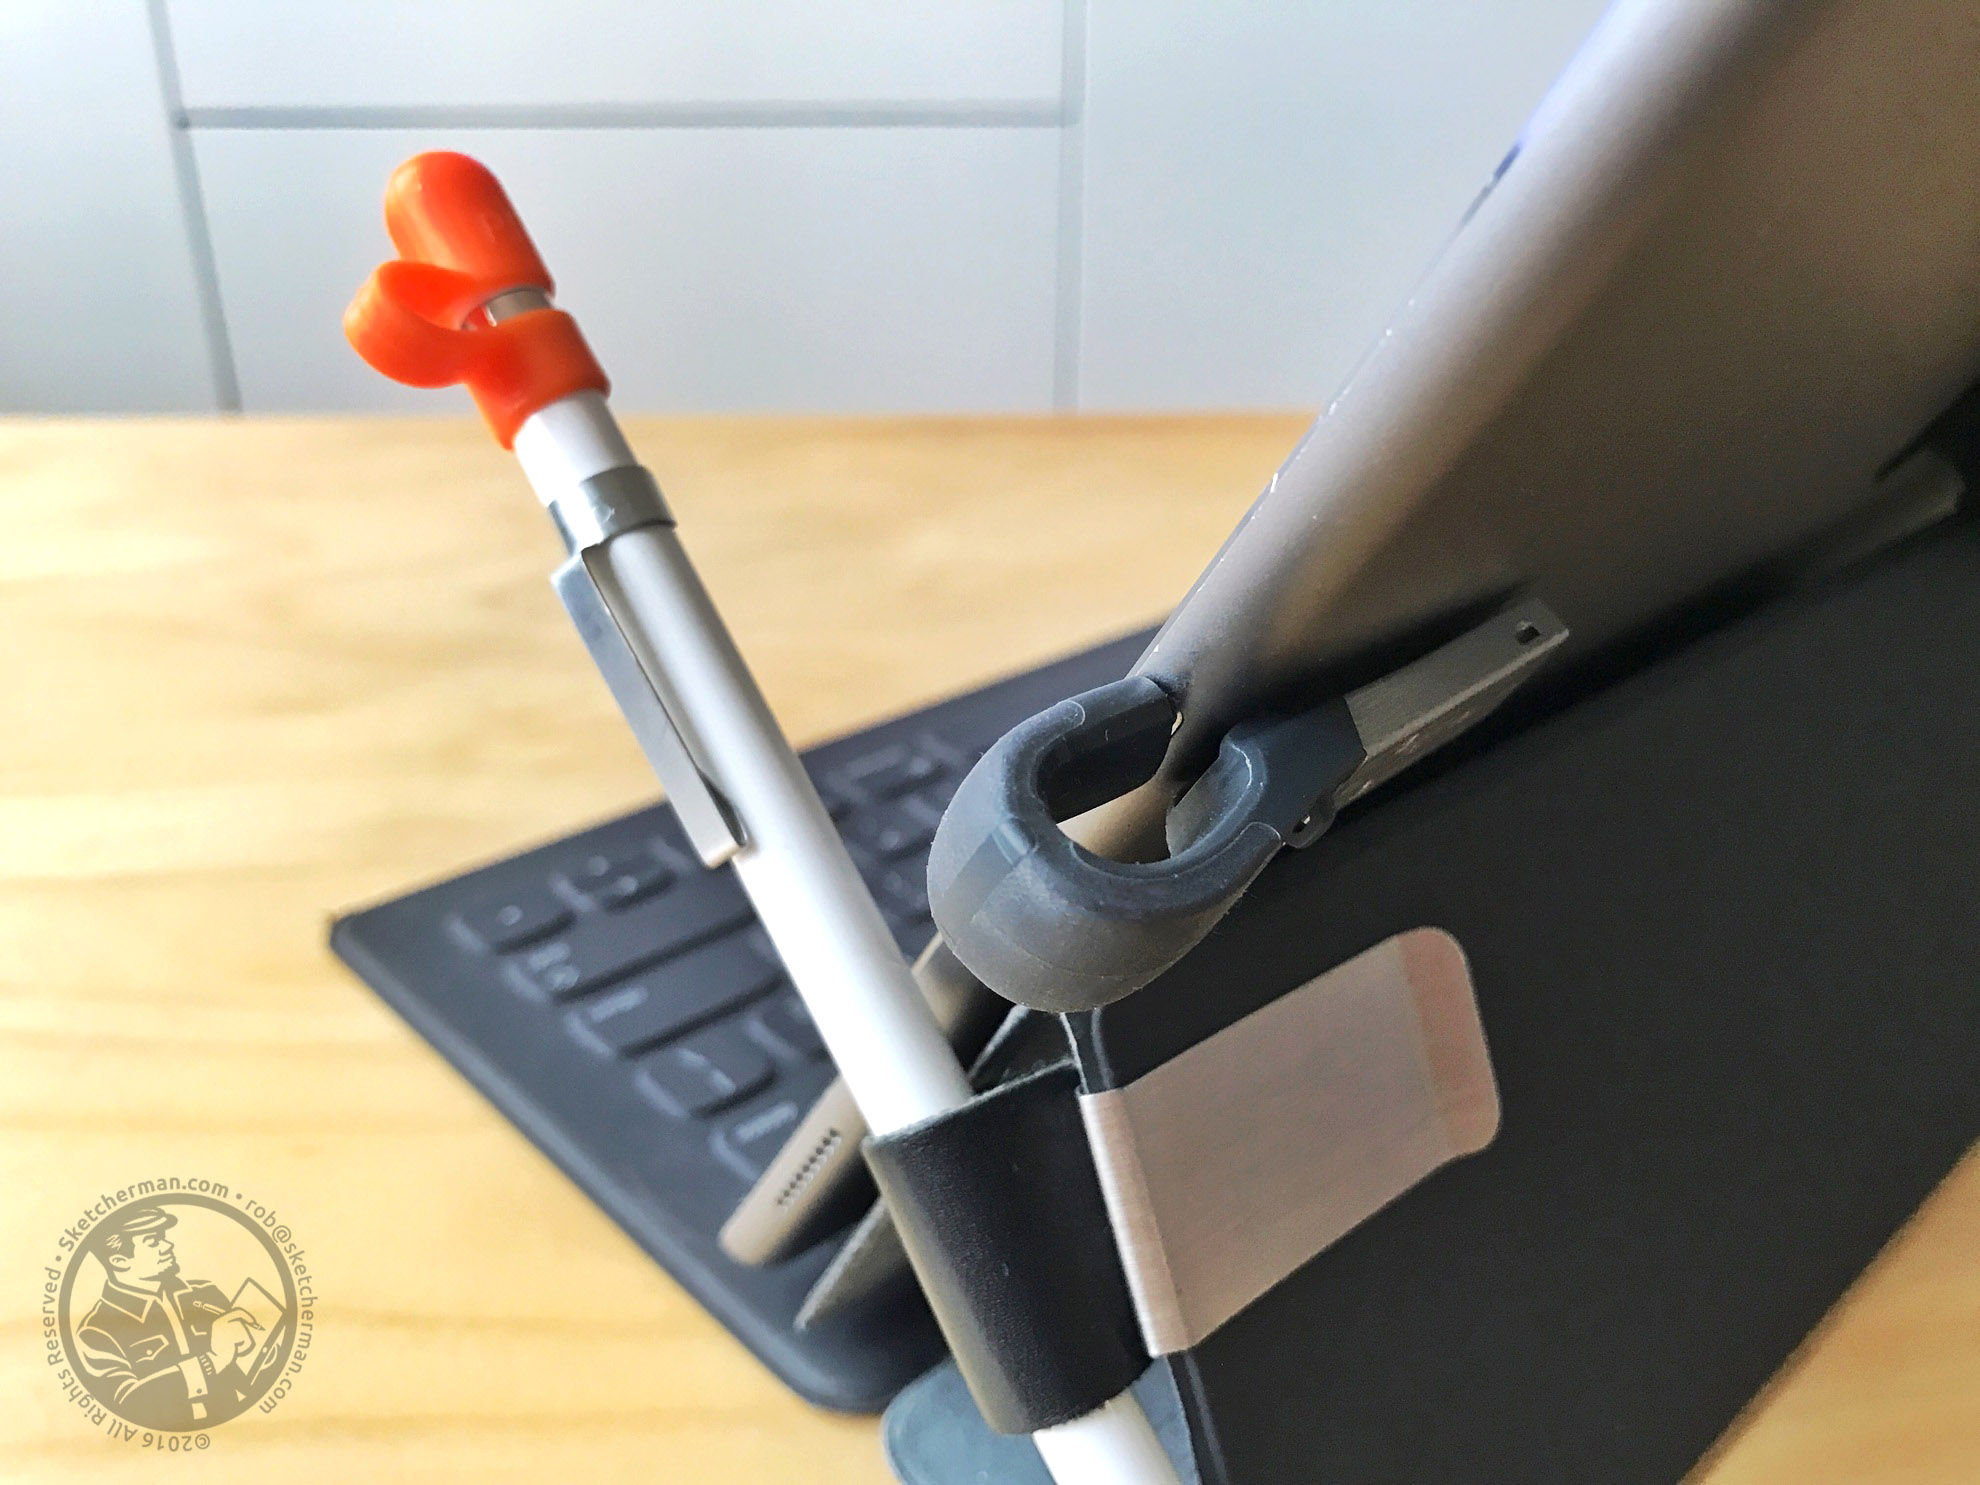
The Apple Pencil is a wonderful stylus but I got tired of it threatening to roll off every surface. Here's my cheap, low-tech solution. First thing I recommend you do is see if you have an old mechanical pencil hidden in a drawer somewhere. Found one? Great. Remove the pen clip that comes with it and stick it on your Apple Pencil. I also found this handy for clipping my Pencil to the inner pocket of my jacket when I'm out and about.

Keep your Pencil within easy reach
The Muji MoMA pen clip I use to clip my Pencil to my Smart Keyboard
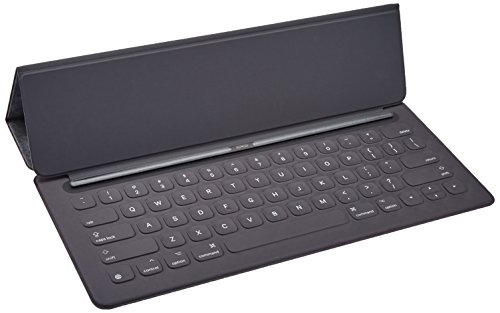
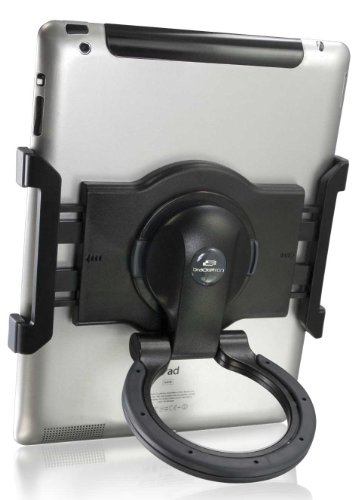
As I pieced my gear together over months, I also found I wanted a way to easily attach my Apple Pencil to my kit when walking around. The Smart Keyboard serves double duty as keyboard and good screen protection. When walking around, I would slip my hand into the loop of the SpinPadGrip so my grip on my Jumbo is secure. I began testing ways for my Apple Pencil to fit my kit. One day, I saw a sketcher using a pen clip to attach brushes to her sketchbook cover, and that inspired me to look for something similar.
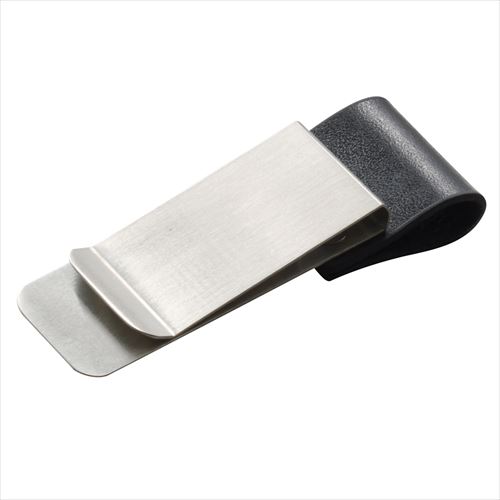
If you know the clean lines of the Muji brand, you'll know that they also have very practical, non-branded stationery items. I got 2 pen clips from the store and tested both to see which would work better. The Muji MoMA pen clip, with a faux-leather strap, is the one that has endured, primarily because it's kinder to my keyboard and iPad. (The other clip I found was all-metal)
The MoMA clip slips onto a section of my Smart Keyboard, where the metal bit will not scratch my screen. The clip is nestled conveniently in the folds of the keyboard during transportation. The bonus is that this solution makes a perfect Pencil rest for when I'm typing, making it a cinch to use my Pencil or stick it back in its holder when not needed. I'm sure you can easily find something similar in a stationery store near you.
In case you're wondering, yes, I was also curious about magnetic solutions that snap Pencil to iPad Pro like those offered by Moxiware. Someone actually gave me a Moxiware sleeve, but after testing it, I found that I did not like the bulge of the magnet. More importantly, I found that the Pencil would only stick to certain parts of the iPad Pro/keyboard cover, occasionally sliding off if you got placement wrong. Too much hassle and risk.
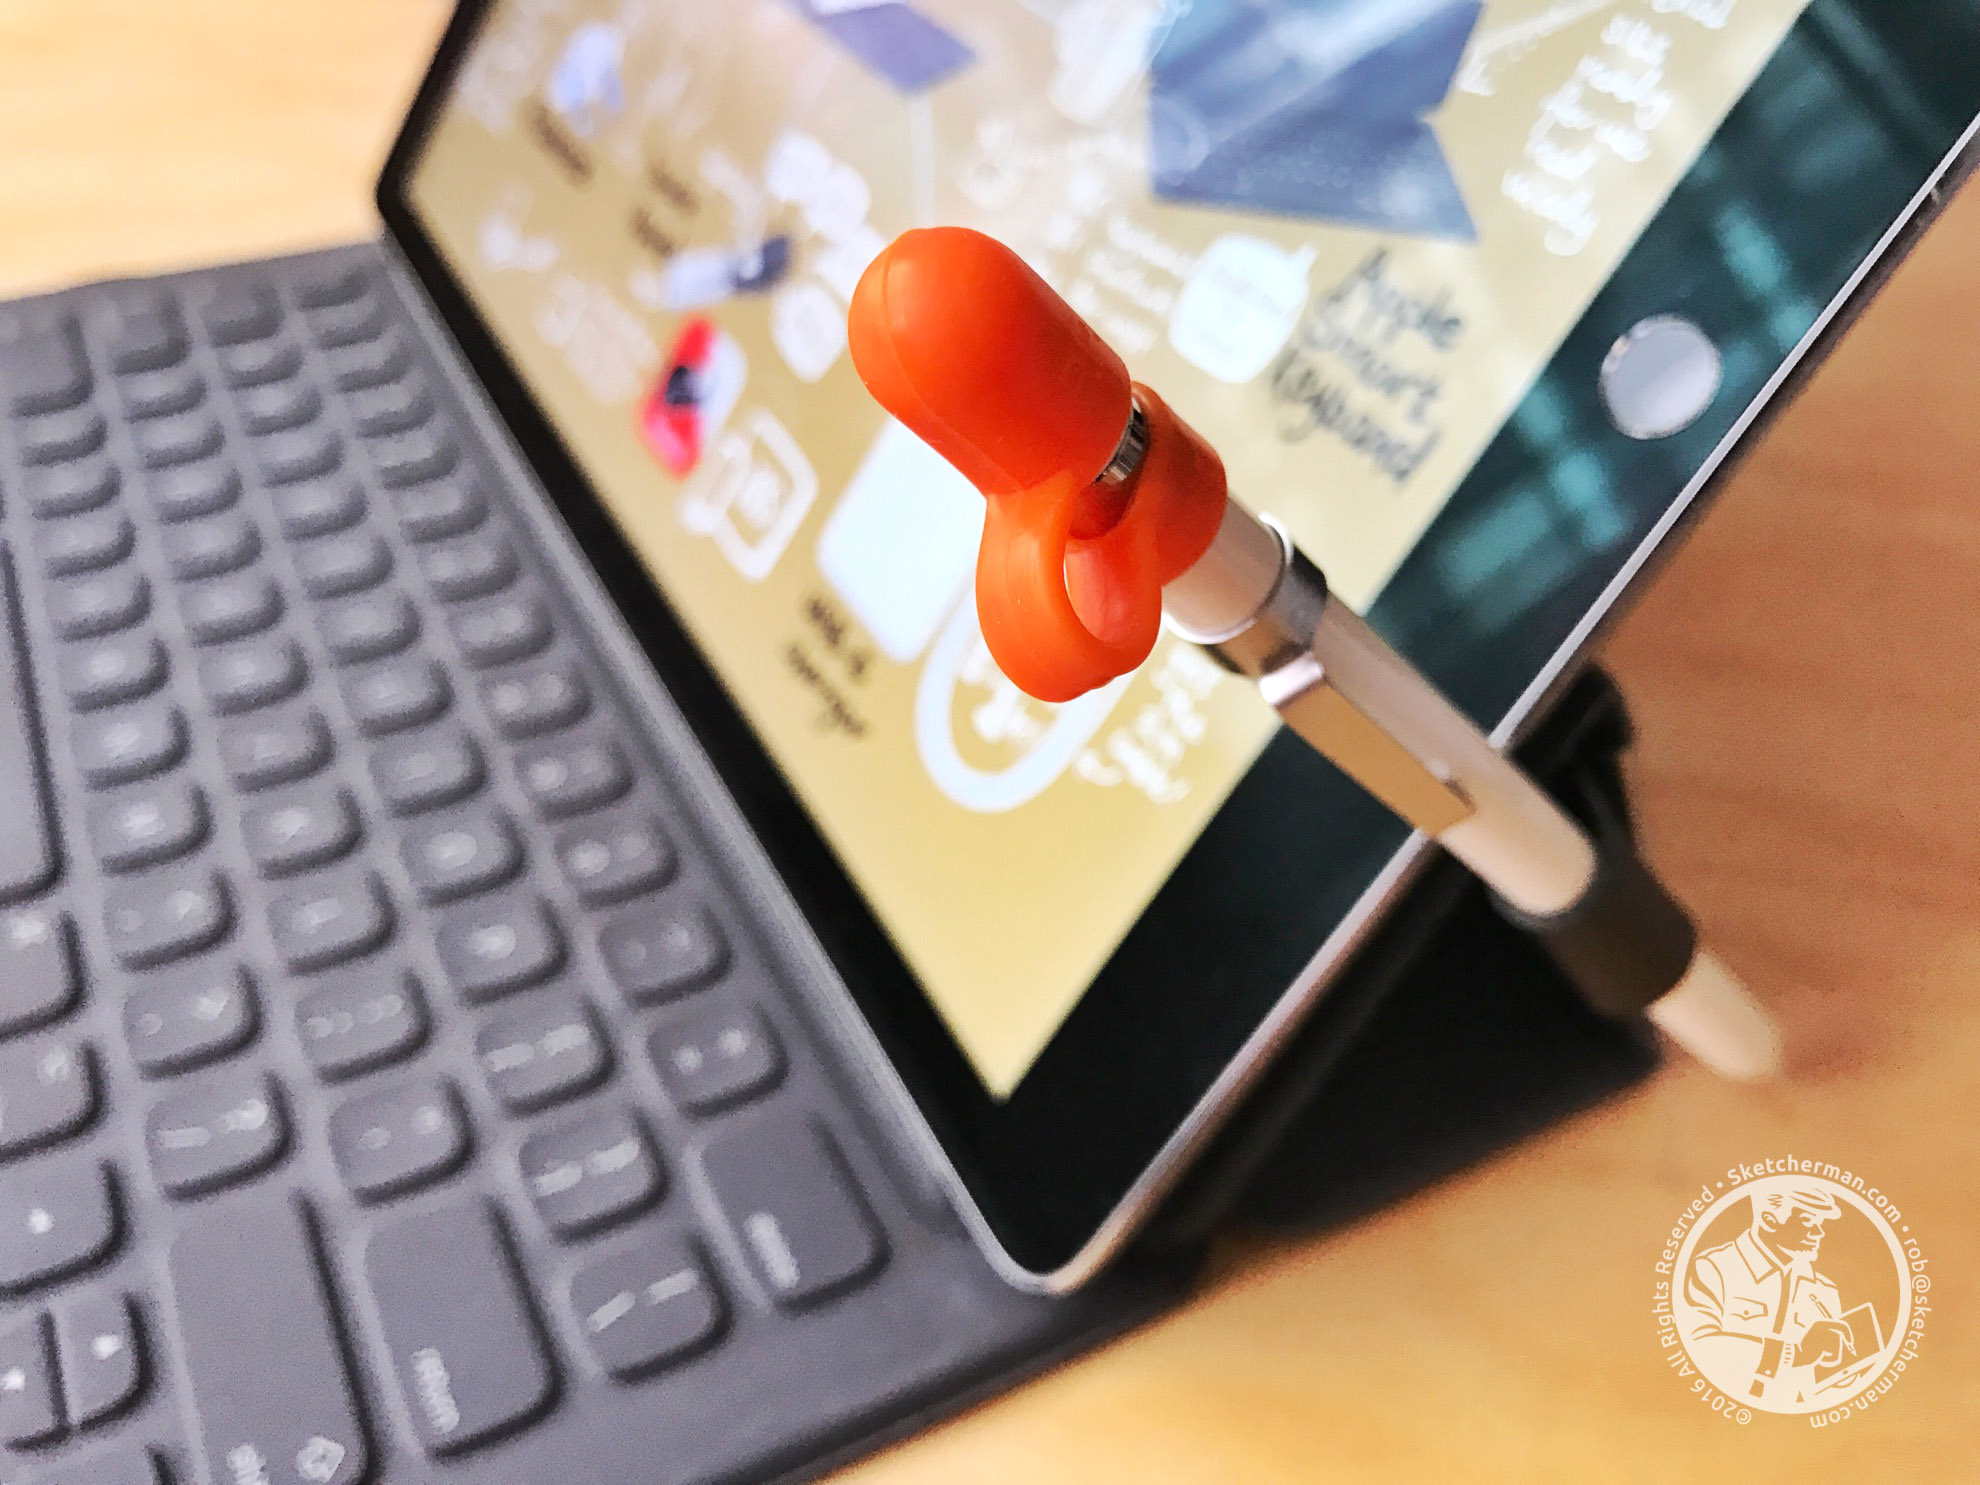
Apple Pencil Cap protection
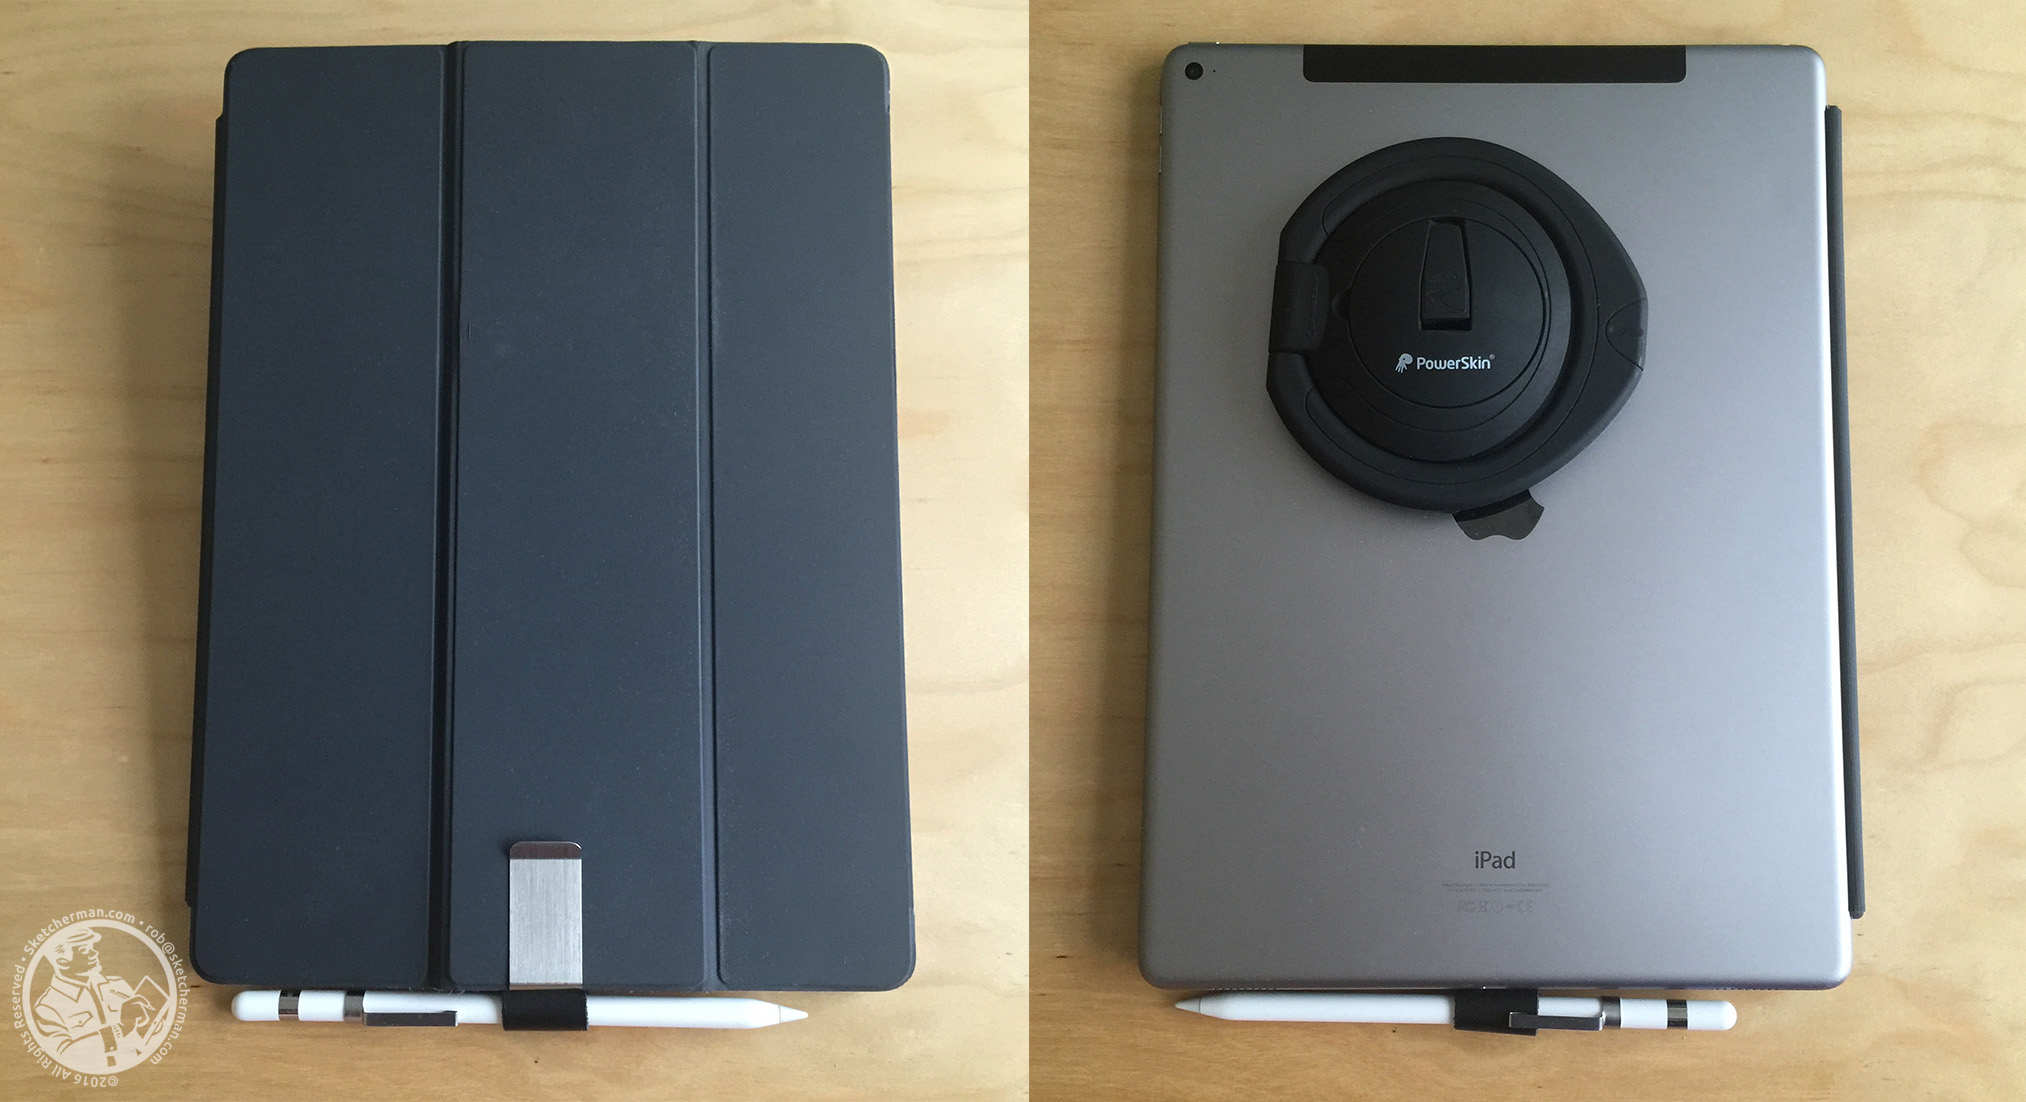
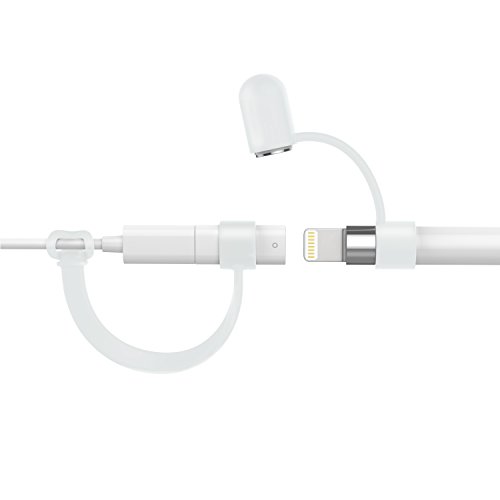
The other issue is the cap at the end of the Apple Pencil. When you charge the Pencil, the cap has to be detached, and the chance of loss can be pretty high if you're clumsy like I am. I've dropped my Pencil a few times and seen the cap fly under cabinets, bouncing and rolling off into all kinds of yucky dark corners. (Fortunately, I've been able to retrieve the cap each time, and my Pencil seems absolutely fine.)
During one of my workshops at the Urban Sketchers Symposium, I saw Mike Daikubara with one of these cap holders on his Apple Pencil, and thought, "Ha! What a clever idea!" Cheap, effective and no more flying Pencil caps. You see what I mean in the images below. You can also see how my Muji clip fits on the Smart keyboard.
Get the Apple Pencil Cap: Amazon.com | Amazon.co.uk | Amazon.ca | Amazon.de | Amazon.fr
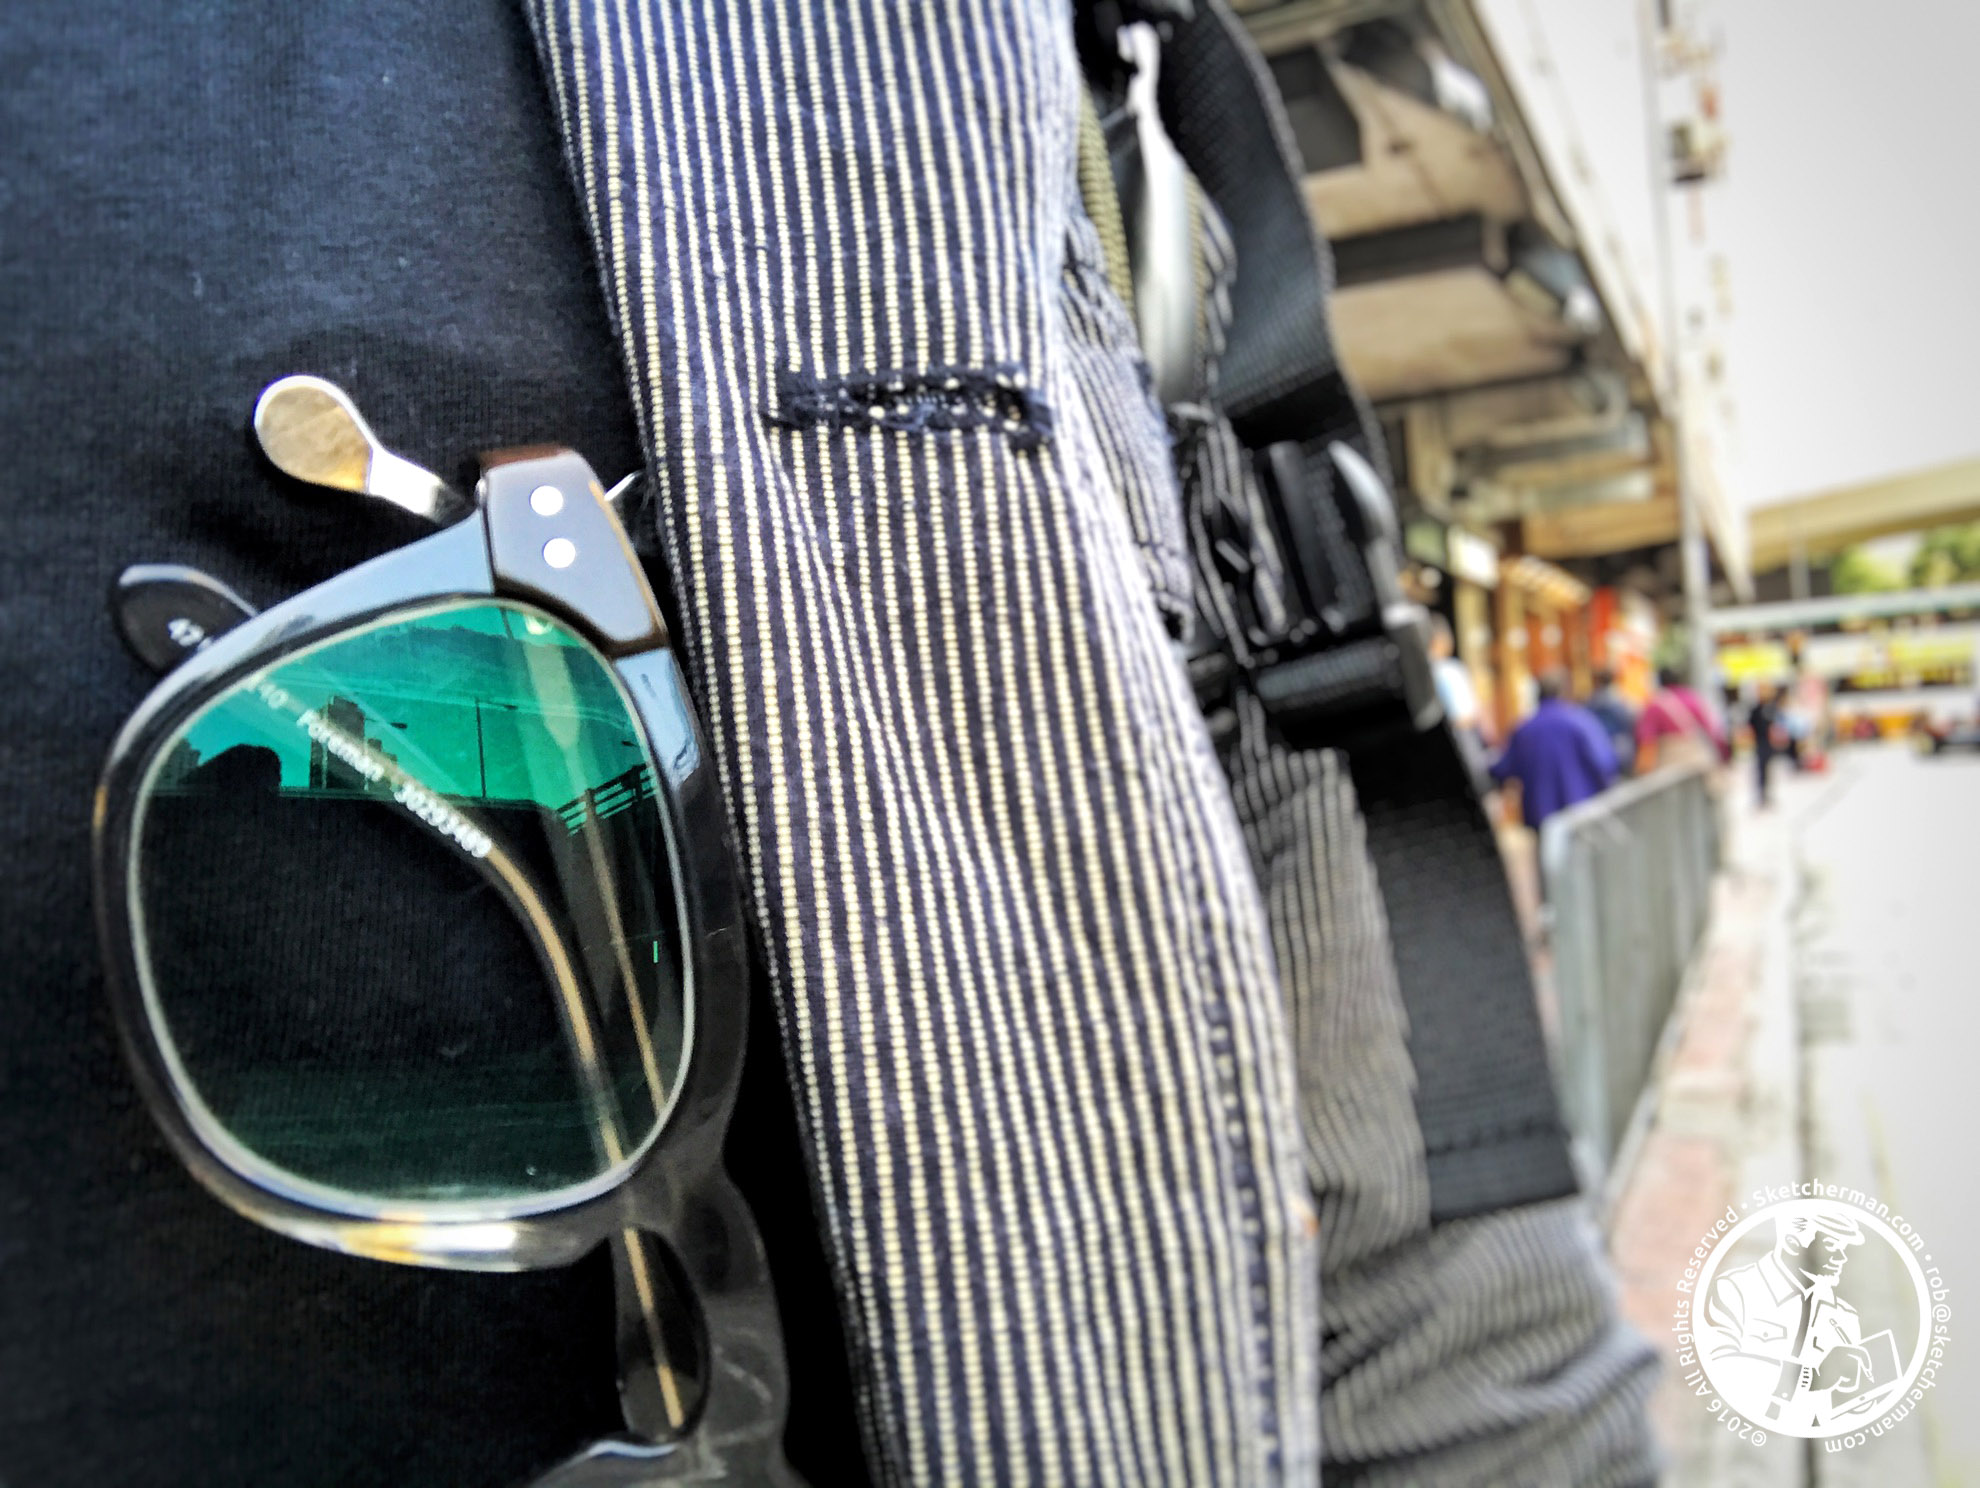


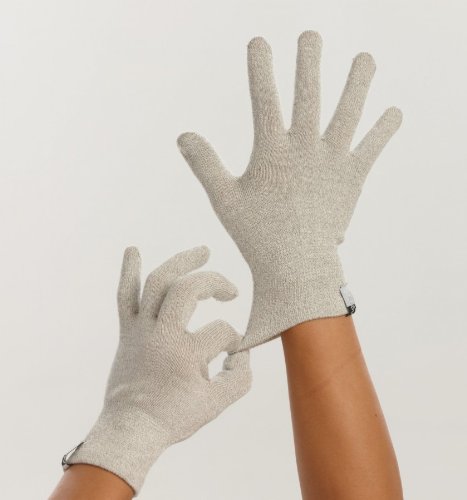
Secure your Glasses...or Apple Pencil!
I need reading glasses. In fact, I'm one of those guys who'd constantly buy cheap drug store pairs because he'd misplace/break them all the time. A couple years ago, I discovered the Readerest. (Yes, I'm a Shark Tank fan.) This is a clever magnet device that clips onto any clothing, and you hang your glasses on them when not in use. The design is so clever that even when you bend over, the glasses stay in place! I've had many questions about them and can highly recommend these. Much better than coping with glasses flying out of pockets at inopportune moments. Just remember to take them off before doing the laundry!
An accidental happy discovery is that my Readerest is also a convenient temporary parking spot for my Pencil. When trying to clip my Pencil to my pocket one day, it stuck to my Readerest, and I was actually annoyed by the effort needed to pull it off the magnet when a light suddenly went off in my head. So... as I work now, I often stick the Pencil to the Readerest that's always on my shirt. When commuting, it stays safely in a dedicated slot in my backpack. Although I'm a self-confessed geek, having my Pencil constantly dangling off the front of my shirt as I walk around is a bit much, even for me!
Get a Readerest: Amazon.com | Amazon.co.uk | Amazon.ca | Amazon.de | Amazon.fr
Power for the Pro on the Go
The iPad Pro at full brightness pulls power from the battery really quickly. On my first sketchcrawl with my Jumbo Pro, I went from 100% to 13% in only 5 hours. I was sketching under direct sun, which causes iPads to jack brightness to the max. Pair that with a data-enabled iPad, the Jumbo's size and processing power, and you have a recipe for battery drain.
There 2 main ways to conserve battery power:
- Work in airplane mode. When I know I'll be out all day, that's my default and makes a big difference in battery life. (That same 5-hour span would still leave me with between 50-75% battery life, depending on location and complexity of work.)
- Turn off unnecessary notifications. Even if you're on occasional data or wifi, the iPad talking to all kinds of services on the internet still draws power.
Once I realized this, I began looking for a power bank that would be powerful enough to charge my Pro quickly. My criteria for purchase: the iPad Pro's battery level had to go up even during use, which didn't seem much to ask. Hunting high and low, I saw eager confidence die in many a salesman's eye. No luck anywhere. A year later, I now know that even the iPad Pro's bundled 12W charger can't charge my Jumbo up while in use, let alone power banks (even those I tested ones in the 20,000+ mAh range).
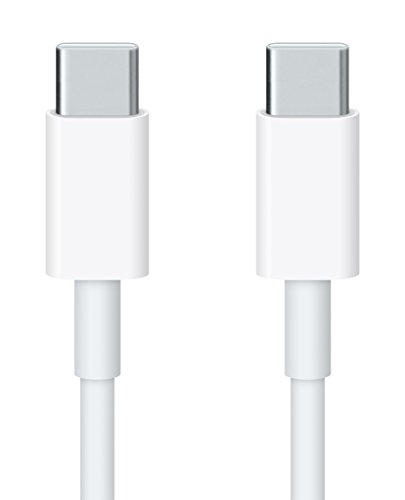
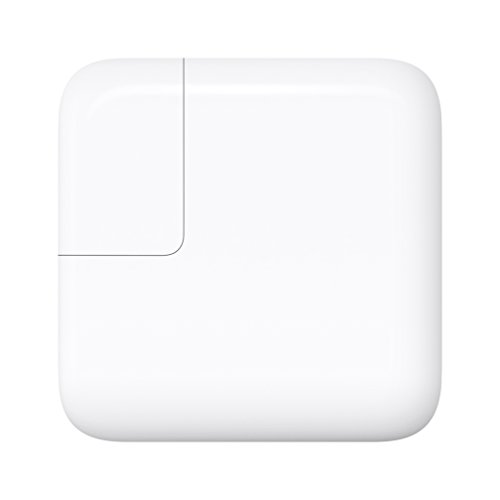
Enter Apple's 29W USB-C charger (and the separately sold USB-C to lightning cable). It was made for charging the latest MacBooks, and released March 2016. This is now essential equipment for me and takes my iPad Pro battery from 0-50% in a little under an hour, which means that I can take a break for a bite while juicing my Pro up enough for many more hours of sketching. Bonus: the adapter + cable are a lighter than a brick of a power bank!
I'll admit though - it's not cheap to add these to your gear, as both adapter and cable are sold separately. BUT if you already have an iPad Pro, use it primarily and are often on the move, I'd say it's an essential investment. And you might as well shell out the extra for the 2m cable - it's much handier.
Get a USB-C Charger: Amazon.com | Amazon.co.uk | Amazon.ca | Amazon.de | Amazon.fr
Get a USB-C Cable: Amazon.com | Amazon.co.uk | Amazon.ca | Amazon.de | Amazon.fr

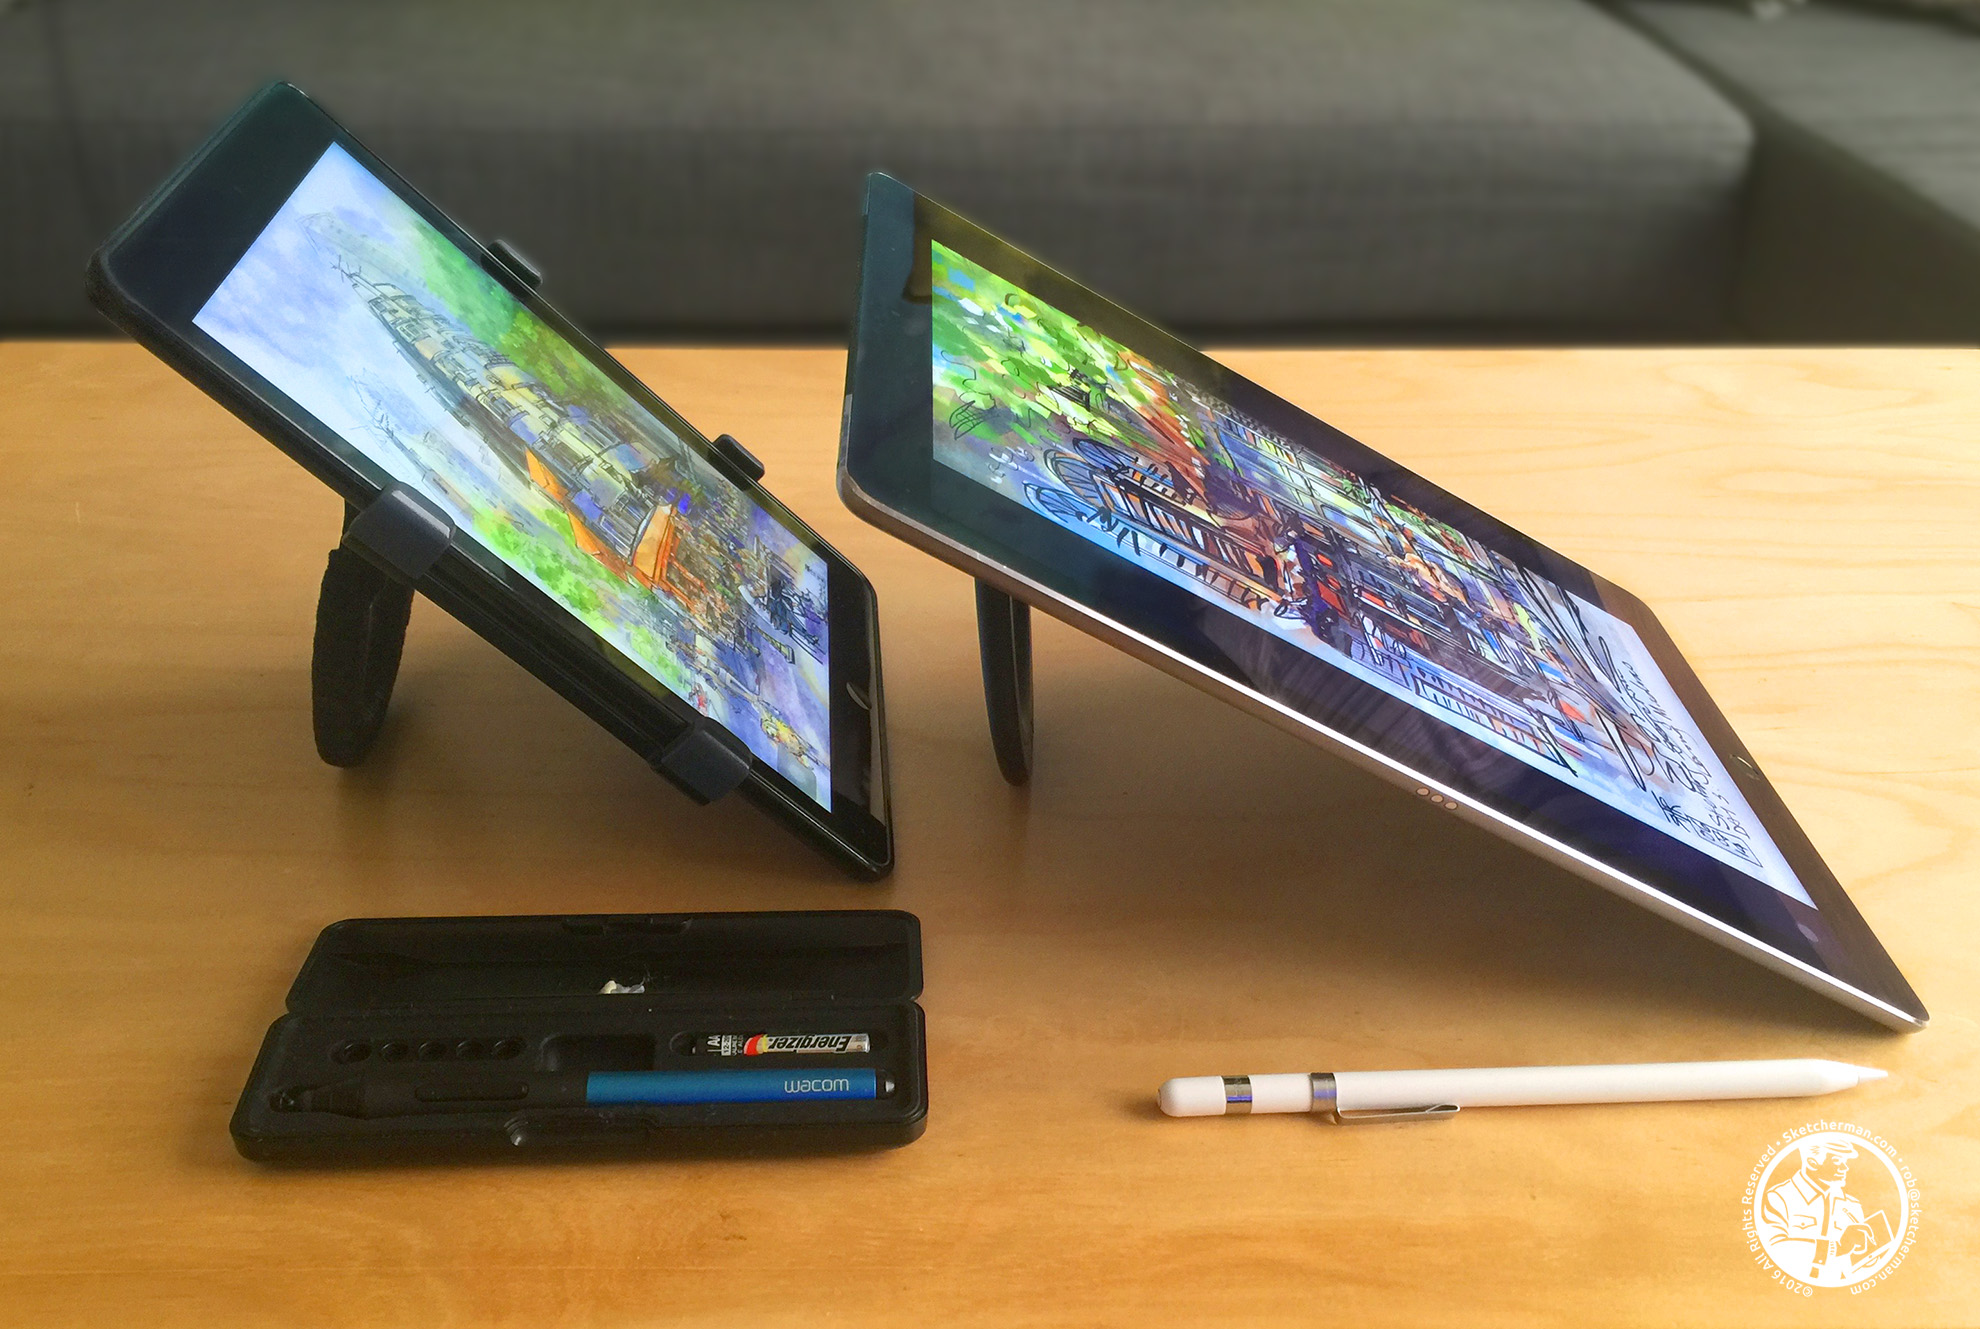
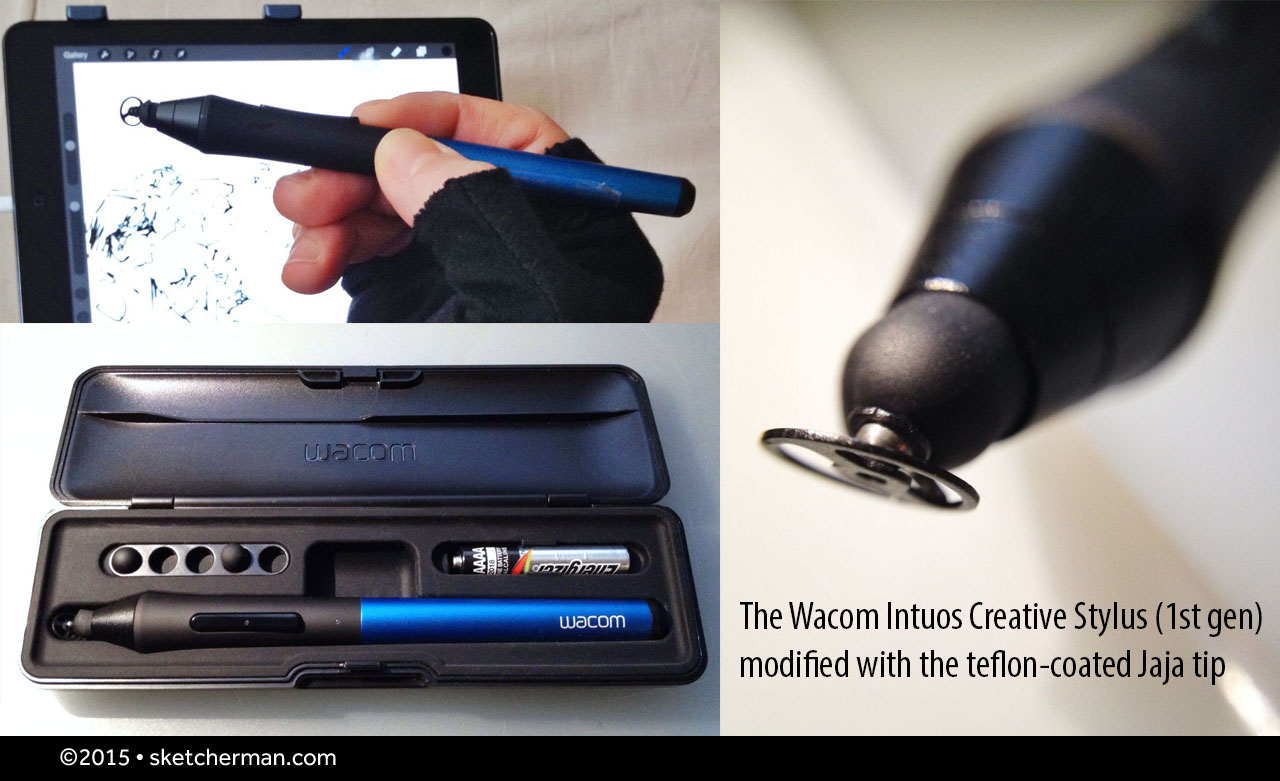
Various generations of pressure-sensitive styli I've used over the last 4 years. Top down: Apple Pencil, Adonit Pixel Pressure Sensitive, Adonit Jot Touch with Pixelpoint, Wacom Intuos Creative Stylus (1st gen, with modified Jaja teflon tip)
Styli for older iPads
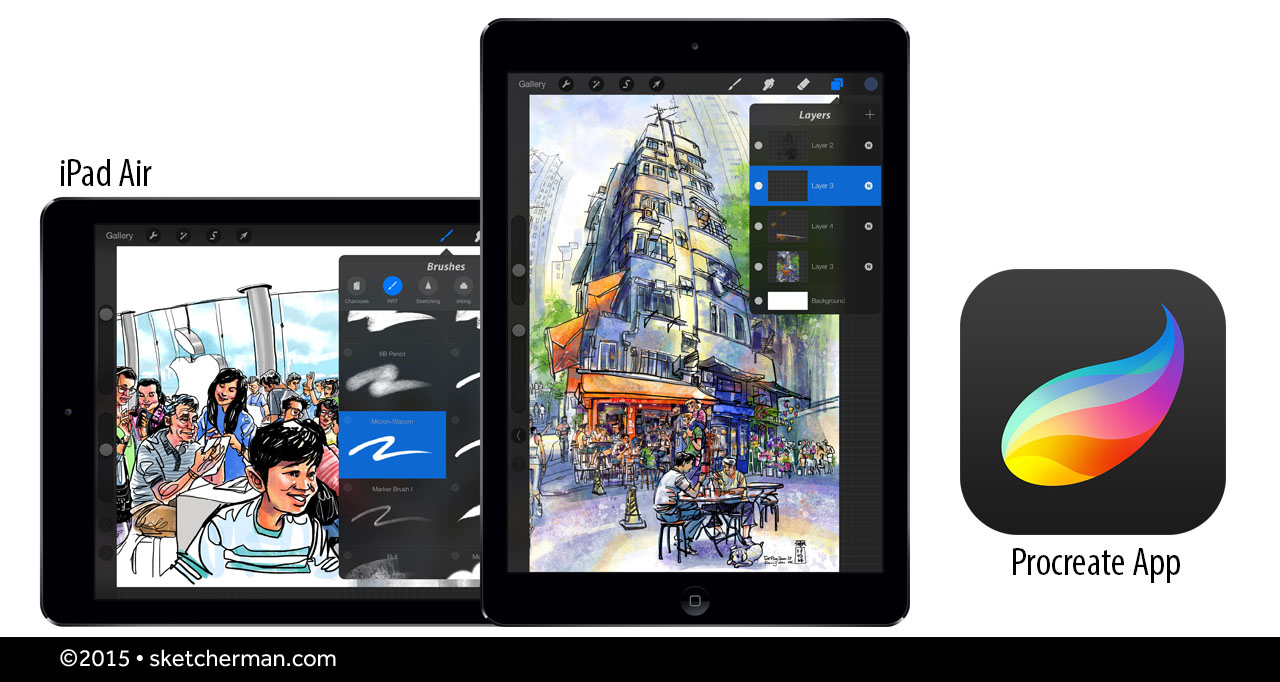
If you're serious about trying digital sketching, I highly recommend testing your iPad with Procreate and a pressure-sensitive stylus. If you don't, you won't get what the fuss is about. Yes, there are iPad artists who are perfectly happy using their fingers. Whatever Steve Jobs said, I hated that experience. Don't know about you, but my hand blocks the screen when I try, and it's tiring to hover over any screen for hours.
Click the chart to enlarge and zoom in
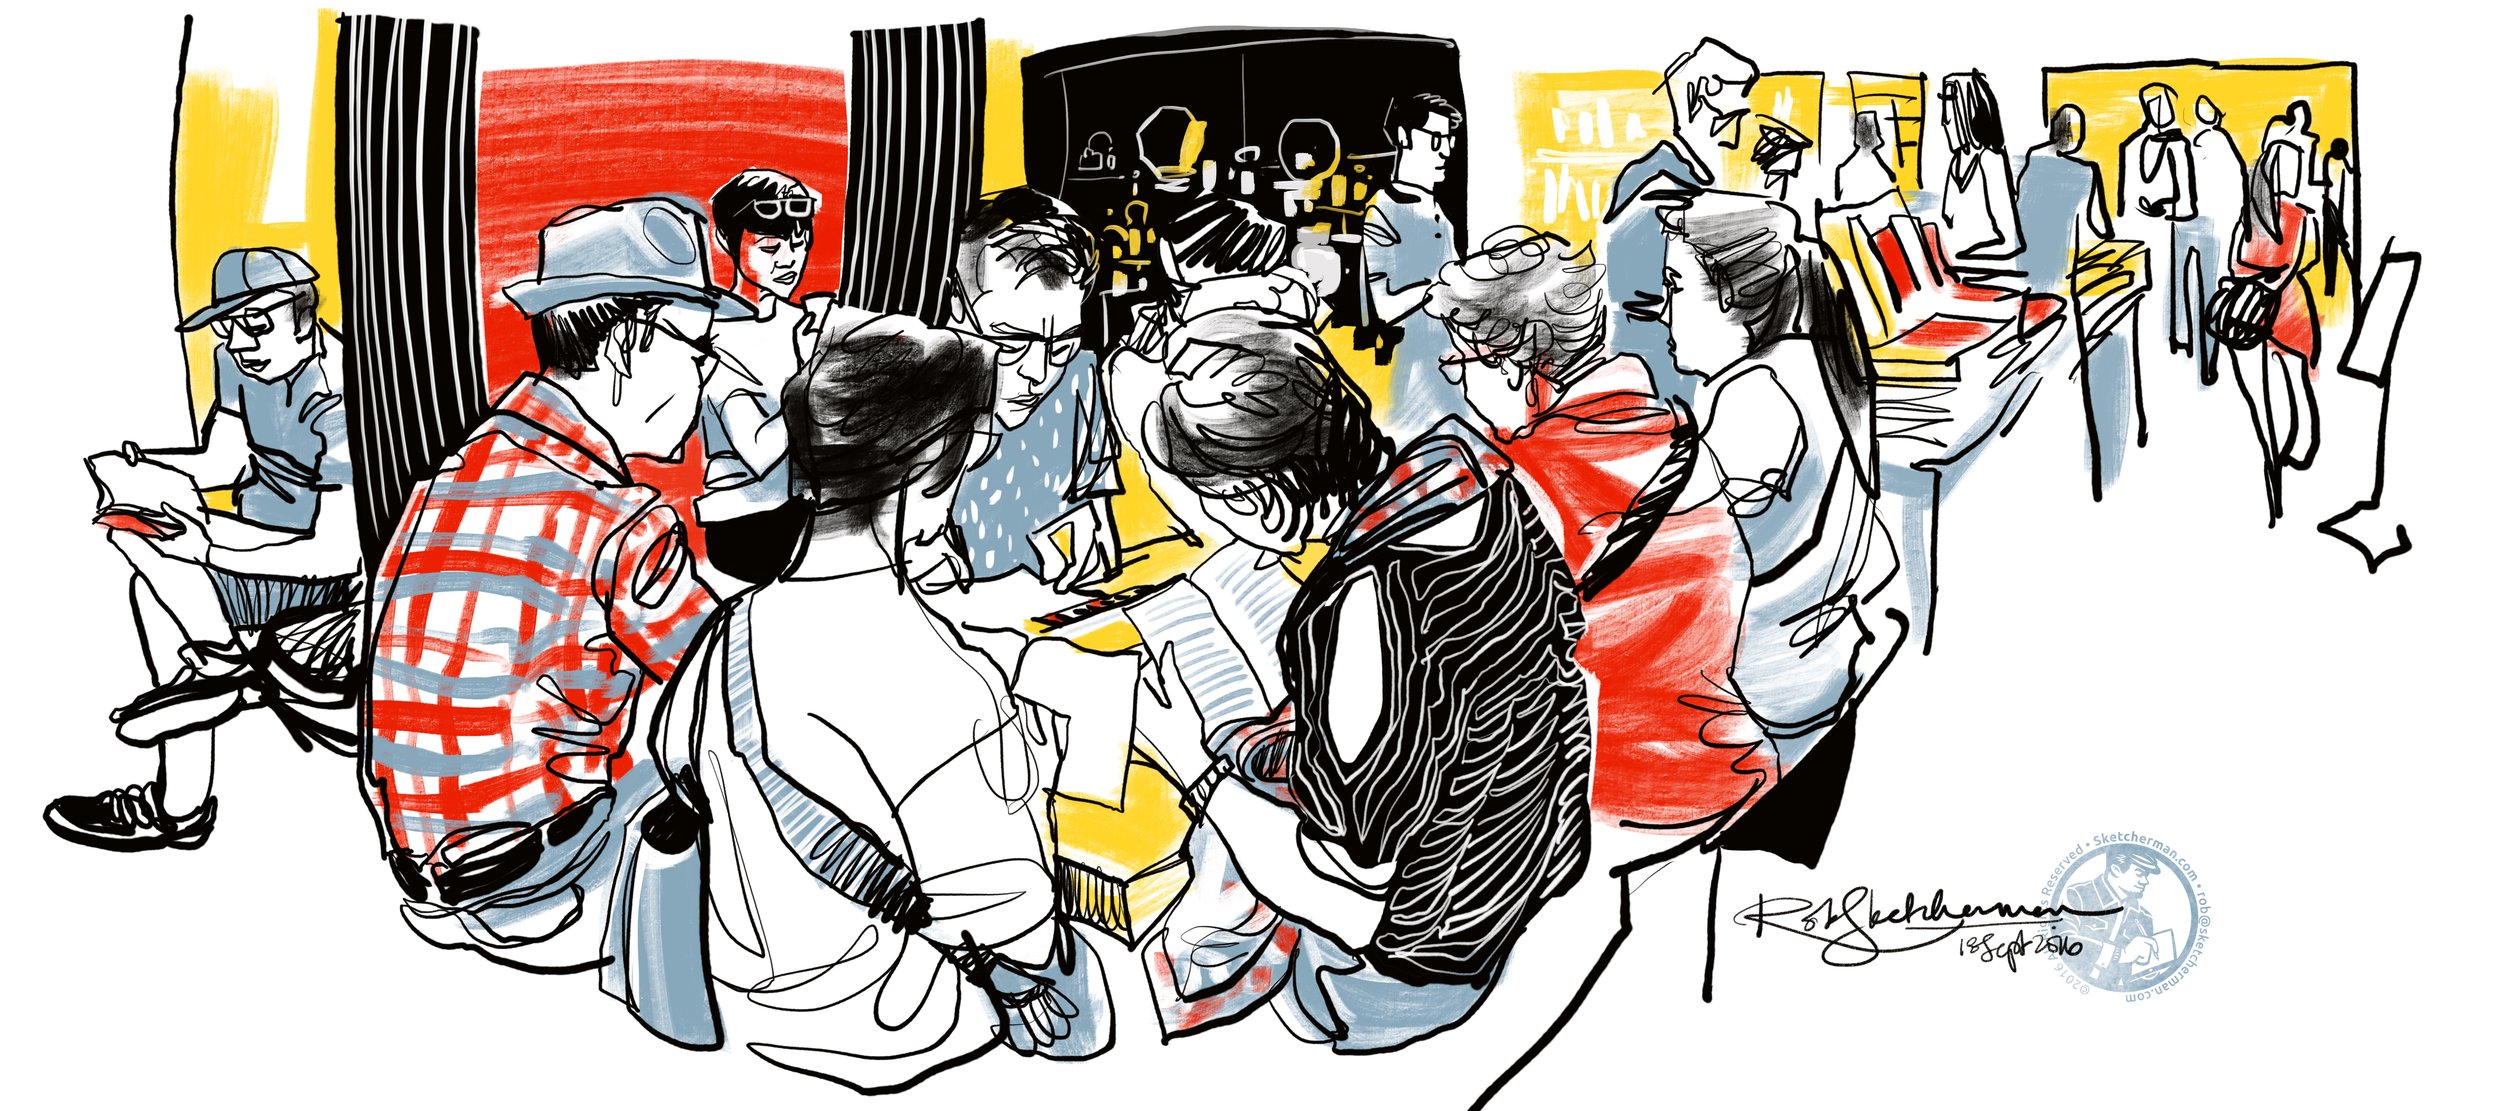
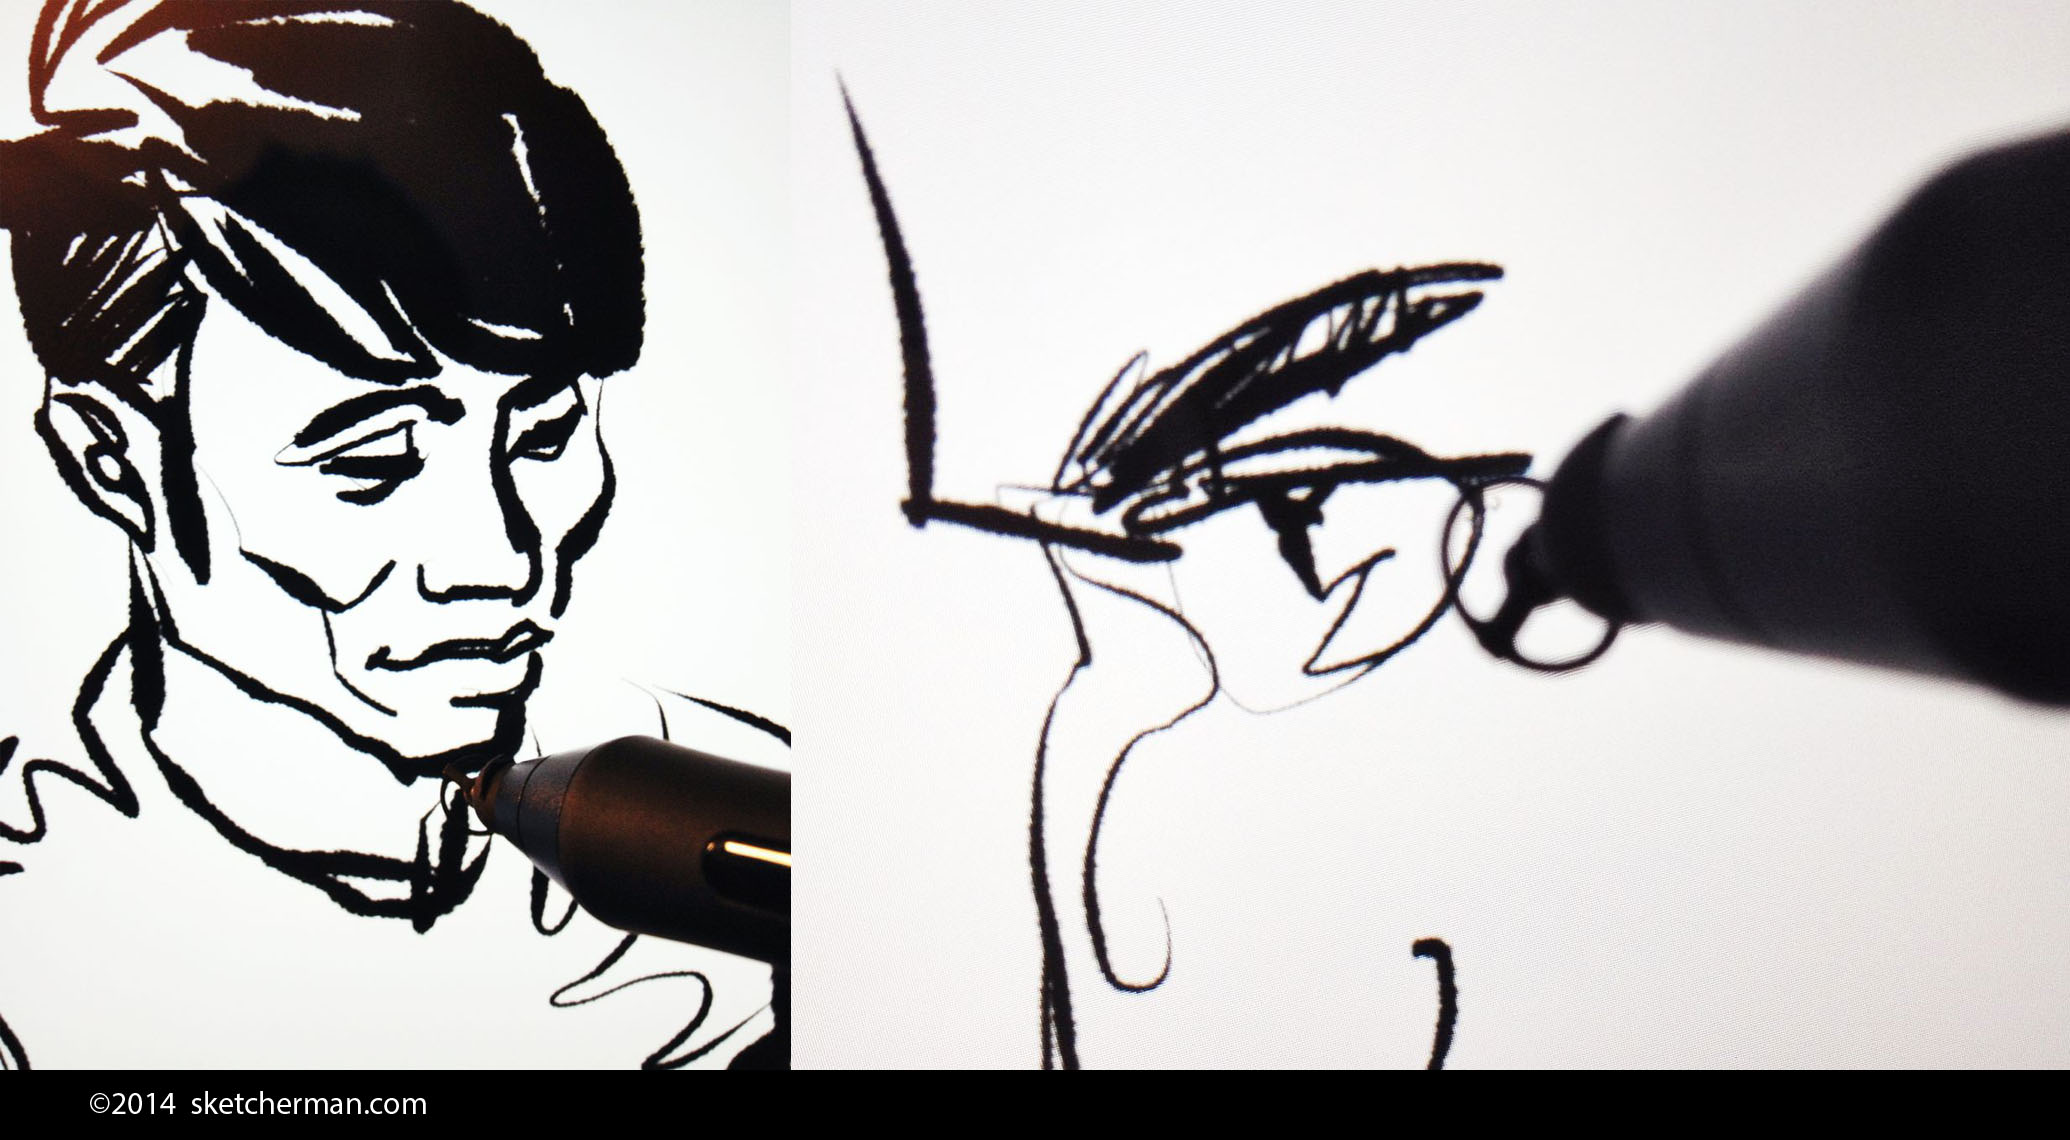
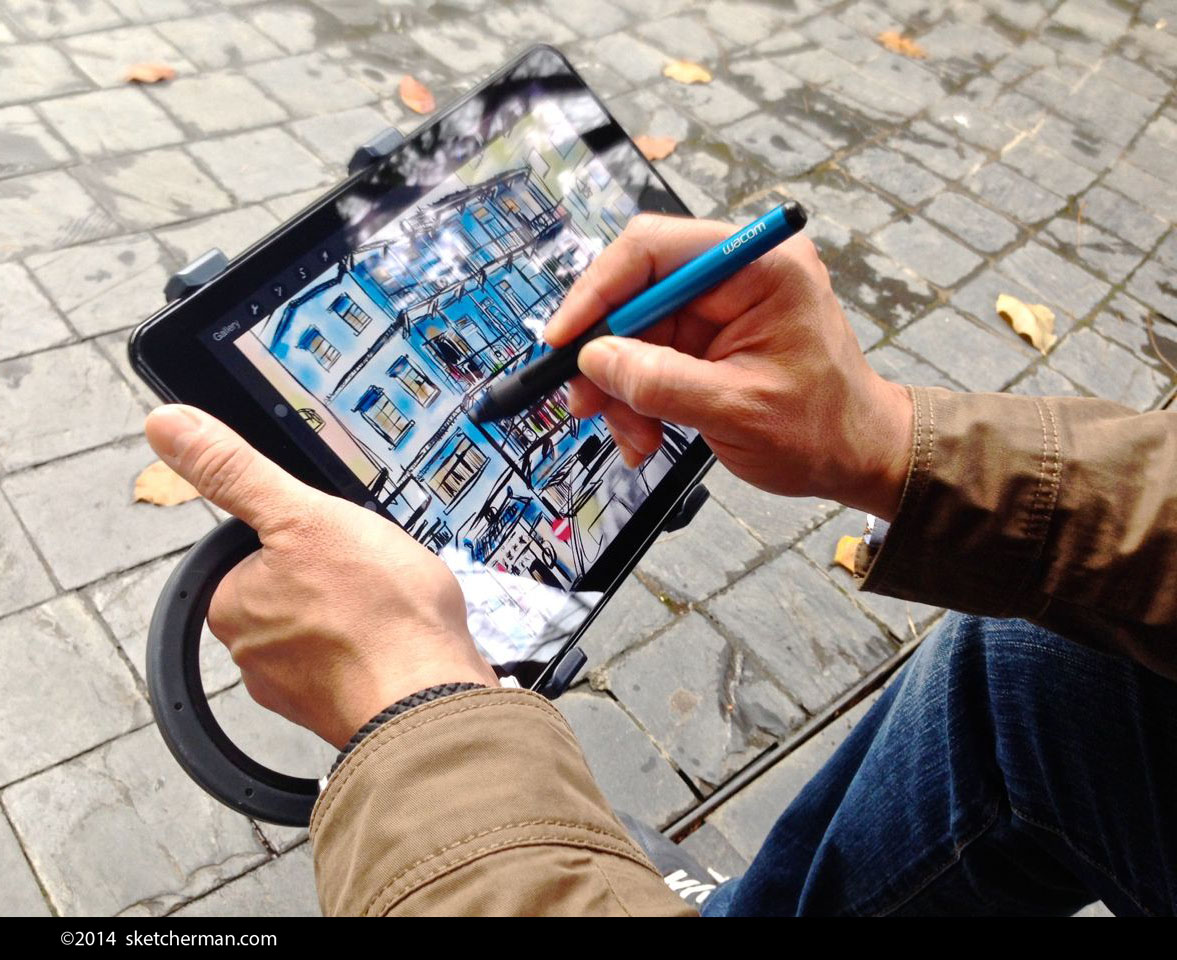
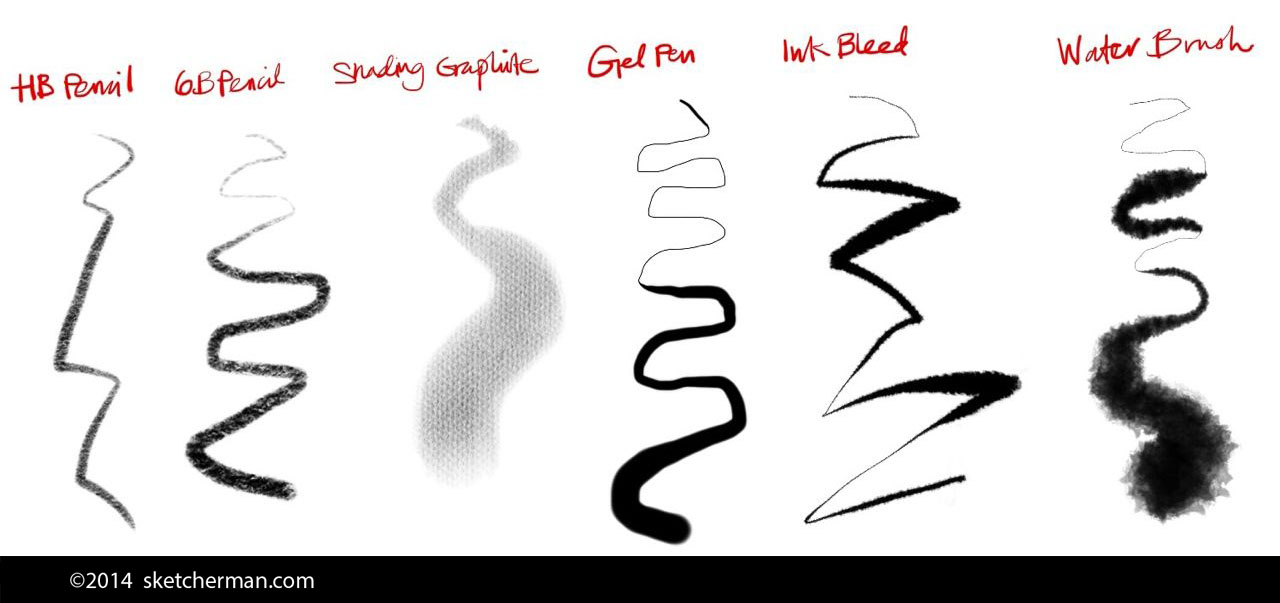
One of the wonders of using a pressure-sensitive stylus is the joy of playing with lines of varying width. I never get enough of being able to start with really fine lines, then transitioning to bold juicy ones by applying just a touch more pressure. Working this way also requires a lot less effort than the traditional media equivalent, which means ergonomic advantages that I can certainly attest to. (And I never have to buy ink nor clean a pen ever again!)
Do note however, that to enjoy pressure sensitivity, your iPad has to be 3rd generation and newer, or released from 2012. You might be squinting or frowning right now trying to remember when you got that iPad that has been lying around. The chart on the left might help. Turn your iPad over and check its model number (those tiny numbers below the word 'iPad') against the chart to see which iPad model you own. If you see a tick, you're in!
BUT...you should also be aware that while your iPad can talk to newer pressure-sensitive styli, it might not run the latest apps very well. The difference in power and performance between the first iPad and the latest is HUGH; day and night difference, really. As developers take advantage of all the power available to them, older iPads may stutter and faint from the effort of trying to keep up. I'll venture to say your digital sketching experience could be frustrating on anything older than the first iPad Air.
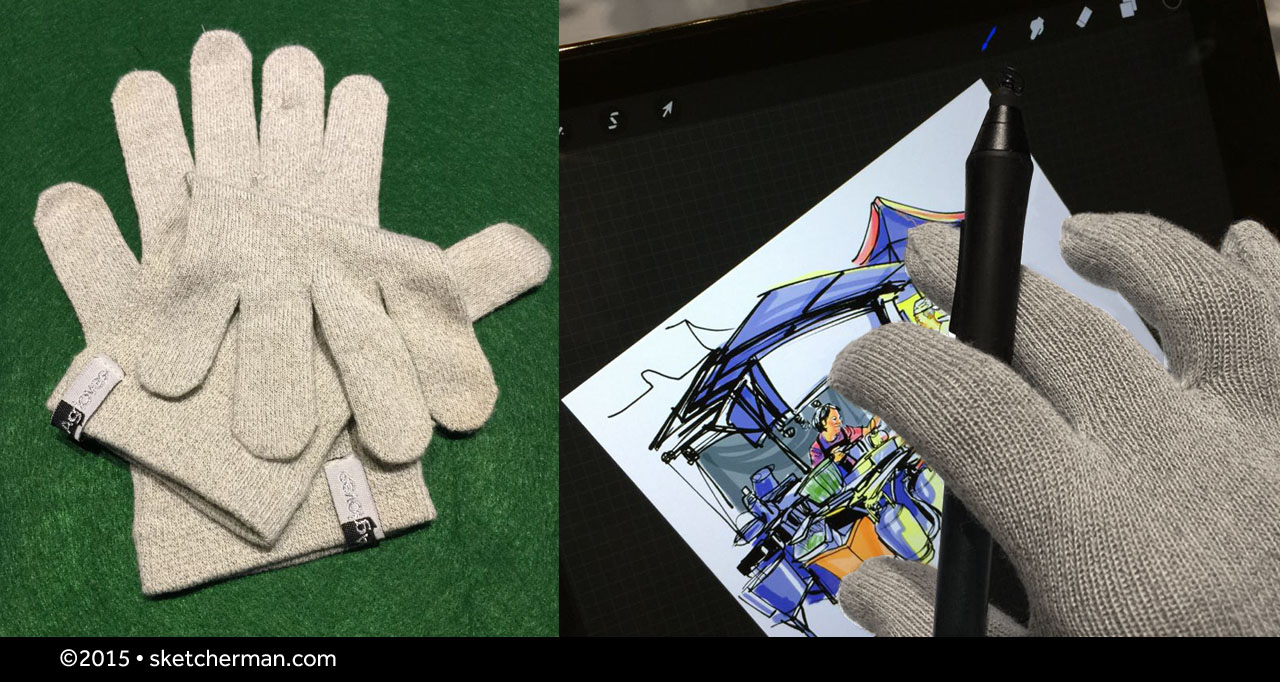
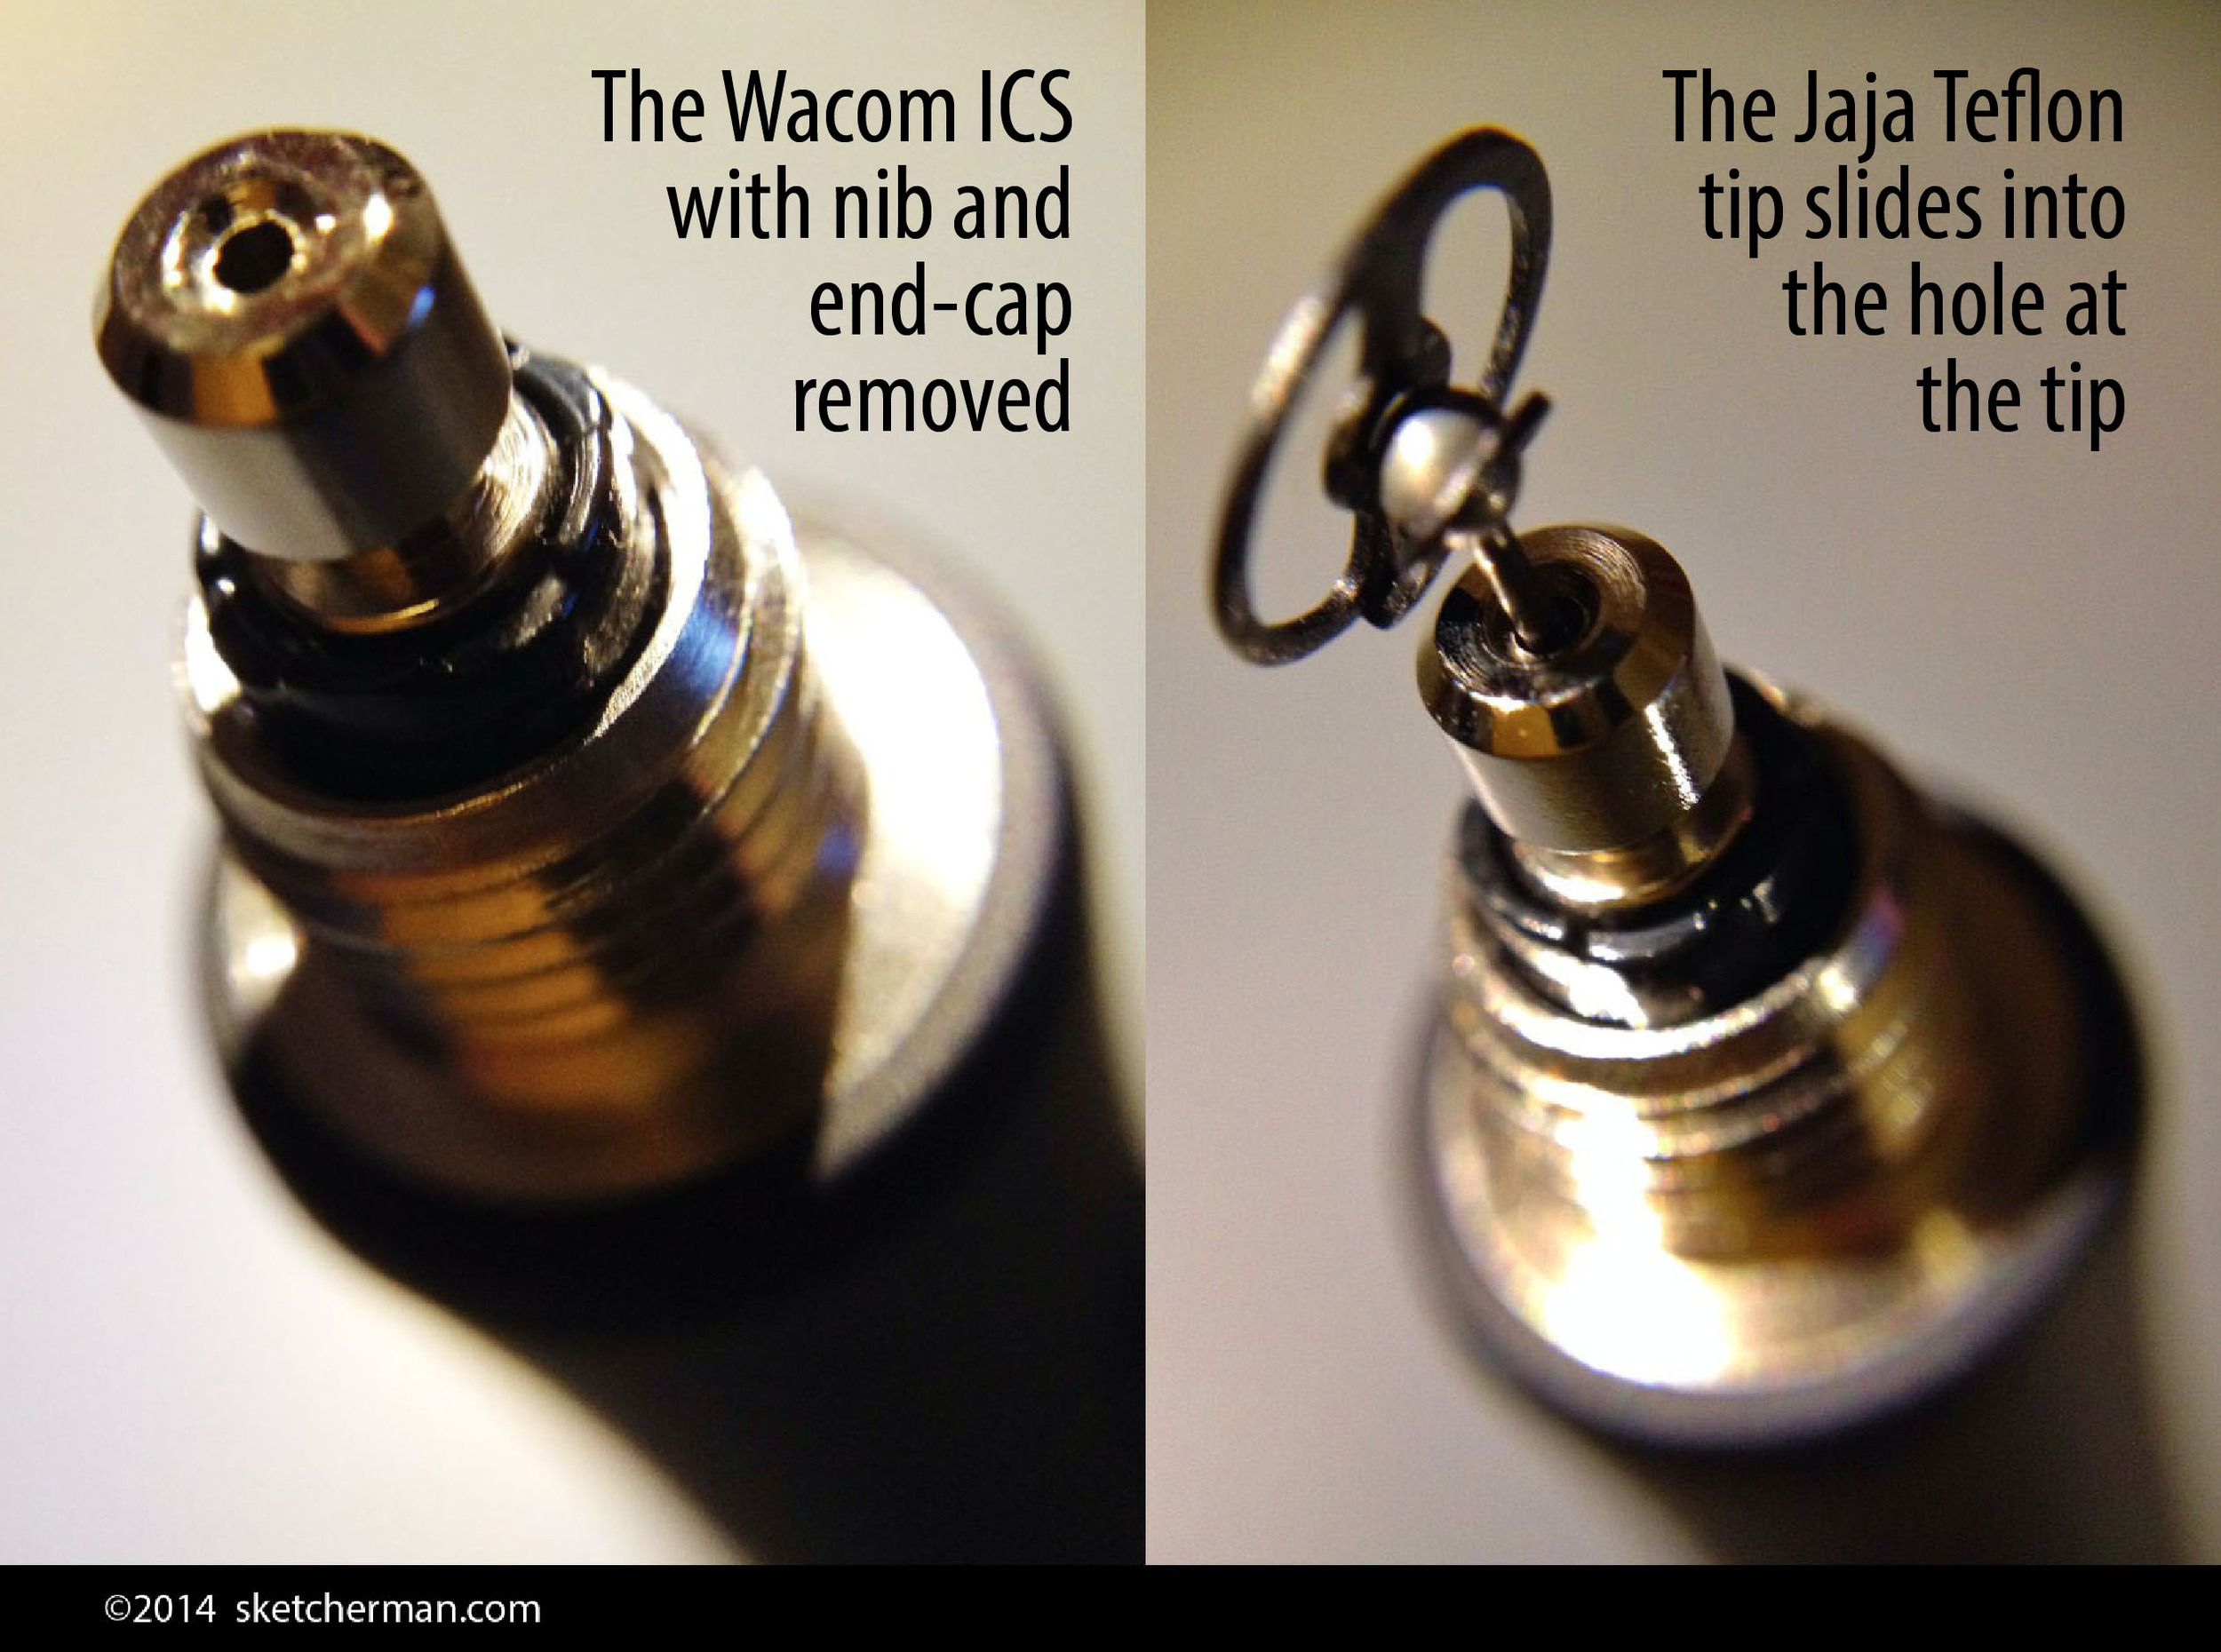
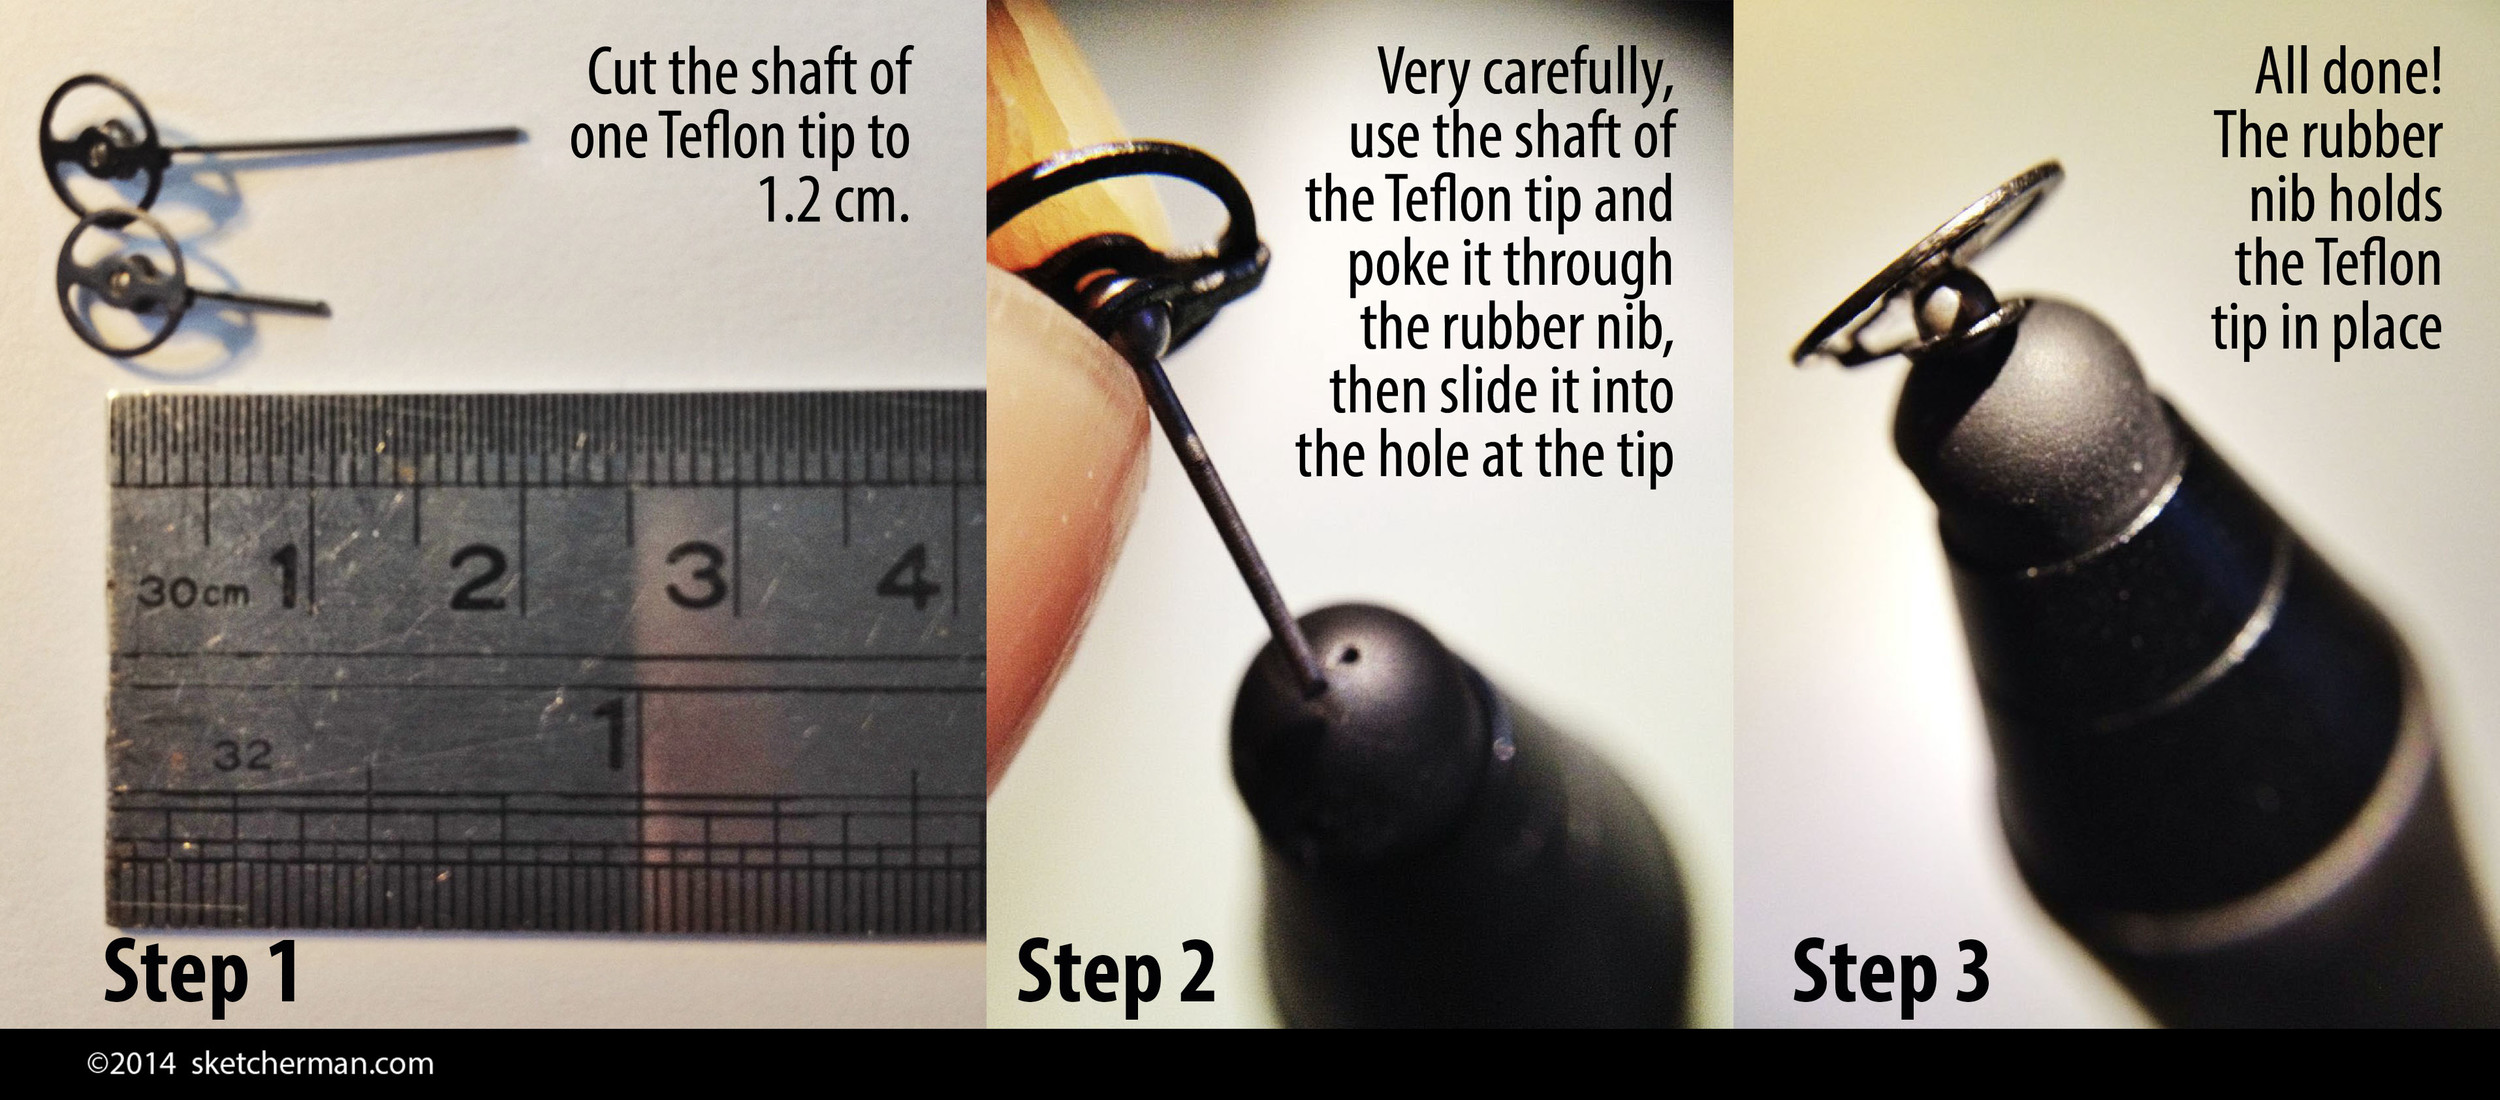
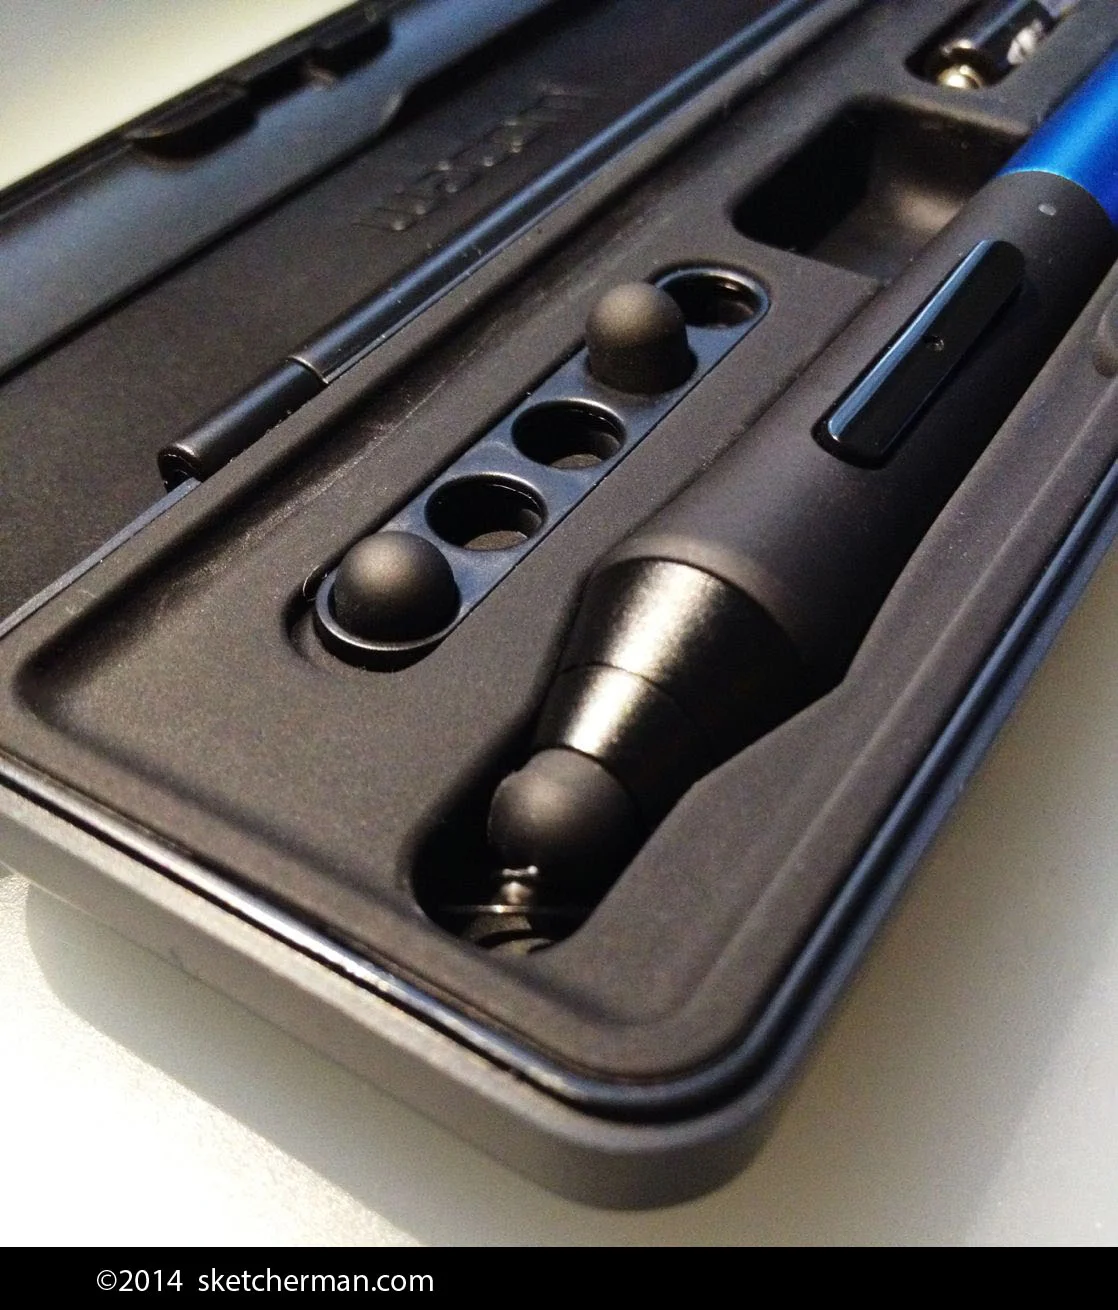
I can't talk about styli for older iPads without a quick mention of the one I used, loved and took everywhere for 3 years; my (modified) 1st gen Wacom Intuos Creative Stylus which I used with an iPad Air. I've written extensively here about the hows and whys of adding a teflon tip to the rubber end, but cannot recommend this solution any longer as those teflon tips are no longer being sold. And no matter how cheap, do not buy the Wacom ICS2. It's a real lemon. (Impossible to draw decent diagonal lines or circles slowly.)

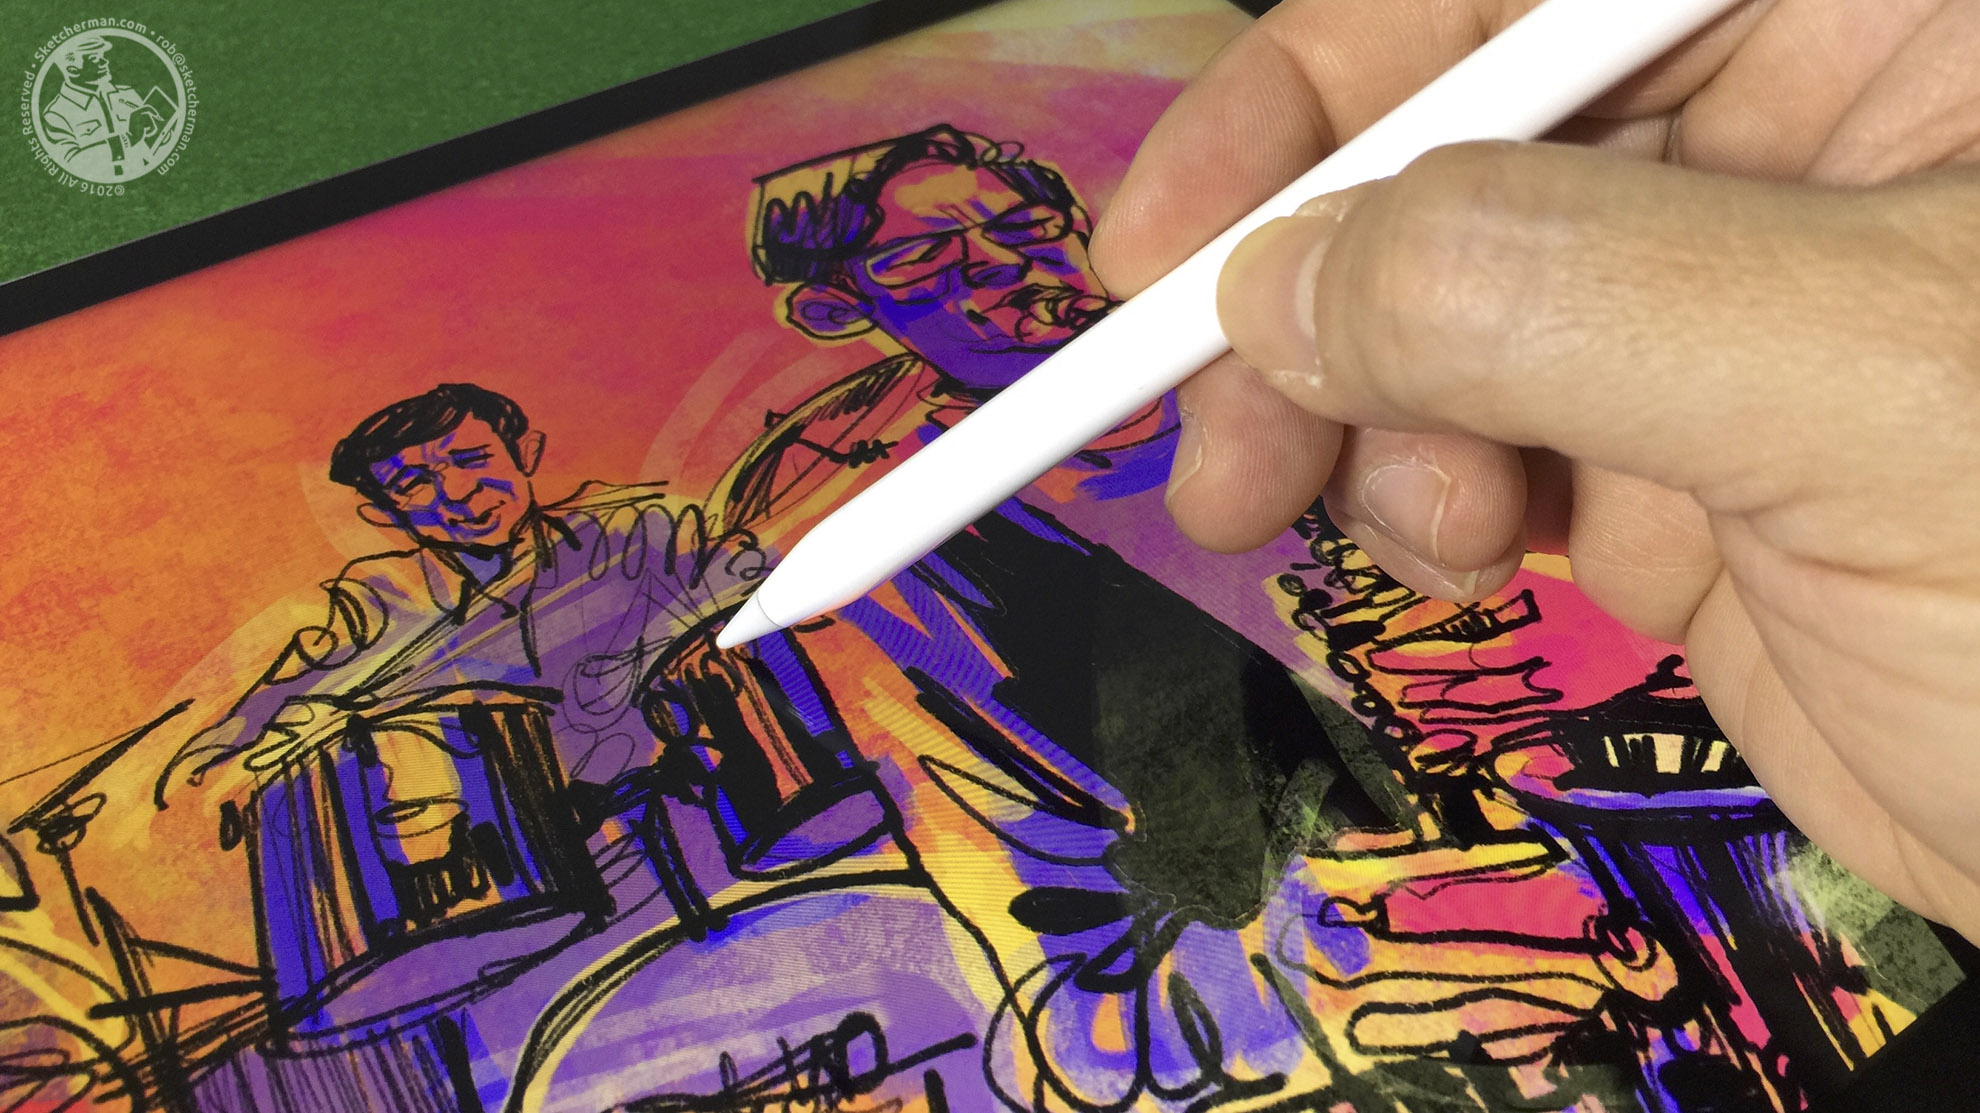
Adonit's pressure-sensitive styli and their USB charging dongles. The latest Pixel Pressure Sensitive (top) and older Jot Touch with Pixelpoint (below). Be sure to take the charging dongle with you so you're not stuck with a dead stylus!

With that out of the way, if you have want a pressure-sensitive stylus for that older iPad, these are what I now recommend:
I bought the Adonit Jot Touch with Pixelpoint when it was released but found it just okay... the tip was very hard and didn't feel good against the screen. A couple months ago, I picked up the latest iteration from Adonit, the Adonit Pixel Pressure Sensitive, which is quite an improvement over its predecessor.
Adonit obviously put a fair bit of thought into the Pixel Pressure Sensitive. It's longer, slimmer, a little lighter, and feels better balanced to me. Most significantly, the tip is finer, has a little give, and feels much more natural gliding across the screen. They've also added a touch of resistance which almost makes it feel like you're drawing on paper (unlike the unyielding weirdness with their earlier iteration).
Some things to keep in mind about both Adonit's pressure-sensitive styli:
- Adonit pressure-sensitive styli only work with certain apps. You'll have to refer to Adonit's site for which ones, so please check before you buy. [Note: This is not Adonit's fault. Apple provided a way for third-party styli manufacturers to work with iPads, but it's a software solution, not hardware like Pencil to Pro. Styli manufacturers provide SDK (software development kits) which allow their styli to be integrated into apps. App developers then have to make the effort of adding the SDK, testing styli, killing bugs etc. Good developers and their apps support the most popular styli, which is my first litmus test when buying creative apps.]
- Getting the stylus to work requires Bluetooth pairing with individual apps, one by one, usually in the app's preference settings. Make sure Bluetooth is turned on!
- The styli are rechargeable via the little USB dongle-like accessory that's provided.
- Take the dongle with you when you're out and about, should you need to charge on the fly. And keep it safe! It's small and easy to misplace.
- There's no way to easily check battery status, so top up your charge every now and then to be sure. (Some apps, like Procreate, allow you to check stylus battery level, usually in the app's settings.)
- If the battery is flat, the stylus is pretty useless and won't even function as a dumb stylus (those rubber-tipped ones with no pressure sensitivity).
- A full charge takes 1-1.5hours.
- You'll get between 15-20 hours of use with each charge.
Get the Adonit PPS: Amazon.com | Amazon.co.uk | Amazon.ca | Amazon.de | Amazon.fr
The USB stick for iPads and iPhones
A couple of weeks ago, I had a graphic recording commission (aka sketchnoting/making visual notes). I was to sketch on my iPad Pro and hand off animations and images quickly to the waiting video team, who would then project my work on the livestream or on displays around the conference area. Before the event, we went over many options to do this efficiently. I first thought "Airdrop!", but the tech team said they find it occasionally unreliable. I then said, "How about using cloud services? Google Drive? Dropbox?" Email? The videos were all under 10MB anyway. But tech said they weren't sure of wifi speed and wanted a fail-proof solution. I thought I'd have to bring my Macbook Pro just in case I needed to transfer and copy files.
"Can your iPad just copy files to a USB stick?" I was asked, leaving me somewhat flustered for a bit, because as fas as I knew, the answer was "No". Or not reliably, in my experience, as I've seen and tested so-called USB sticks for iPhones and iPads and have been so appalled at results I never looked again. Or had to. Until now.
A quick Google search brought up a brand I recognized and trusted: Sandisk! And they've been making a great solution for the past 2-3 years! I admit - I felt embarrassed at being ignorant about such a crucial answer to 2 problems every iPhone and iPad user must have come across at some point or other: offline, untethered file transfer and emergency shortage of space.
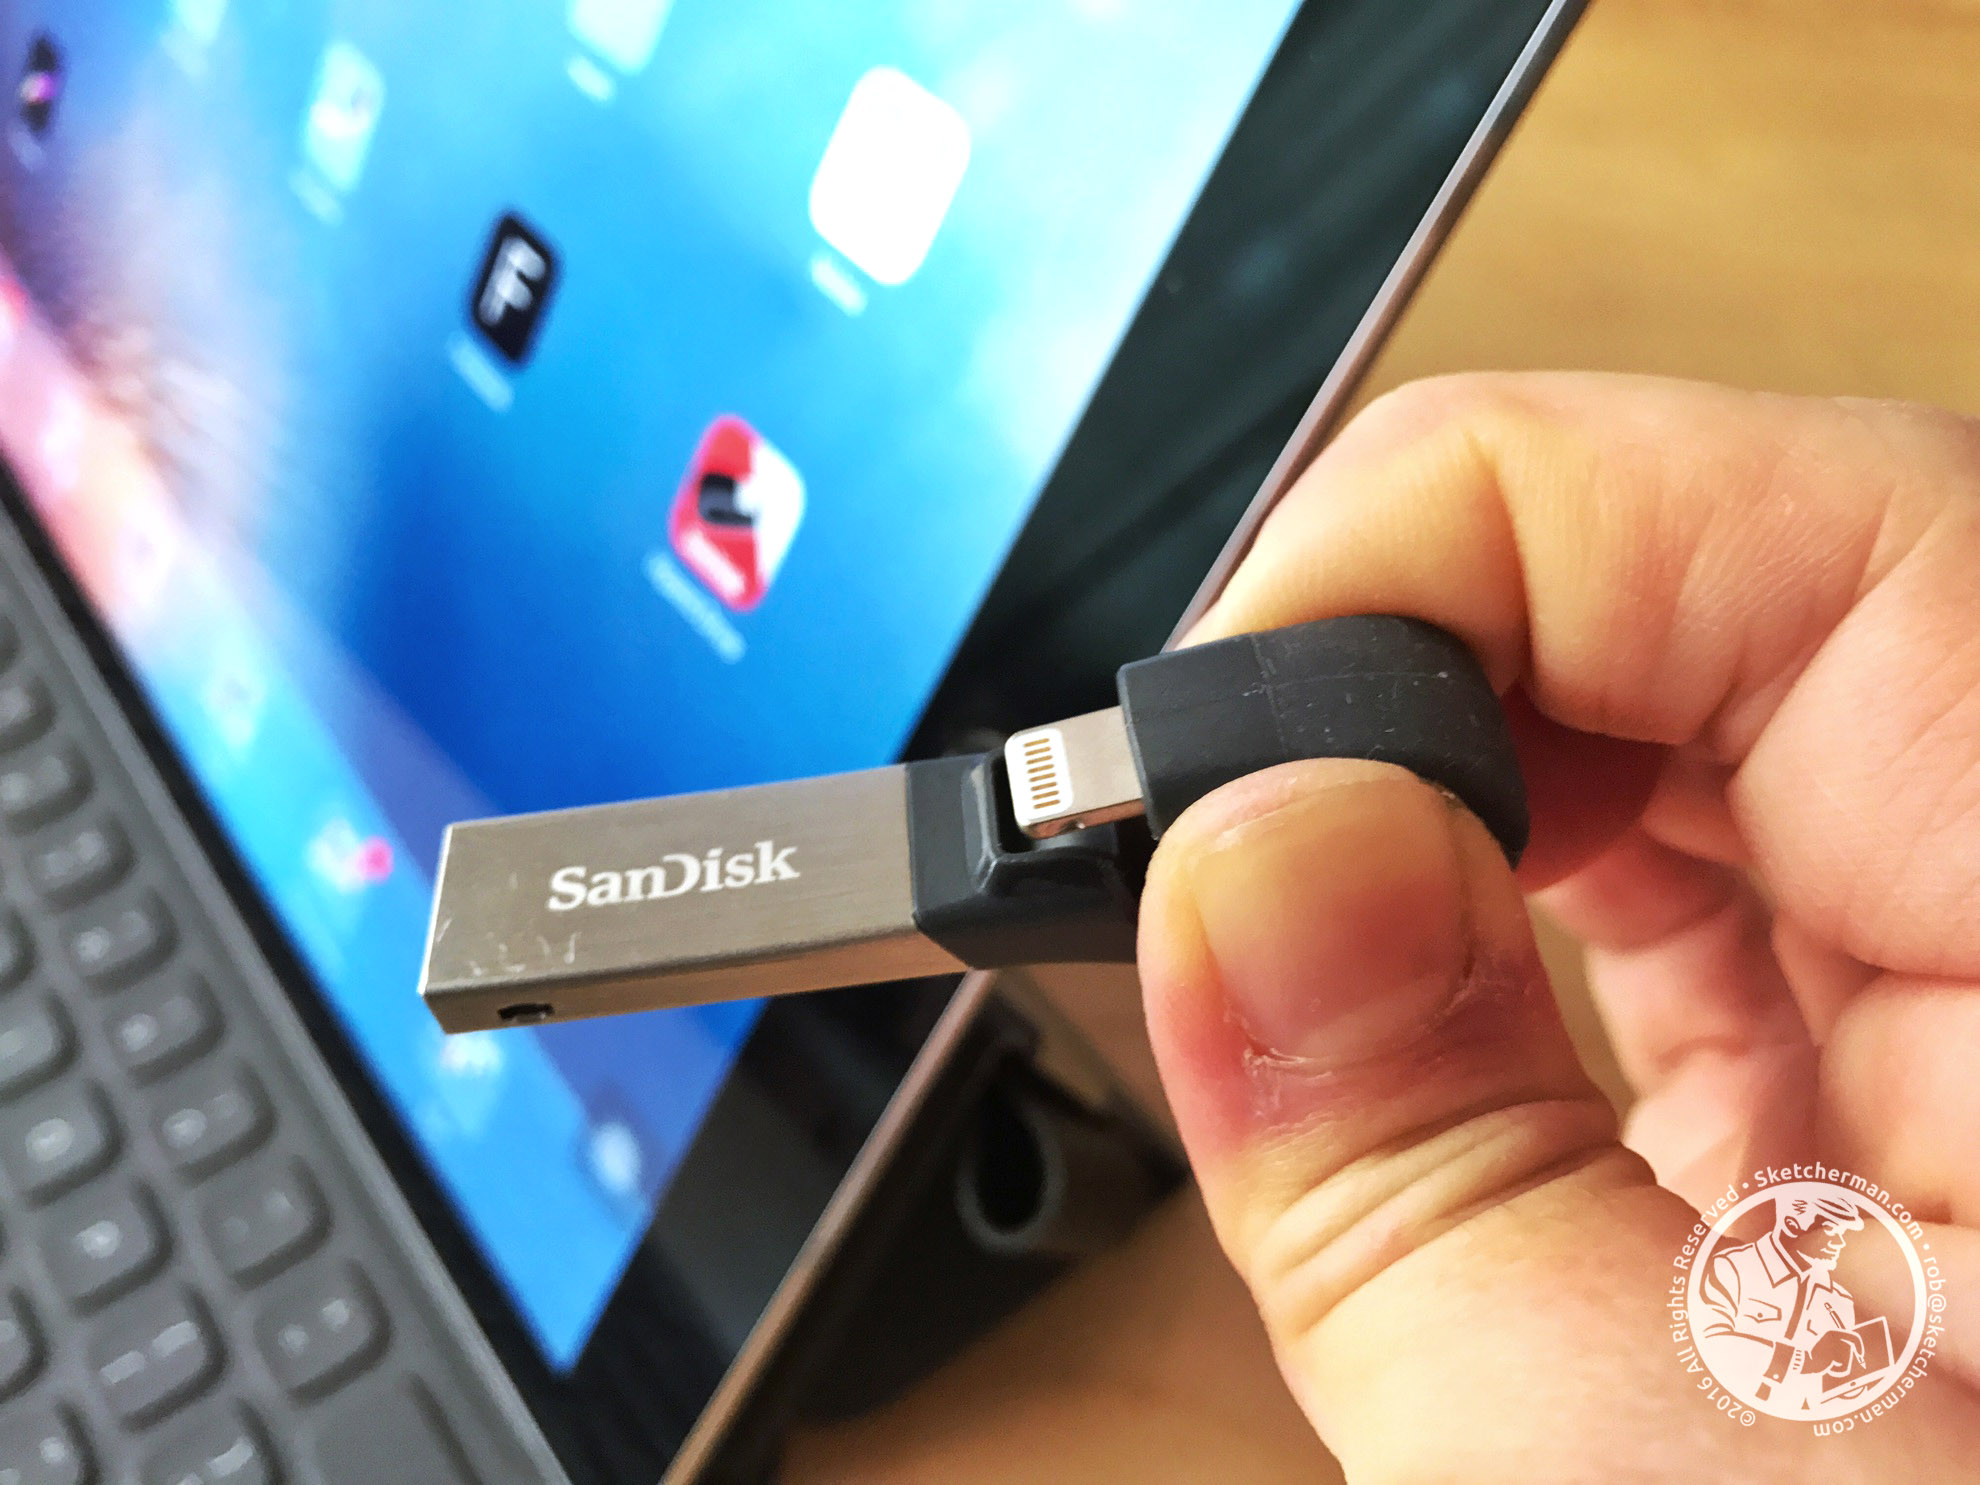
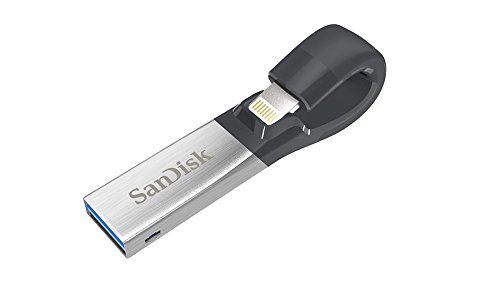
So dear readers, if you haven't already heard of it, I am so pleased to be able to introduce you to the Sandisk iXpand. Forget the wonky- name knock offs online. I tried them and they were cheaper, yes, but total duds and a waste of time and money. If getting data off your iPhone / iPad without wifi or a data connection is important to you, so is a reliable, dependable way to do this, and after pushing the iXpand hard over the last few weeks, I give it a huge thumbs-up. It now travels in my mobile kit everywhere because you just never know.
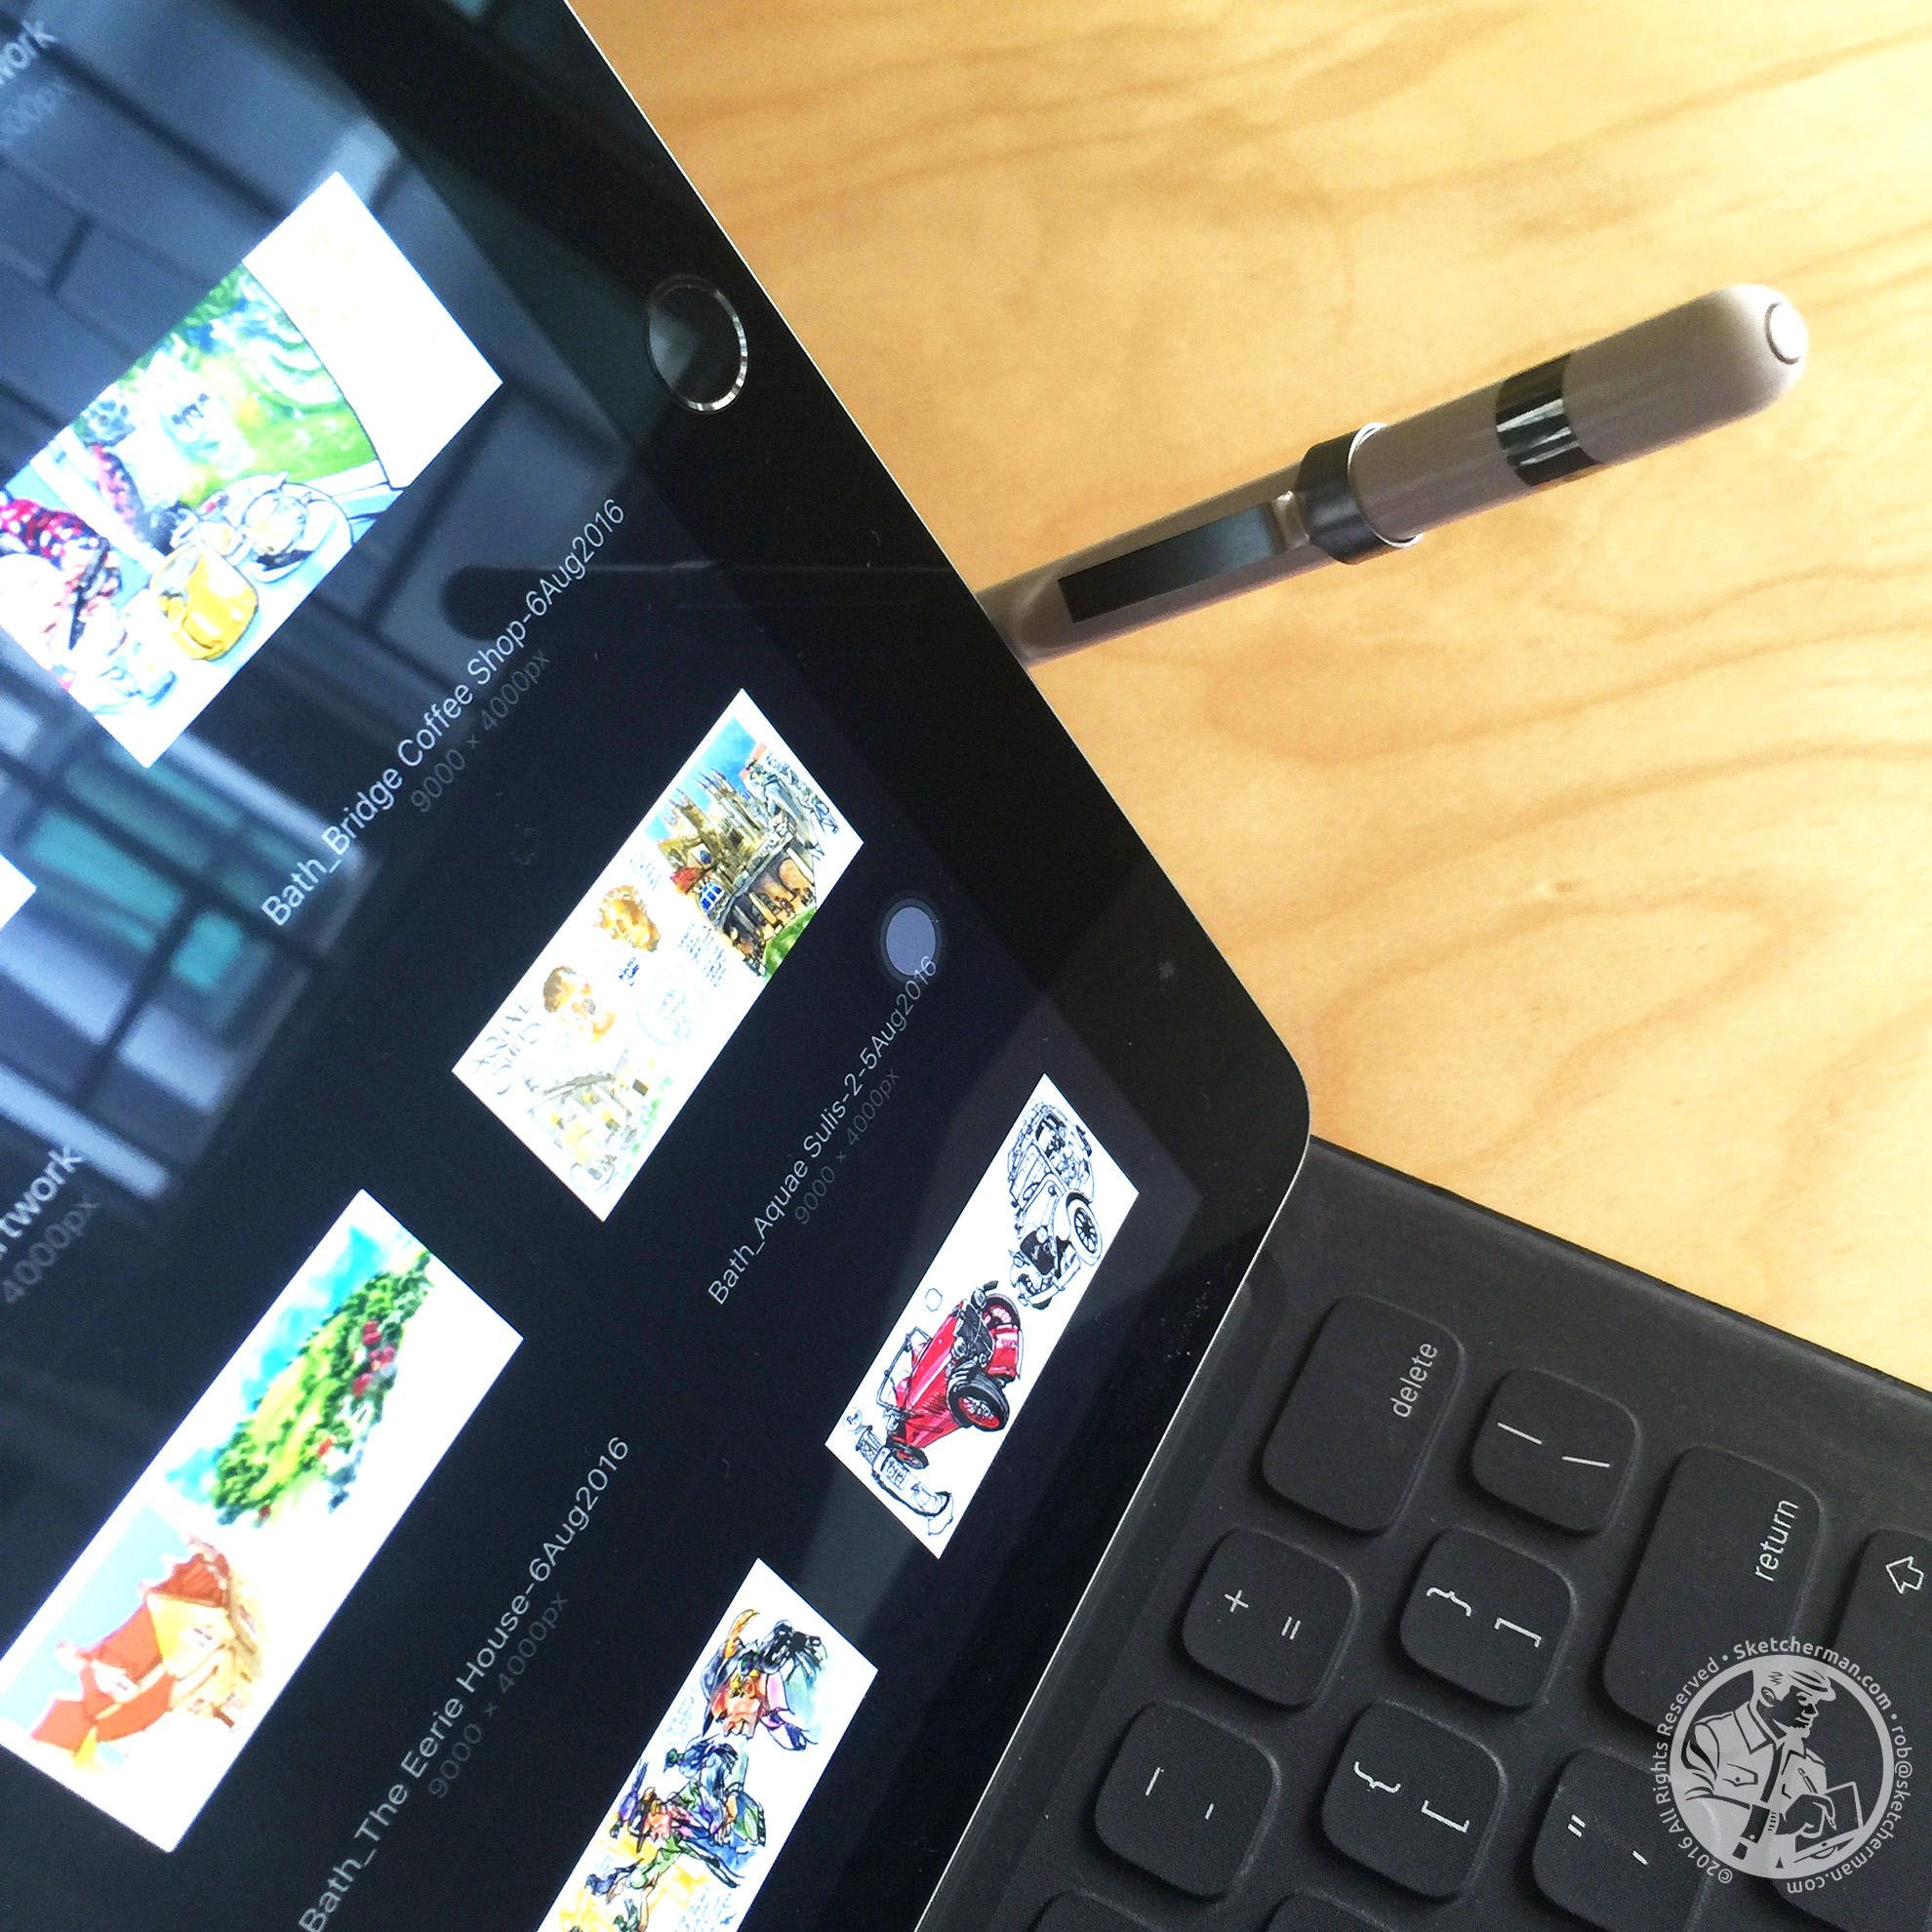
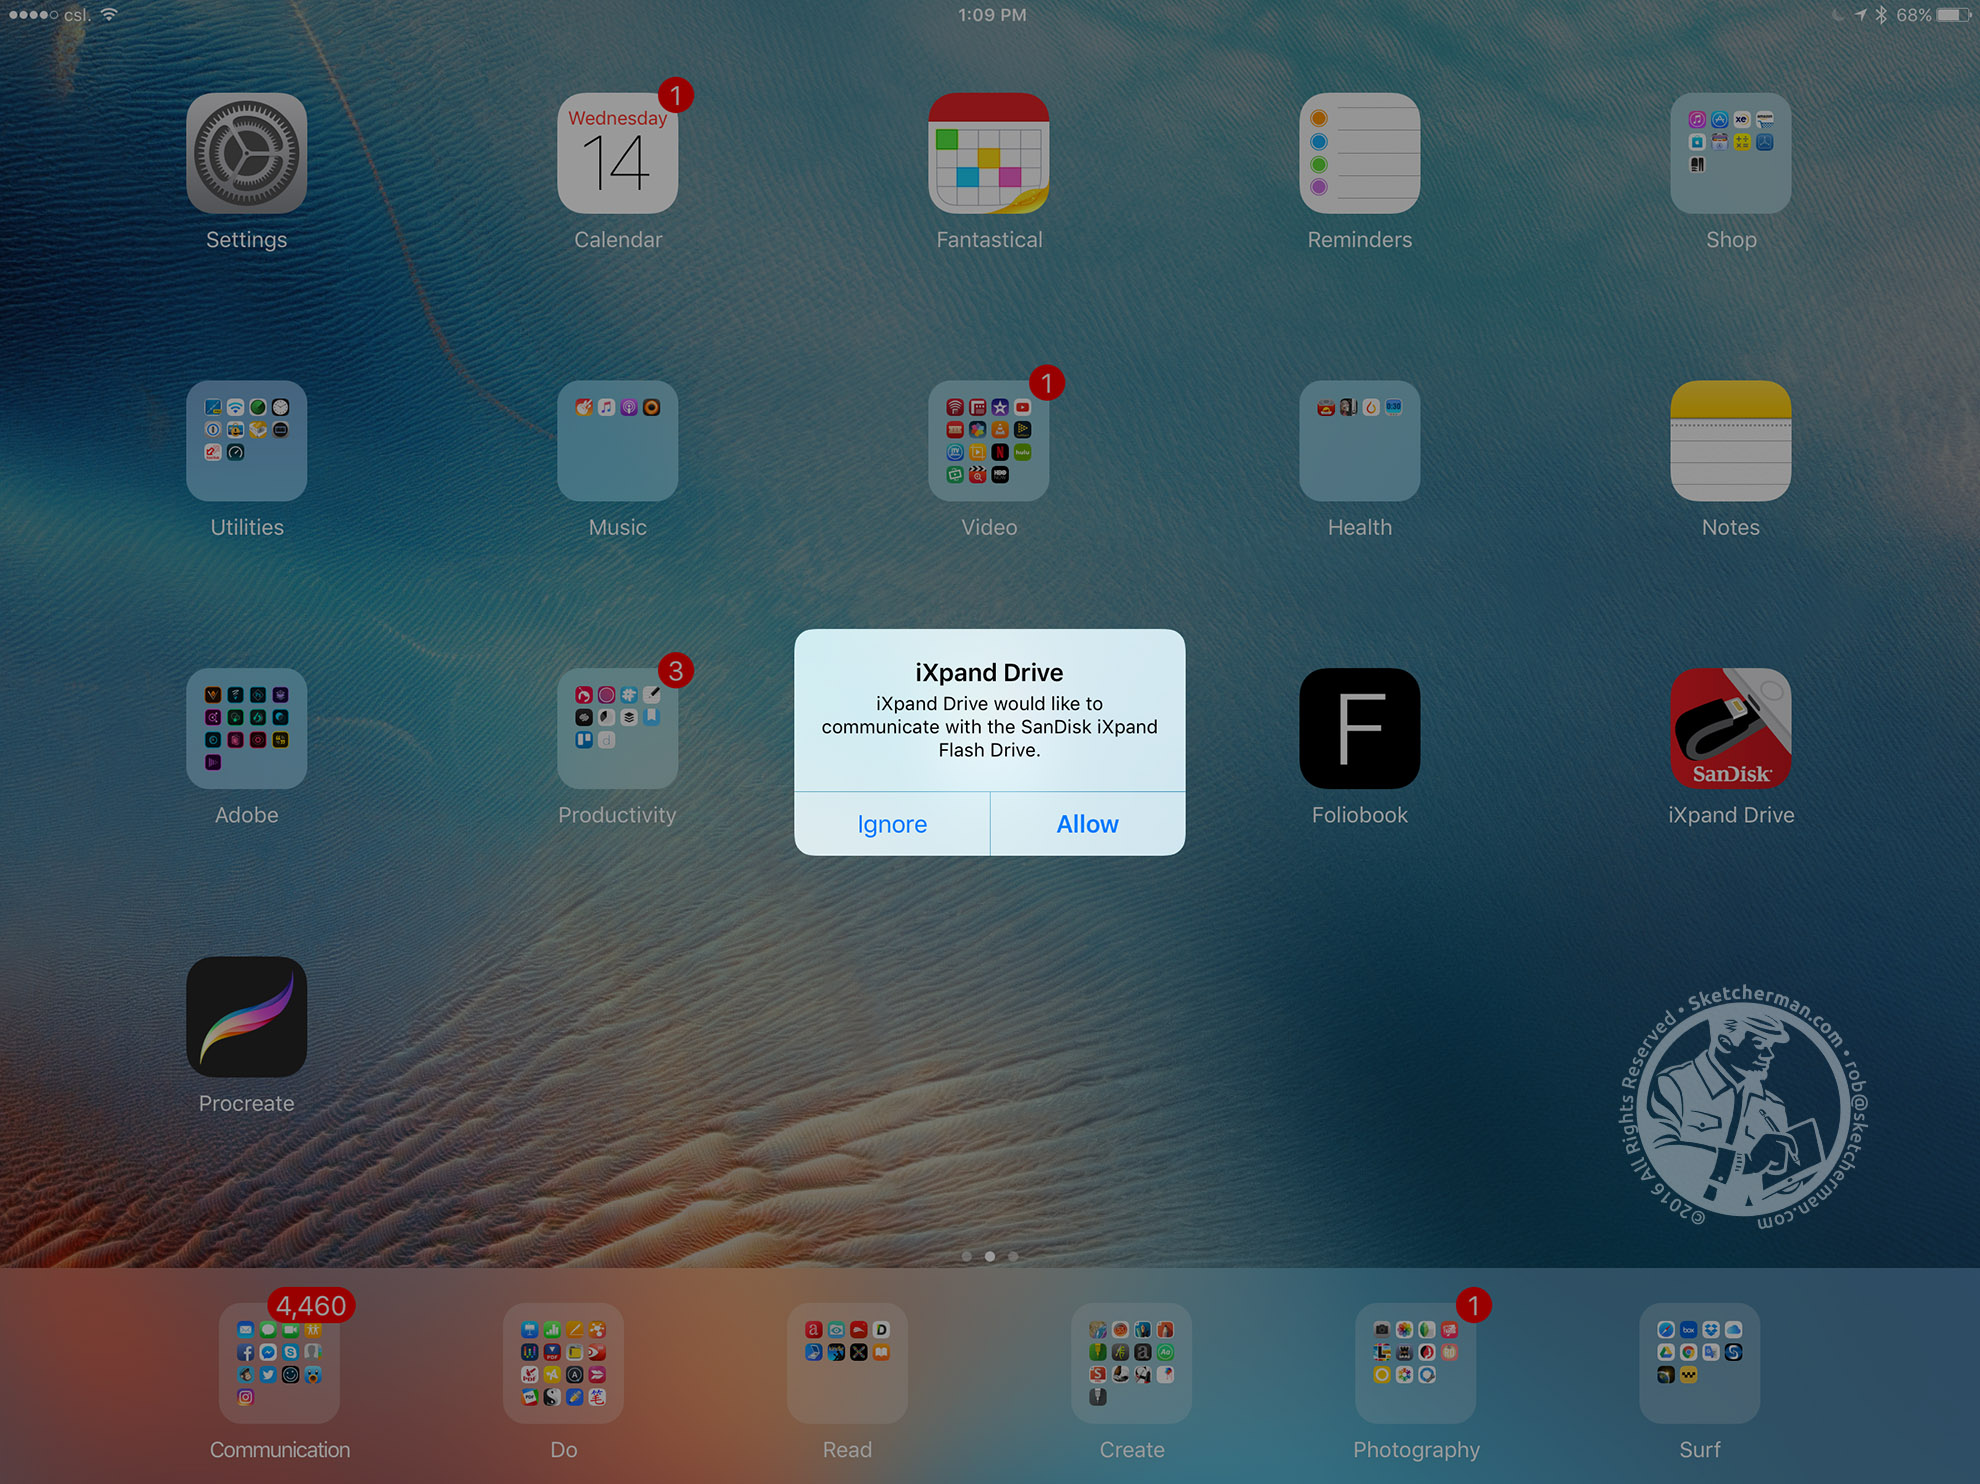
The dark curved part ends in a lightning plug that plugs right into you iPad. When the correct app is installed, it will recognize your iXpand drive and ask fro permission to access it. Follow the prompts from there to view files on you drive or copy files from iPad to iXpand. I thought the design a little odd until I plugged the iXpand in. The curve hugs your iPad with the USB end curling around the back of your device. This also means you don't have a fragile bit sticking out of your lightning port (yes, I'm looking at you, Apple Pencil). Clever!
Between meetings one day, I was able to easily back up all my original Procreate files and clear 10GB off my iPad Pro hard disk; no more wondering what to delete in a pinch! If you get the larger capacity iXpand drive, it might also be a handy back-up on vacations when your iPhone fills with photos and videos. I got the 128GB version so I can back up files from both iPhone and iPad Pro if needed.
Do note: the iXpand I recommend is the latest version, which uses USB 3 transfer speeds for supported iPads (at this point, Pros only). There is an older iXpand, which uses USB 2 speeds. the image below shows the different versions.
Get the SanDisk iXpand USB stick: Amazon.com | Amazon.co.uk | Amazon.ca | Amazon.de | Amazon.fr
Old SanDisk iXpand on the left and the latest iXpand on the right.
The iXpand app has earned its place on my home screen. Make sure you download the right app!
More on the SanDisk iXpand:
- The Sandisk iXpand comes in 4 sizes: 16GB/ 32GB / 64GB / 128GB.
- USB 3 transfer speeds for devices that support it! (iPad Pros support USB 3. Older devices default to USB 2 speeds)
- You need to download the free Sandisk iXpand app for iOS for file transfer. Be careful - Sandisk makes a few apps for various USB stick models. The old and new iXpand drives use different apps. Make sure you download the right one and test it before you need to rely on it for an important event!
- Originally made to only copy and back-up photos and videos from your device's Camera Roll, recent iOS updates now allow you to enable the iXpand app extension, allowing you to copy and back up files from any app (all apps I tested anyway, including original Procreate file formats, PDFs, 4K video files from the Documents app).
- You can even rename files once they've been copied to the iXpand. Seems trivial, but I have hunted a long time for the ability to change image names from my Camera Roll before handing them off to a client.
- It's small, light, and a little weird-looking. Some people complain that there's no cap for the ends, but I haven't yet found that to be a problem.
Should I Upgrade My iPad?
Finally, we come to the question I am often asked : do I upgrade or not?
I talked about this at length with participants from various workshops I've run, and will state this again here for those who are toying with the idea. This may come as a surprise, but I do not simply urge "Upgrade!" for everyone with an older iPad. Needs vary, and forking out for an iPad Pro is a major investment for many, requiring thought and planning before arriving at a decision.
I've made a list of considerations which may help you decide.
You probably don't need to upgrade your iPad if
- You're a light user of your current iPad (email, web surfing and reading only)
- You have an iPad Air (original, or Air 2)
- You're not sure if you want to sketch digitally, but are a little curious.
I then suggest playing around with what you've got to see if digital sketching works for you before plunking money down for the latest and greatest. Maybe invest or borrow a compatible pressure-sensitive stylus, dabble with Procreate and see how the whole experience feels for you.

Consider upgrading your iPad if
- Your iPad is 2nd generation and older (released 2011 or earlier) or lately, e..v..e..r..y..t..h..i..n..g... feels painfully slow with apps crashing a lot. (As hardware becomes more powerful, app developers make great stuff that take advantage of all the horsepower. Consequently, older iPad models struggle and apps quit unexpectedly every now and then from the workload.)
- You've tried it and are now serious about diving in digital sketching.
- You're a heavy iPad user and feel like your current model is getting really slow, so Santa should probably bring a new one anyway.
- You use an iPad a lot for work and want more processing power.
- Money is no object and you really want a Pro!
- BUT....unless you're in a super hurry, maybe hang onto your wallet a little longer until the announcement of new models in Q1 2017! Rumor mills tout the release of 3 sizes, with a 10.5" version in the mix. (I don't know about you, but I hate spending a good chunk of money on something precious, only to find it's the latest and greatest for a few months. But that's just me.)
Whatever your case may be, at least borrow a more recent model for testing if you can. If possible, get your hands on an iPad Air (1 or 2) for a whirl. Those are still pretty good models and I still have mine. If you're considering an iPad Pro, please... pop into an Apple Store if you can to spend some time testing along with the Apple Pencil. If you do, expect to be very tempted to hand your wallet over, but seasonal sales might net you a deal that's worth the purchase!
Ok - that's my list! If there's something handy you use that I didn't talk about, I'd love to hear about it!
Get a 9.7" iPad Pro: Amazon.com | Amazon.co.uk | Amazon.ca | Amazon.de | Amazon.fr