The Best iPad Case / Grip / Holder / Stand for iPad Artists and Urban Sketchers - updated

Over the course of 5 years urban sketching with an iPad, I’ve gone through a fair number of cases, grips, holders and stands!

Over the course of 5 years urban sketching with an iPad, I’ve gone through a fair number of cases, grips, holders and stands!

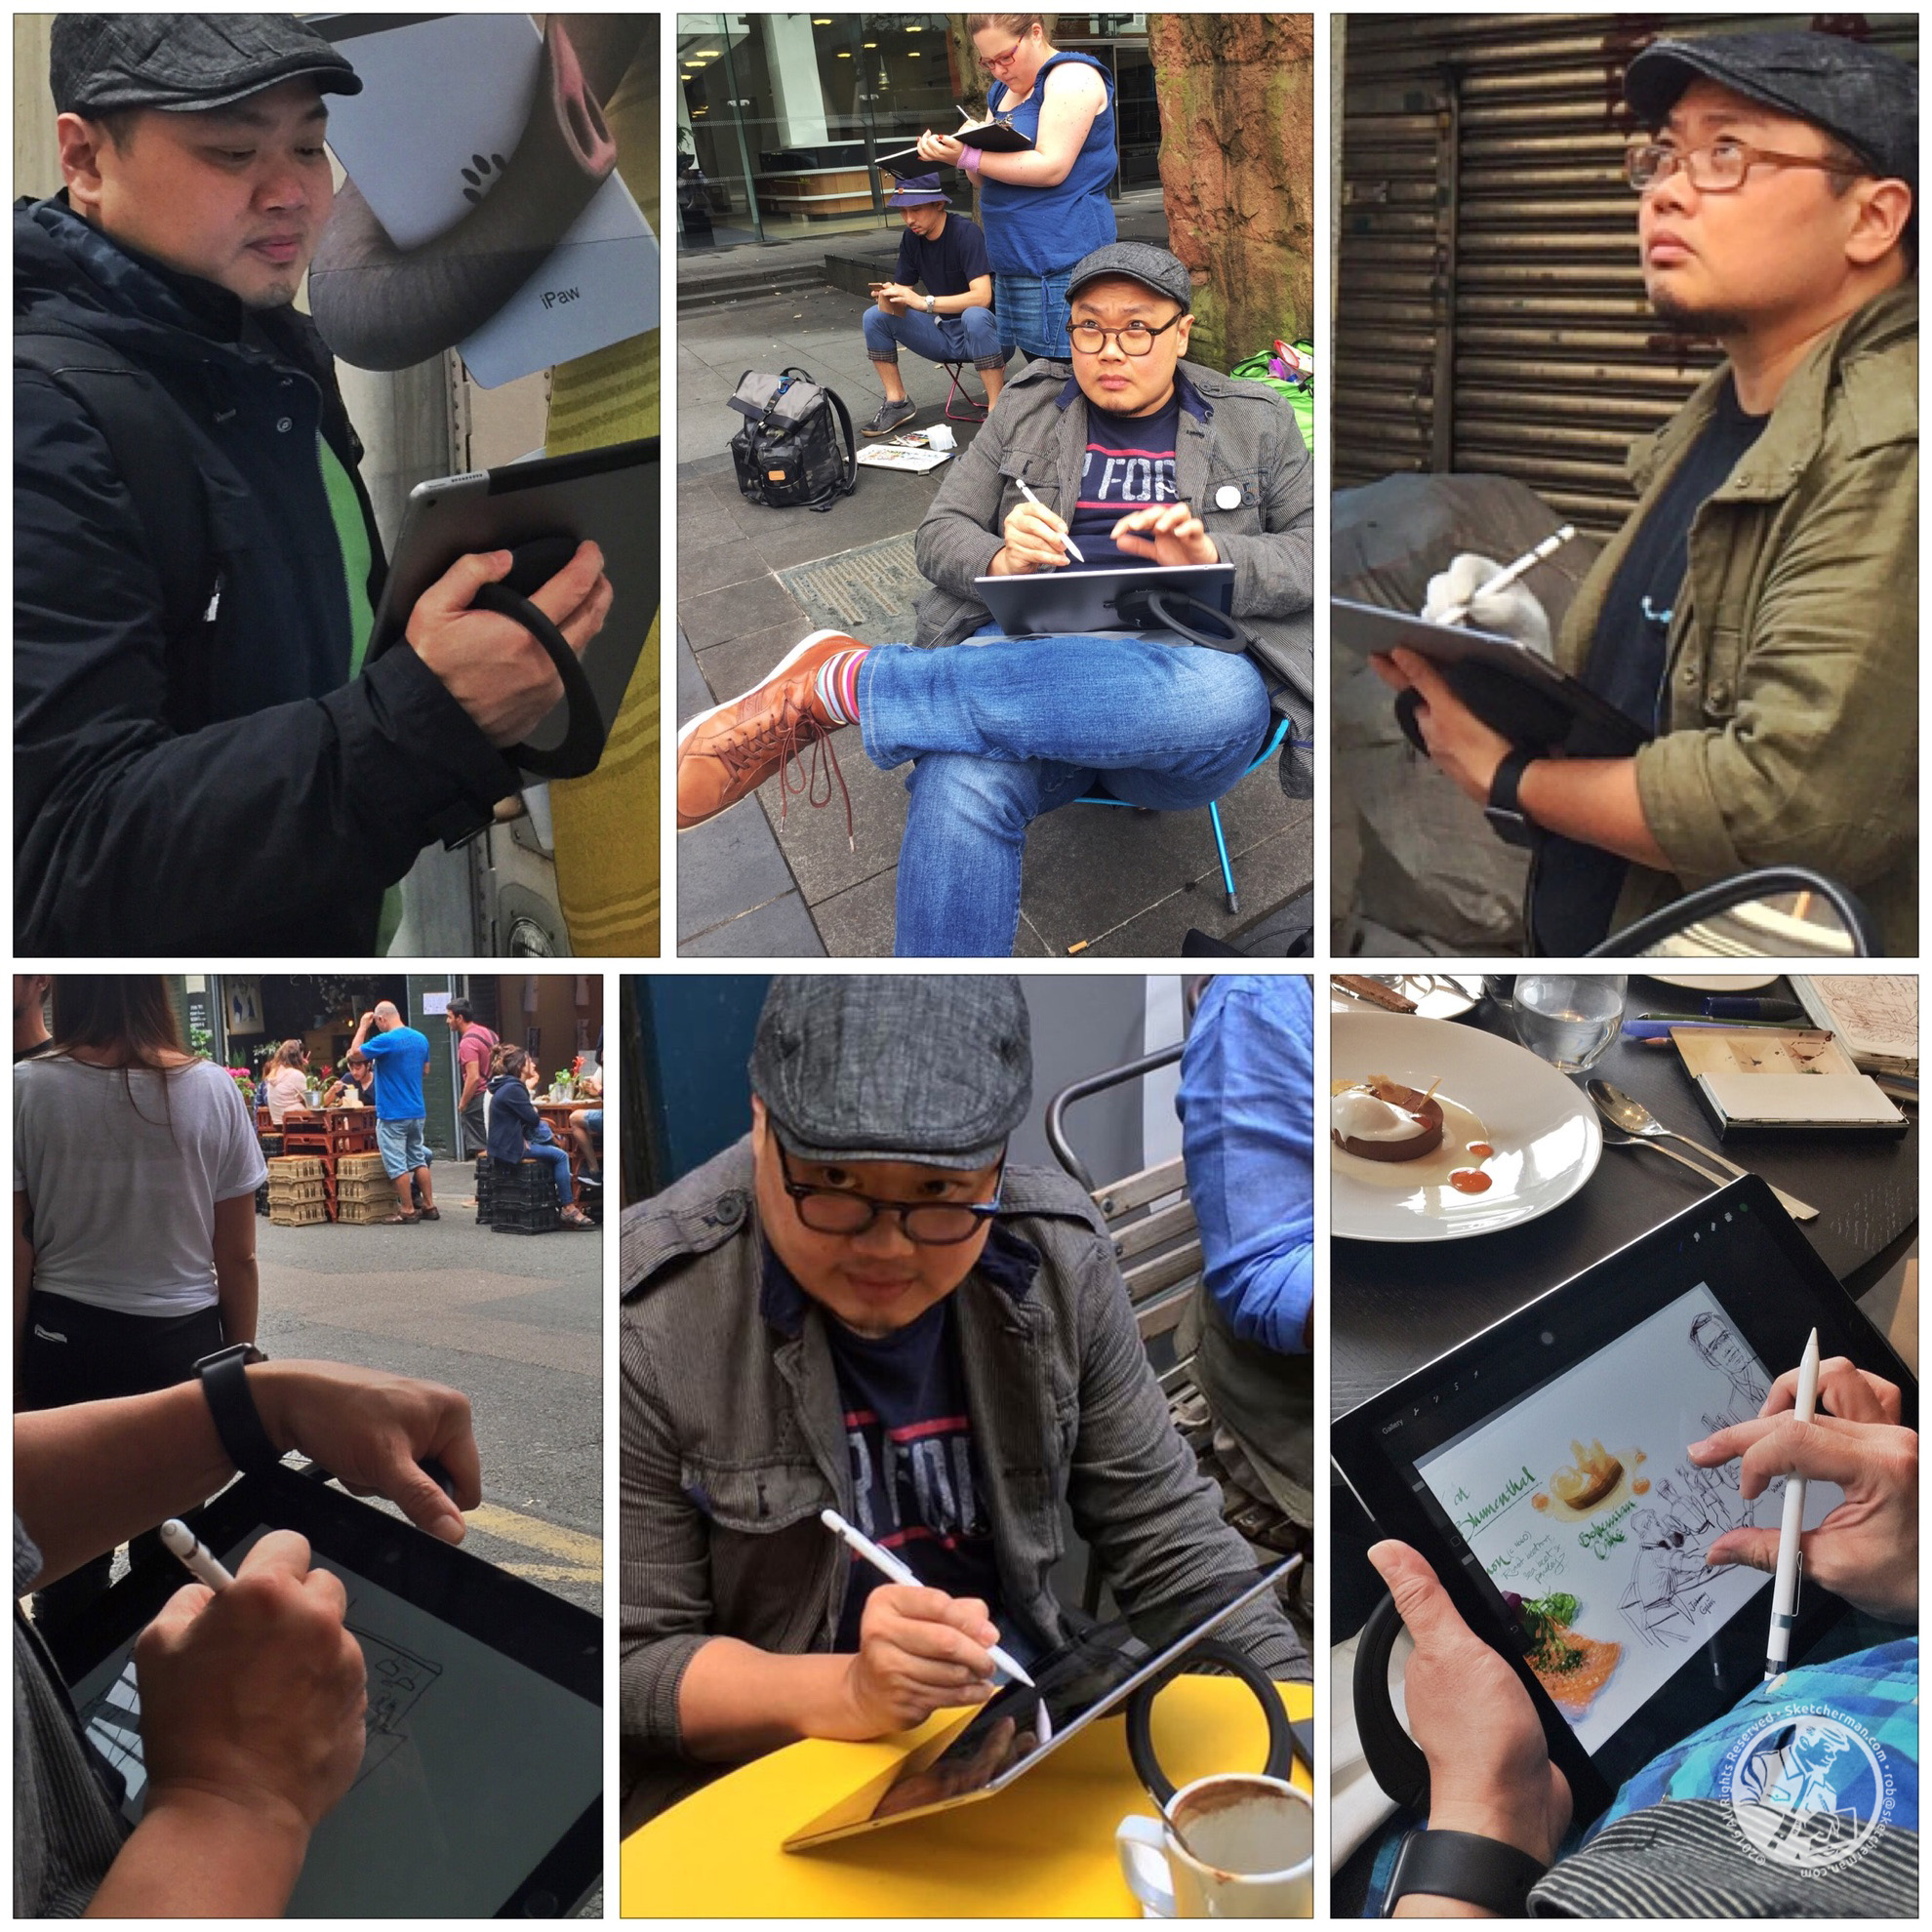
Whether you call it a case, grip, holder or stand, anyone who wants to head out to draw with an iPad will appreciate being able to use something that hangs on securely to your iPad while you navigate urbanscapes to draw on location. (I tend to call it a ‘grip’, as it grips my iPad, and I, in turn, grip it.)

In my 5 years of being an iPad urban sketcher, (and 8 years of owning various generations of iPads),  I’ve never dropped my iPad outdoors simply because I’ve used a grip that worked, even for a relative klutz like me. No worries drawing from high balconies or over bridges with ant-sized people scurrying below.

The video above goes into detail, explaining 10 points to consider when considering an iPad case / holder / grip / stand, as well as my top recommendations and why.

If you’d like to skip the chit-chat and dive into the nitty gritty, here are those 10 points as you weigh your options:

  1. Fast Switching : from typing to sketching

  2. Multiple Display Angles : from landscape to portrait and variable angles

  3. Secure Grip : so you feel 100% secure when sketching anywhere

  4. Installation : is it easy to put on and take off?

  5. Keyboard Compatibility : can it be used with Apple’s Smart Keyboard?

  6. Durability : is it tough, preferably light too?

  7. Drop Protection : IMHO not as important if your case / holder has secure grip

  8. Aesthetics : to suit your style or brand

  9. Longevity : can your choice be easily used when you upgrade?

  10. Warranty : for help and peace of mind

5 years of sketching and my favorite cases / grips

Some of the links below are affiliate links, through which I get a tiny commission if you purchase an item, and of course, it costs you nothing. If you do plonk down plastic for anything, I thank you for your support. It helps keeps this blog afloat and allows me to test more gear!

I also describe my evolution in the search for the perfect iPad Grip for urban sketching. The UAG Scout was one of the first kickstand cases for iPad Pros, and I used that with my first 12.9” iPad Pro for a couple of months before finding that it was too tiring to hang on to. The case, while sturdy, practical and looked good, was relatively heavy, and required a constant, strong grip. That gets really tiring when done for hours!

When I really got into urban sketching with my iPad Air 5 years ago, I used a device called the Bracketron Twist 360, the funky, transformer-sounding device that allowed me a huge amount of freedom and security in a lightweight, versatile package. I wrote about that in depth in this post. Of course, when switching to my larger iPad Pro, I hoped to find a similar solution. When contacted, Bracketron told me they did not have plans to make a version for the 12.9” iPad Pro, and in my search to find something close, I found the SpinPadGrip.

After my initial concerns over depending solely on a giant suction cup on the back of my iPad, I found I loved this device for its versatility. Although a pain to install properly, and requiring a huge leap of faith after the deed seemed successfully executed, it worked pretty reliably for a while, and to its credit, never failed me at critical moments. However, in my 2.5 years of using it, the SpinPadGrip has inexplicably peeled off my iPad a few times of its own accord, although always in my backpack. (I’ve since heard that a couple of friends who bought this also had similar experiences.) I never figured out why, but because it happened a few times, I began to get skeptical about its ability to keep my iPad safe, sending me on the search again for something more secure.

Web scouring time again... and I found to my delight that while the Bracketron people did not bother to make a big brother version of the Twist 360, someone else did! Enter the Maxsmart. This fits all 12.9” iPad Pros, and while not compatible while using Apple’s Smart Keyboard for any generation of iPad Pro (the Maxsmart blocks the smart connector), it’s easy enough to pop into a bag to take along and snap on when needed. It has all the features I loved from my original Bracketron grip, but upsized for my Jumbo...er...12.9” iPad Pro. In the video above, I demonstrate how putting it on and taking it off is quite literally, a snap.

**UPDATE - 18 Jan, 2019: I’ve received several messages in the past couple weeks of the Maxsmart being unavailable on Amazon. After contacting the seller, we’ve found that it will only be back in stock in March. However, I’ve also bought and begun testing a lookalike, the Aidata, and yes, it looks and feels exactly the same, except for the logo. Plus, it also comes in white!

Whichever iPad you own, there’s a grip for you. None are perfect, but the first two are my all-time favorites and come pretty close.

And there you have it. The graphic above offers a breakdown of which device you’ll need, depending on which iPad you own. I made no mention of iPad minis in the video, as I don’t know anyone who draws with them anymore. They’re underpowered for serious sketching, and in this day and age, incompatibility with Apple Pencils make them a poor artistic choice. Still, I have listed the Aduro, which works with iPad minis, as well as 9.7” iPads. It’s  bulkier and sometimes the grip loosens inexplicably, as I detailed in this post, but it’s one of the cheapest holders out there. Might be an option for kids who need something indoors.

The holidays are approaching, and a quick look shows that those of you in the US can have Amazon ship your grips pretty quickly if you get your order in soon. I hope you take advantage of the upcoming break to get some sketching on!

A Week in New York, beginning with live-sketching the Apple Keynote!

If you’d rather see what the trip was like, here’s a video with highlights, plus my thoughts on the 2018 iPad Pro, and advice as you consider which one’s right for you.

Apple Keynote, Halloween, NYC Marathon...all in 1 week. Whew!

No, I did not have a costume, and though the Missus and I wanted to to watch the parade, we made the mistake of deciding on a short nap before, then woke a little 1am after it was all over (thankfully, I got to draw some great costumes before that!)

And no, I was not running any marathon. We actually missed watching the race despite our hotel being blocks away from Central Park. This was our last day, and there were many things we wanted to do during our final hours. (We see massive crowds all the time in Hong Kong.)

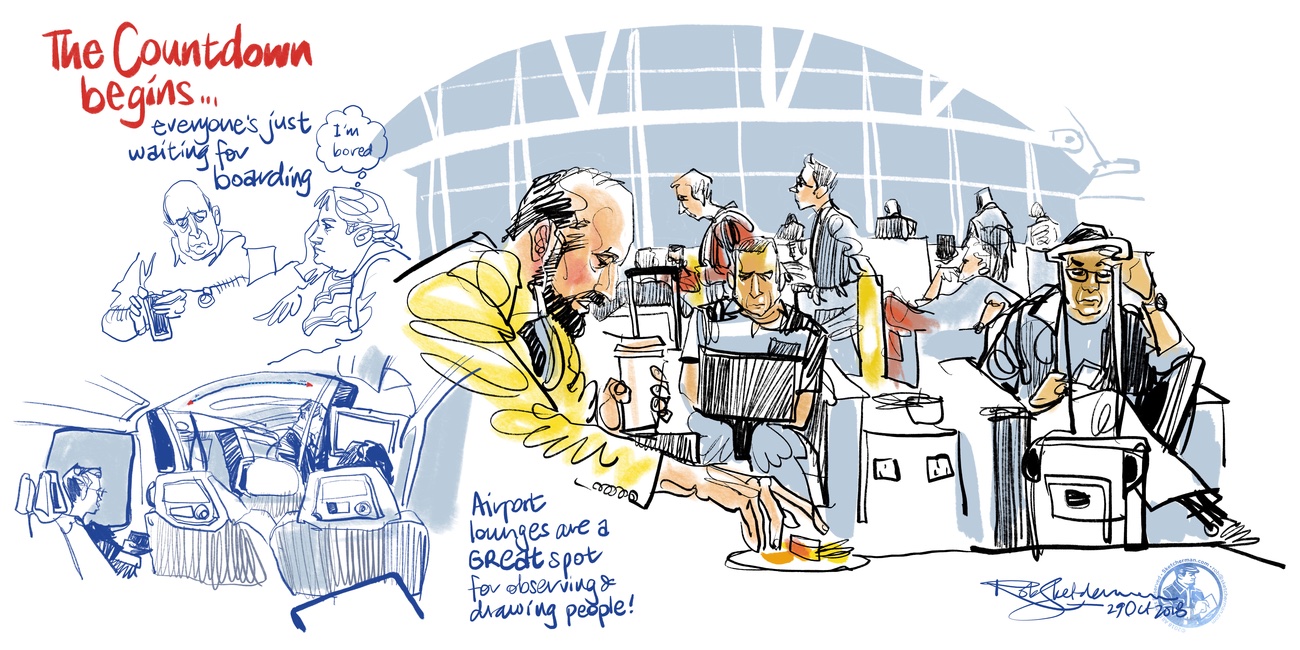
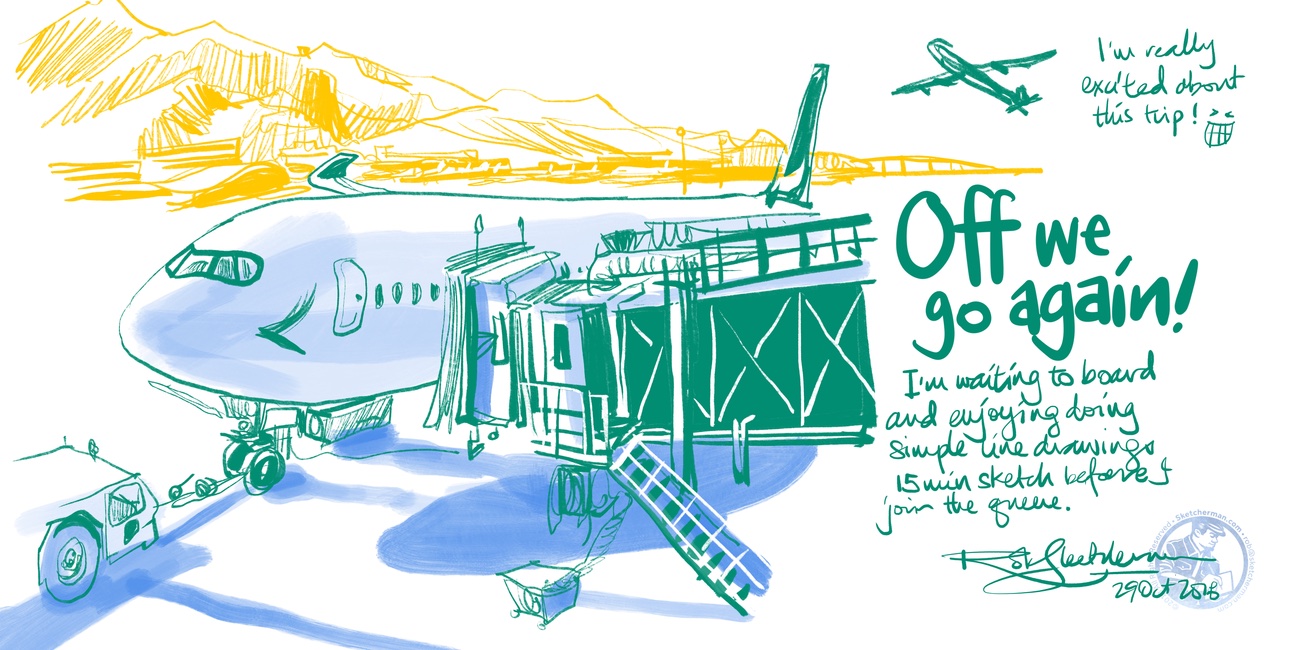
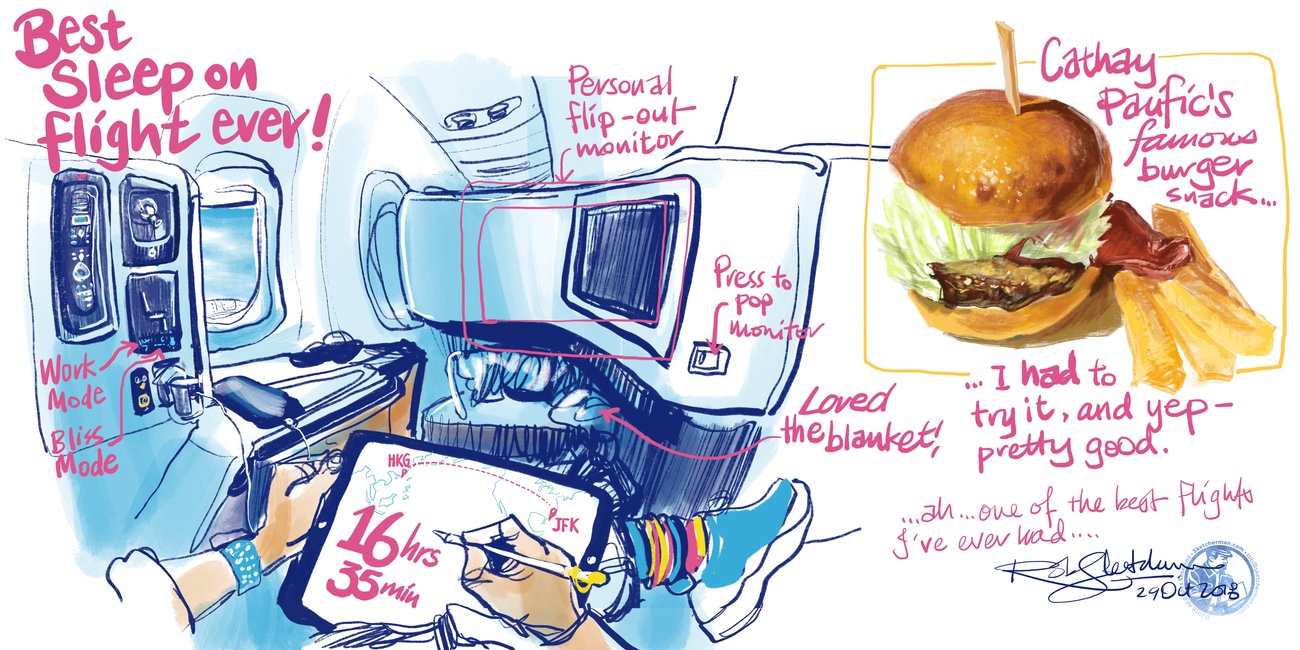
Now the Apple keynote, though...! That was truly worth the 16hr 35min non-stop flight from Hong Kong to JFK! I’m not a member of the press, so when I was invited by Apple (for the first time) to attend a Keynote in New York City, the fanboy in me went NUTS!

After many years of following events like these online, it was such a thrill to be invited to experience an Apple launch, live!

After many years of following events like these online, it was such a thrill to be invited to experience an Apple launch, live!

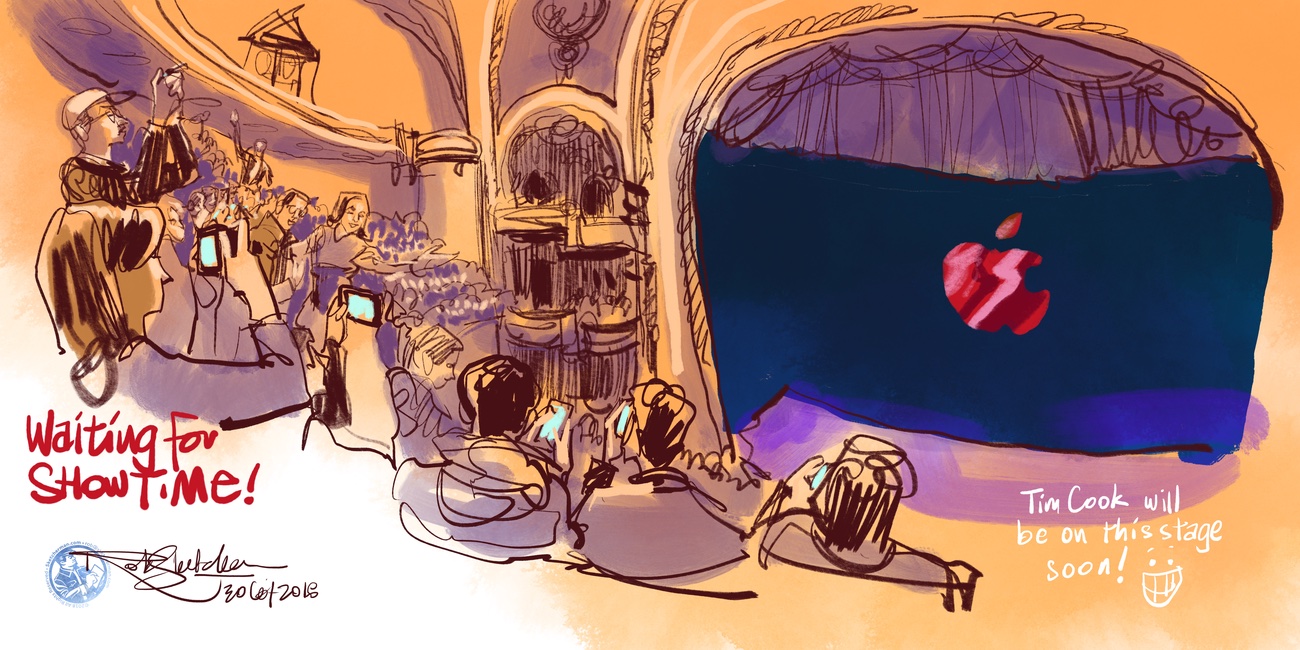
So, on the morning of October 30th, there I was, staring up at this huge Apple logo on the facade of the Brooklyn Academy of Music, also known as the Howard Gilman Opera House, amongst hundreds of members of the press, bloggers, vloggers, and influencers of all kinds....and to be honest, feeling a mixture of awe, delirious excitement, huge gratitude, and some uh...ineptitude, as everyone around me was expertly capturing the moment, especially via Instagram stories, which was never really my thing as... I, uh... didn’t know how. (I’ve just began learning after the trip to NYC.) Well, ok... I’d done IG stories maybe twice before, but I think the IG interface had changed, and I forgot how, which left me feeling really old as people everywhere were talking into their cameras, smiling and posing just so, looking very, very cool, their thumbs a blistering hashtagging blur...while I just grinned and grinned, pinching myself on occasion because boy, this was so surreal! In the best kind of way.

I was with a little group of press and influencers from Hong Kong, and although we’d never met before, had started to get to know one another quite nicely. We were becoming a tight band of bros, comprised of 2 hip young restauranteurs overseeing a growing Mac-run gastronomic empire, a social media maven, a PR maestro and me. (And they were all far cooler than I.)

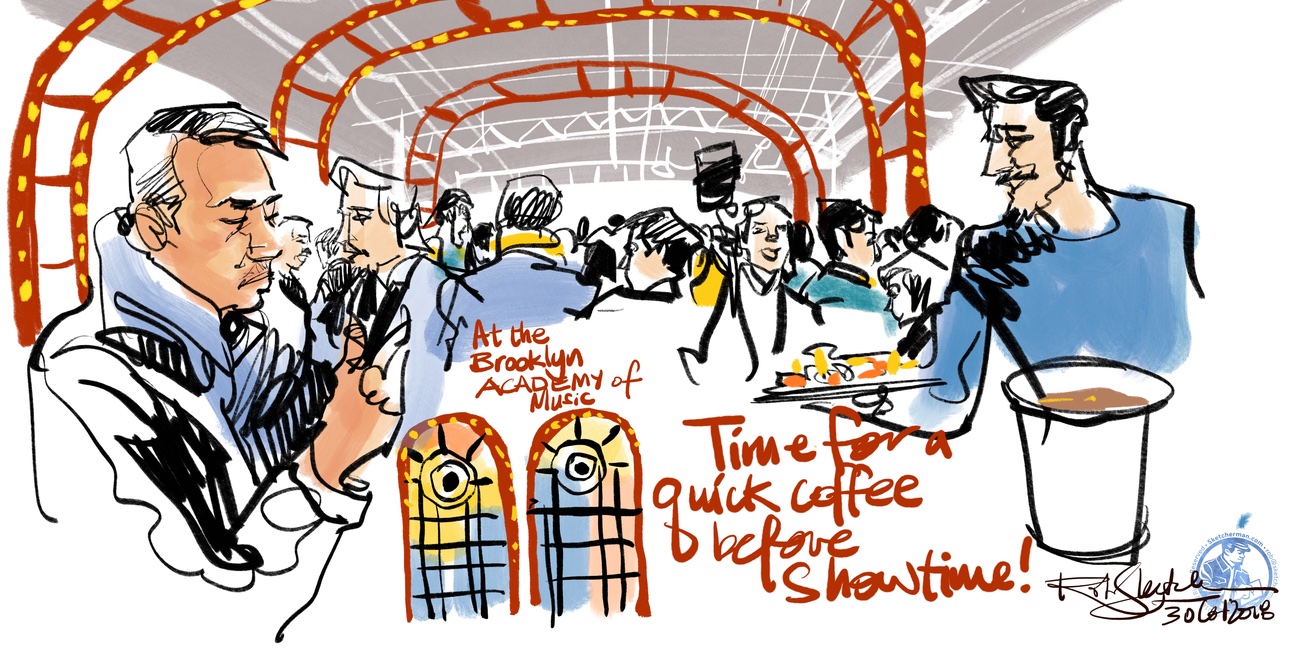
It was pretty nippy that morning, and we were all jumping up and down and hugging ourselves, grinning a little silly, partly from excitement and partly from the cold, so it was incredibly welcome when a buzz of “time to go in” wafted over the crowd, and the entire congregation shuffled slowly into the building in the most amicable way, oohing and aahing at the building interior. Cameras in hand and necks craning, we ascended an escalator, smartphones panning and swooping to capture the moment, emerging into a waiting area with vaulted ceilings and...Yesss! Hot coffee! And snacks! Nothing like a tasty bite and warm, welcome beverage to steady the hand and get rid of the beginnings of the shivers... again both from the cold and sheer excitement.

Another aside for those of you who have no idea who I am or what I do, and (why should you, no offense taken)...I’m an urban sketcher, which means what I do, is draw on location. Ian Fennelly from the UK, coined the perfect phrase for this particular passion, “I don’t just sketch. I make art on location.” That’s what I do too. I create at the confluence of place + time + eye by absorbing the ambiance of a location and capturing its story on my canvas. And my media of choice for the past 5 years has been exclusively, the iPad. Naturally, I started sketching the scene as quickly as possible in an attempt to capture what was happening (on my 2017 iPad Pro); the energy, the crowd, the vibe... and boy, were there some vibes that day!

About 20 minutes of coffee and sketching later, as well as meeting some very nice people who were curious about what I was doing, another invisible signal went off, and at 30 minutes to showtime, we began heading into the auditorium.

I felt like I was attending a rock concert! Apple staff ushered us in, and I realized people had different colored passes. I don’t know the categories; only that those in our little group were red, which allowed us to “go right down”, and so our little band of bros did, making our way to the second row of the mezzanine level, which gave us an incredible view of the stage below. It was a little tight, but we were all cozy and buzzy from caffeine, anticipation and happy disbelief that we were there! A stranger left the row, which allowed us to scoot further in, giving us an almost dead-center view of the stage. I craned my neck and took the scene in; the ornate carvings climbing the walls and circling balustrades before framing the stage, the plush red seats, the whooping crowd, the sea of electronic devices glowing in the dim light, and of course, the big, bright Apple logo projected onto the stage backdrop. And I continued to draw.

As the countdown to 10AM began, the Apple logo on that backdrop began to animate, morphing into the many, many wonderfully creative versions of the logo that appeared on invitations to the event. That held everyone’s attention while effectively upping the ante. What would we see? What would they show? What would be upgraded?

The non-stop flight from Hong Kong to JFK is 16 hours and 30min, which was plenty of time to consider things. I remember looking at my 2017 iPad Pro, a device I was perfectly happy with and loved very, very much, wondering how on earth Apple was going to improve on it. Yes, a faster chip every year, and I’d read the rumors about thinner bezels and Face ID, all of which came true. But what else could they do?

Then Tim Cook appeared on-stage, and the crowd went wild. I went pretty wild too. I’m a fan of Steve Jobs and how he started Apple, his genius and all that, but there’s something about Tim - he just looks like a great guy; a level-headed, caring, responsible leader who is equal parts nice guy and strong, capable leader, fiercely protecting users’ privacy, even if it meant going toe-to-toe with the FBI. (And people I’ve met, who’ve met him, say it’s all true, and he really is a great guy.) And there he was, walking around on stage, waving at the crowd, which was SO loud, his first few sentences couldn’t be heard.

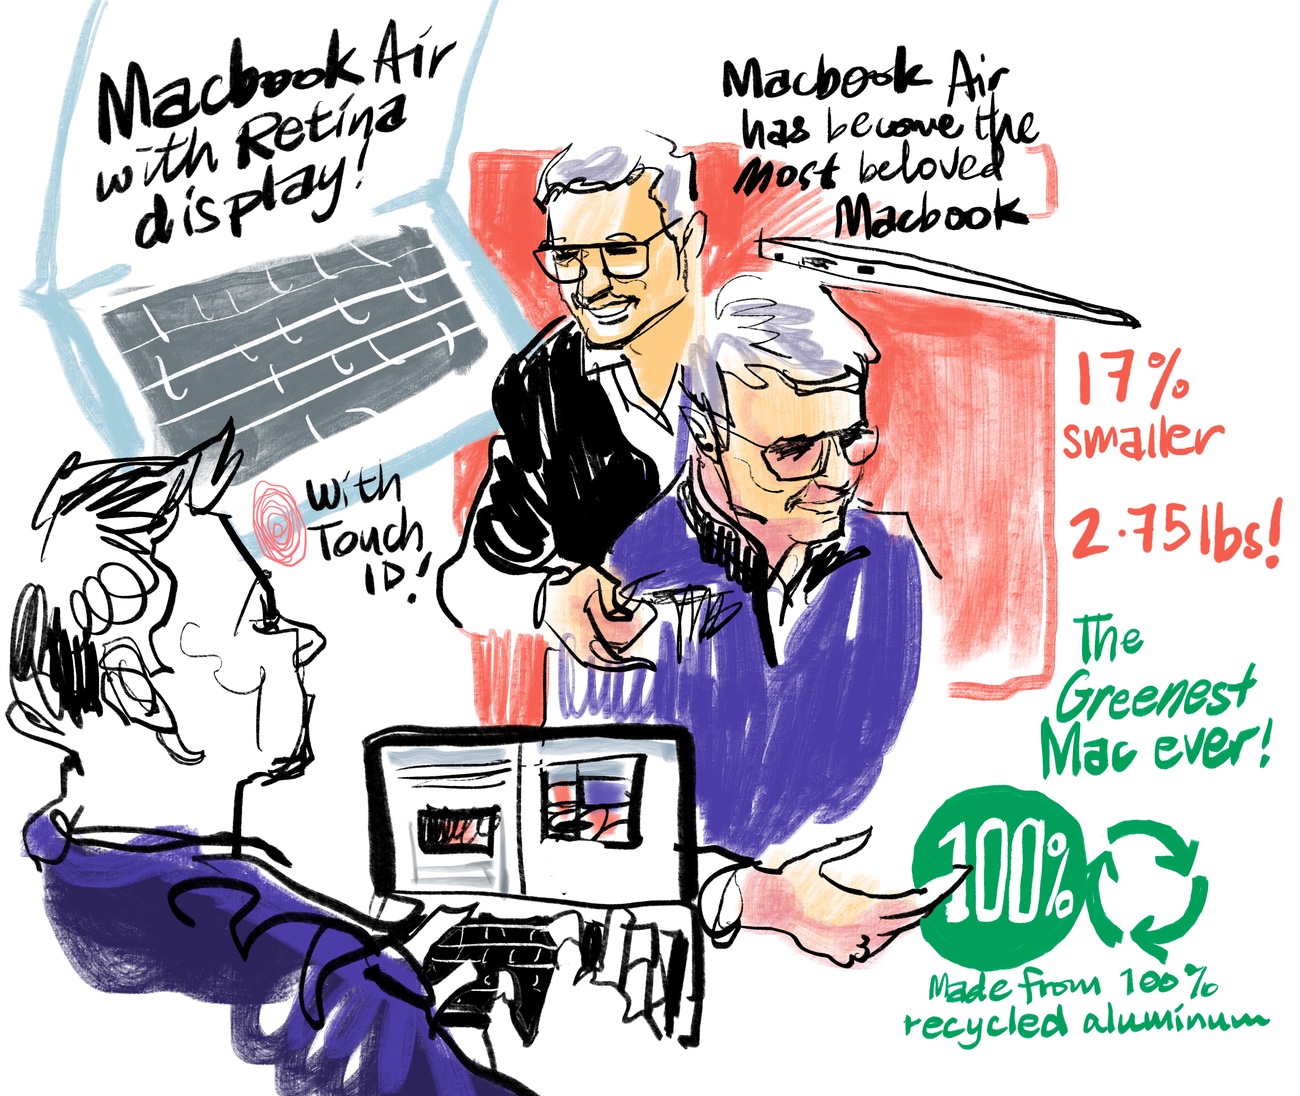
I have to admit, the initial product announcements didn’t really grab my attention as much. New Mac Mini!! Yay! New MacBook Air! Woot! I could see why people were excited, and I was excited for them, but these products weren’t for me. So I continued my sketch reportage of the event, attempting to capture the speakers and the main points they made. And then Tim said “iPad Pros” and I felt like a teenager screaming at some pop star. But I’m a Bass 2, so I can’t really scream and was more “yeaaaaaaaahhhhh!!!” in an Asian Barry White kinda way.

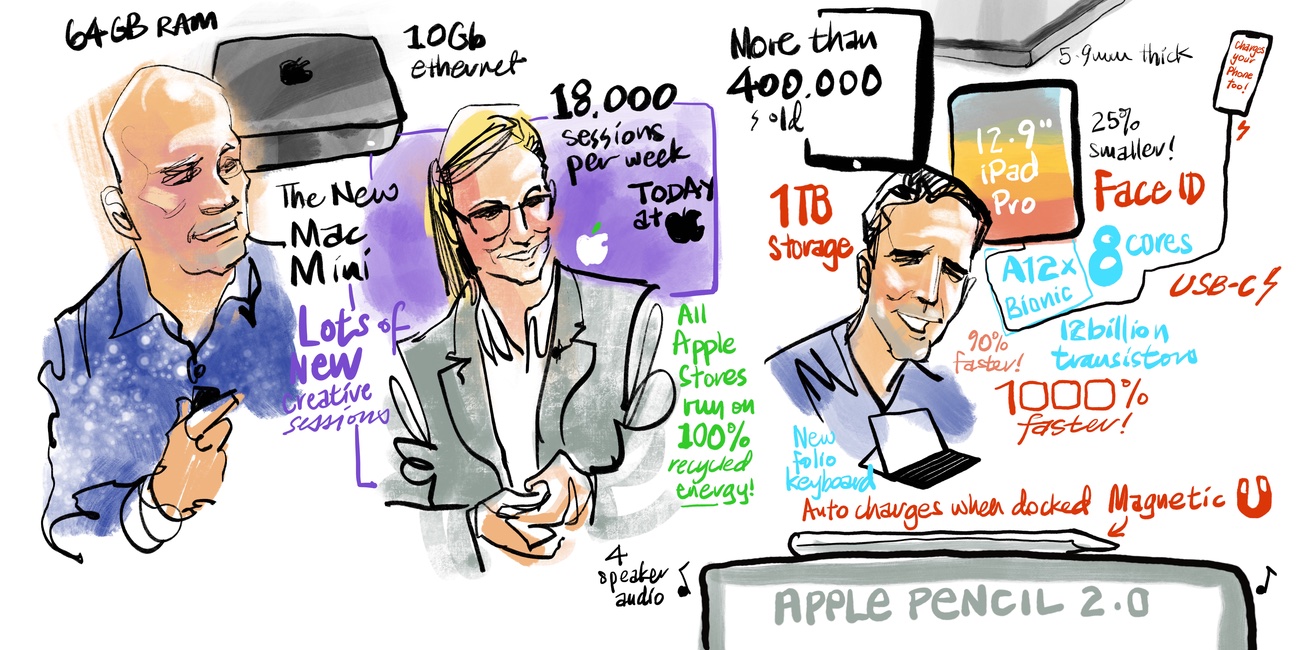
I don’t recall all the details of the Keynote, so I’m glad I sketched it and captured bits of key points. 12 billion transistors on the new A12X Bionic Chip! Wow!!! 8 core processing! Woooah!!! What the hell can 12 billion transistors do? I’m gadgety, but not really techie in a numbers kinda way, so I can’t really tell you. Make things go super fast! Like 92% faster than computers out there today, and from reviews I’ve read since, yes, it seems everyone confirms that the new iPad Pros are blazing fast.

What got me was how beautiful they had made the new iPad Pros. I mean, Apple videos are always pretty seductive, but boy, had they outdone themselves...this was sexy in an all-new way....the smaller bezels, the curved corners at the edges of the screen, the flat buttons and how crazy thin this thing is!!! After the keynote ended with Lana del Rey serenading us with a couple of songs, most of the masses headed over to the adjacent building for a hands-on look at everything that had just been announced.

Our little group headed over after the crowds and lines eased up a bit. Apple staff welcomed us like it was an iPhone launch. Cheery and pumped, they got us to wait our turn before releasing us into the main hall. We were met by another cavernous space, with gorgeously ornate vaulted ceilings, glittering with mosaics in gold, but I admit - I was just making a beeline for the iPad Pros, especially the 12.9” version. And omg....it was just as sexy in person as the video made it out to be!

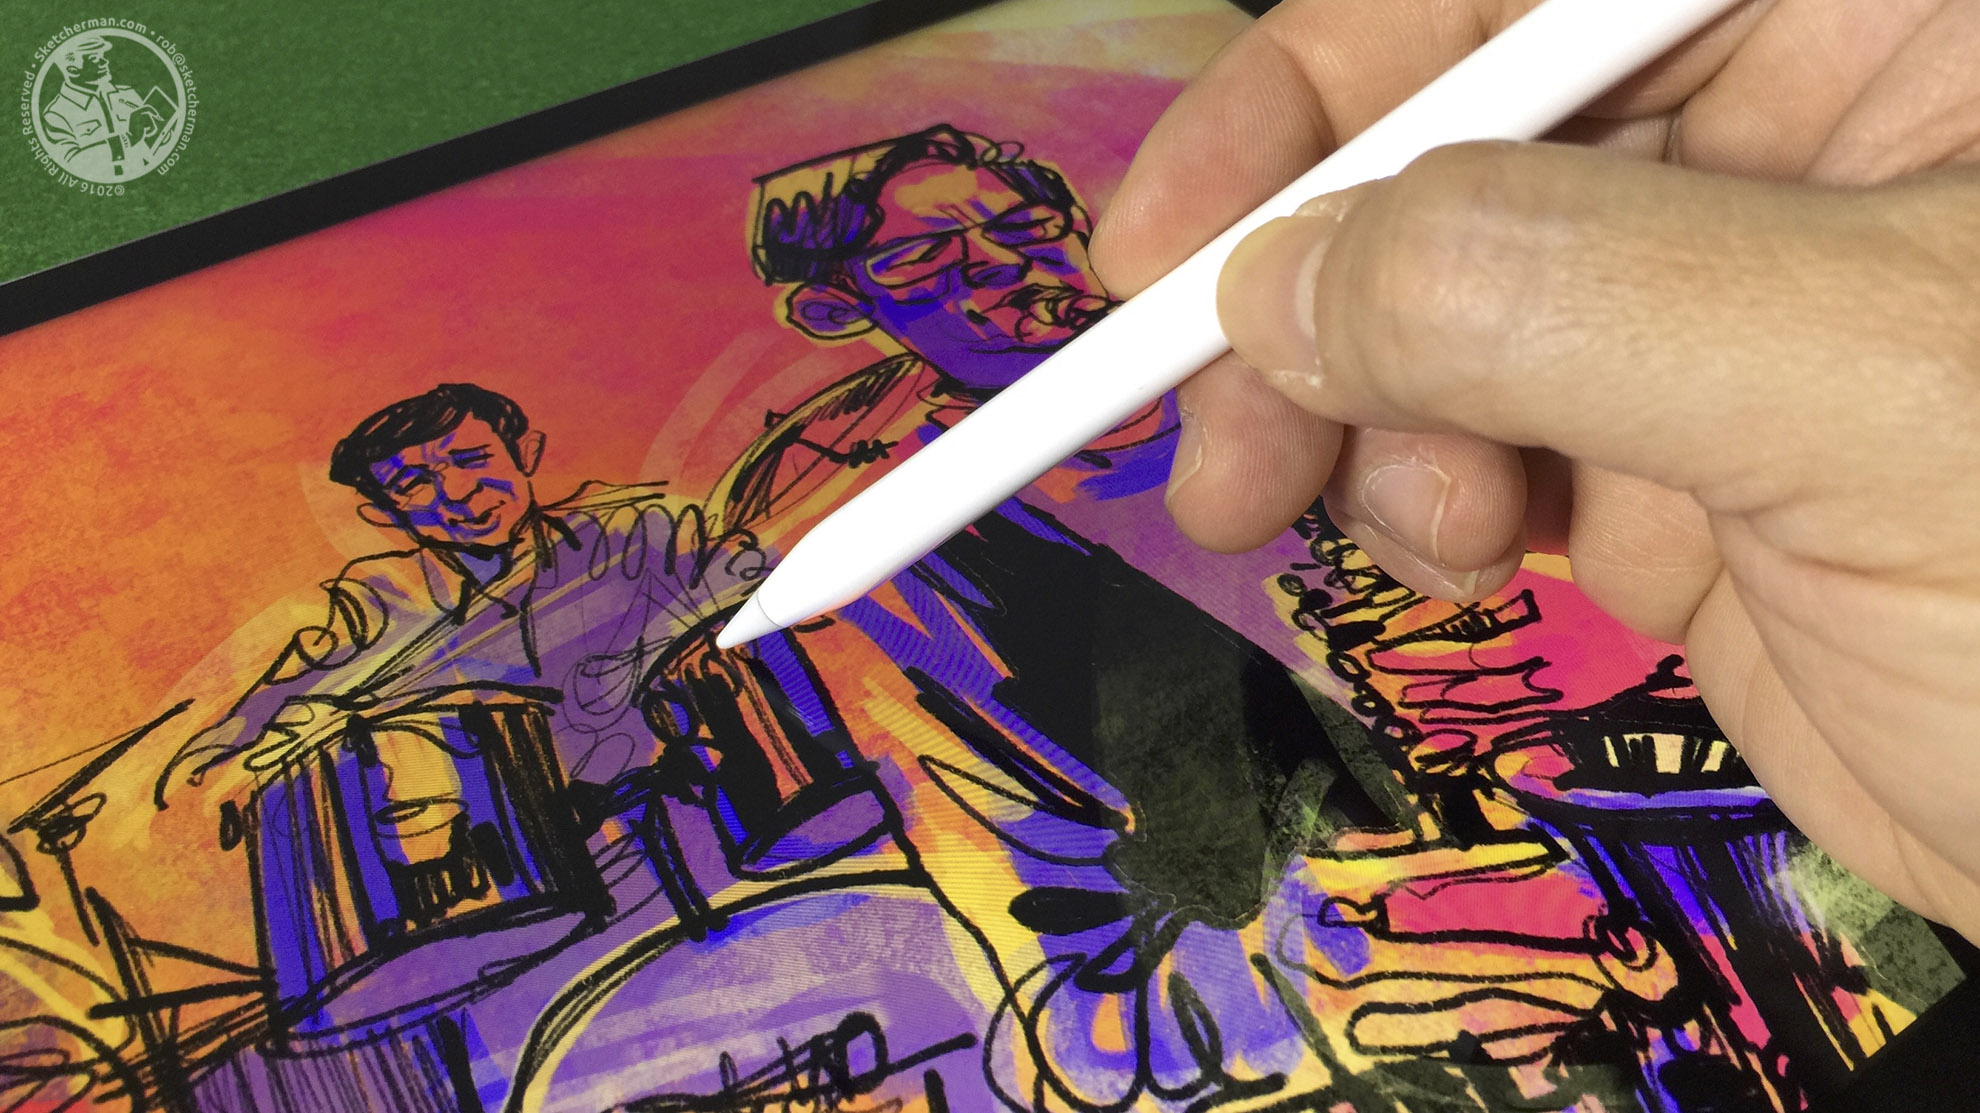
And the Apple Pencil 2.0!!! Oh man...completely redesigned. Shorter... lighter! A matte finish, which feels so much better than gloss slickness. And the way it snaps on the top, which pairs, docks and charges the device automatically, so you never have to worry about topping it up - yes!!! Spot on, Apple designers!!!

For the remainder of the time, we walked about, checked things out, took photos, video and selfies.

Later that afternoon, I was invited to a little gathering of creatives from around the world, where we got to meet software developers and glimpse the future of possibilities, as well as be among the first in the world to get our hands on the latest and greatest iPad Pros. Ah! The excitement!!! Of note to me was seeing the crew from Savage Interactive again, creators of that amazing art-creation app, Procreate. They do an absolutely amazing (and sometimes thankless job) listening to their users, and are wonderful, wickedly funny people in real life too! It’s crazy how cheap the app is for what it does (a one-time purchase of USD 9.99 or equivalent), and these guys are constantly working to make it better, folding pro features of all kinds into a constant stream of wittily-written updates.

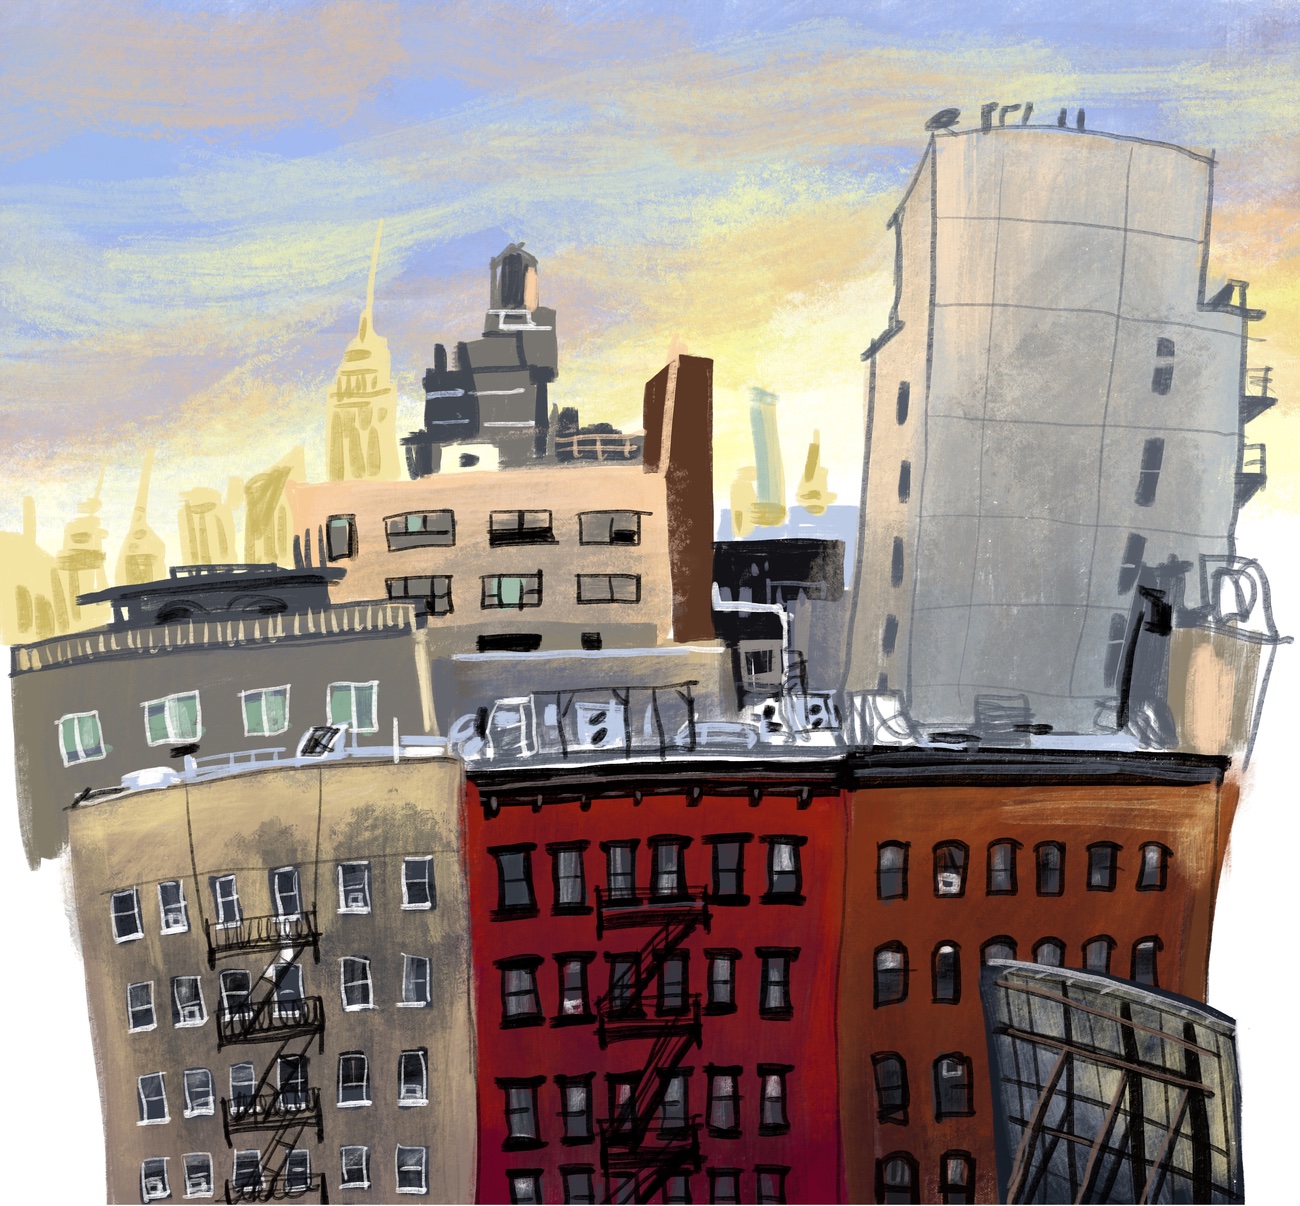
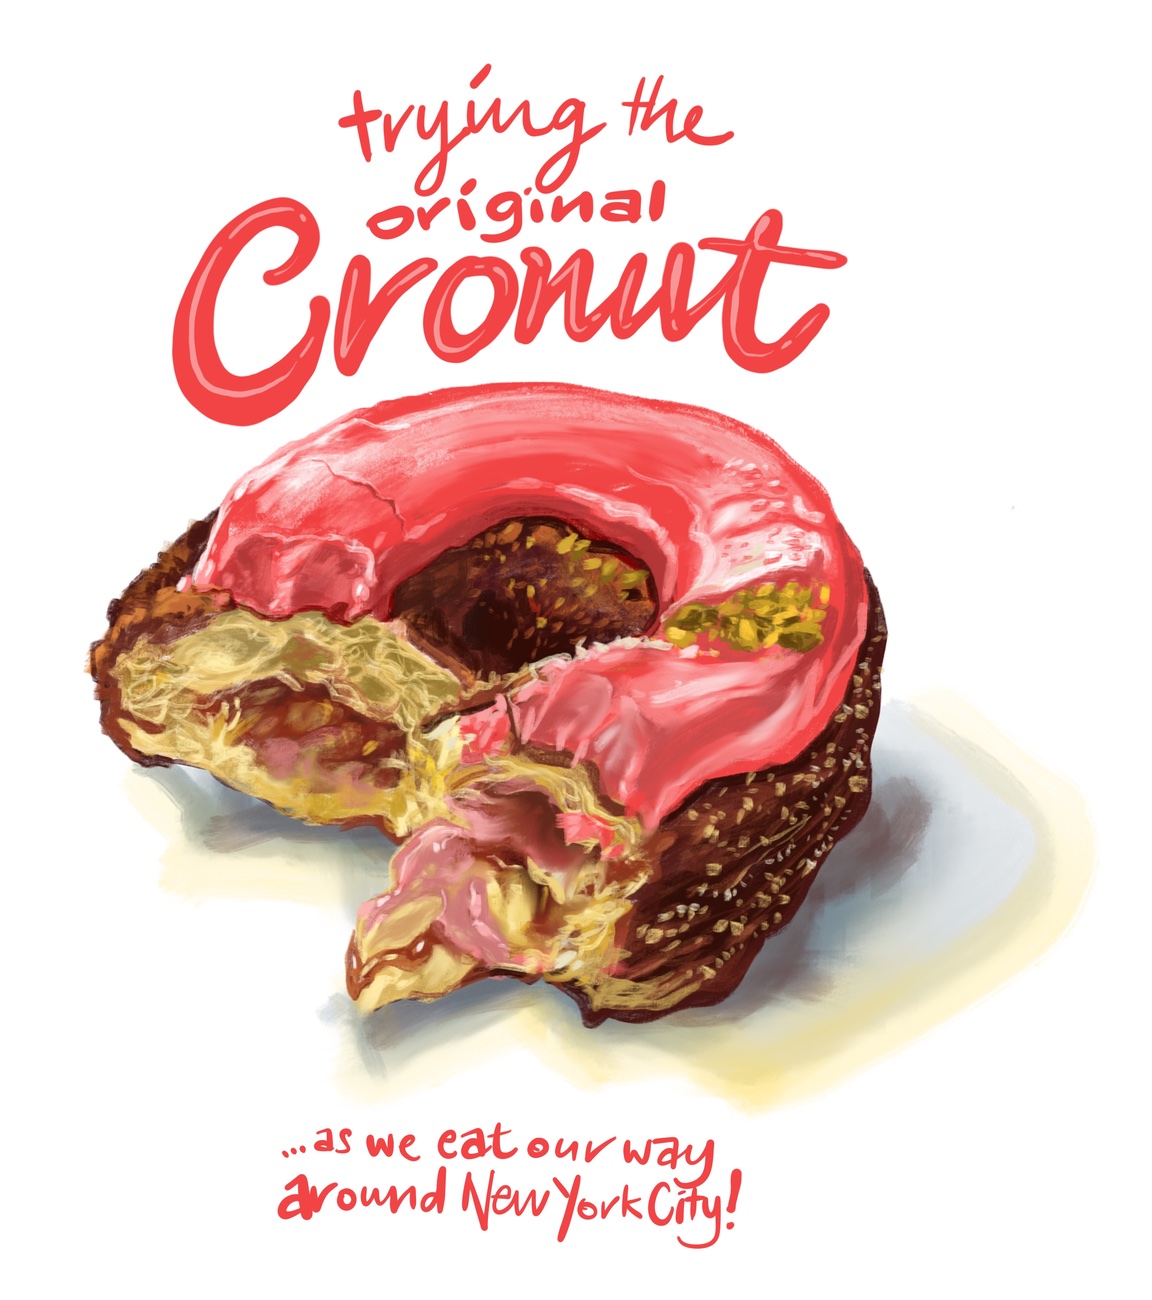
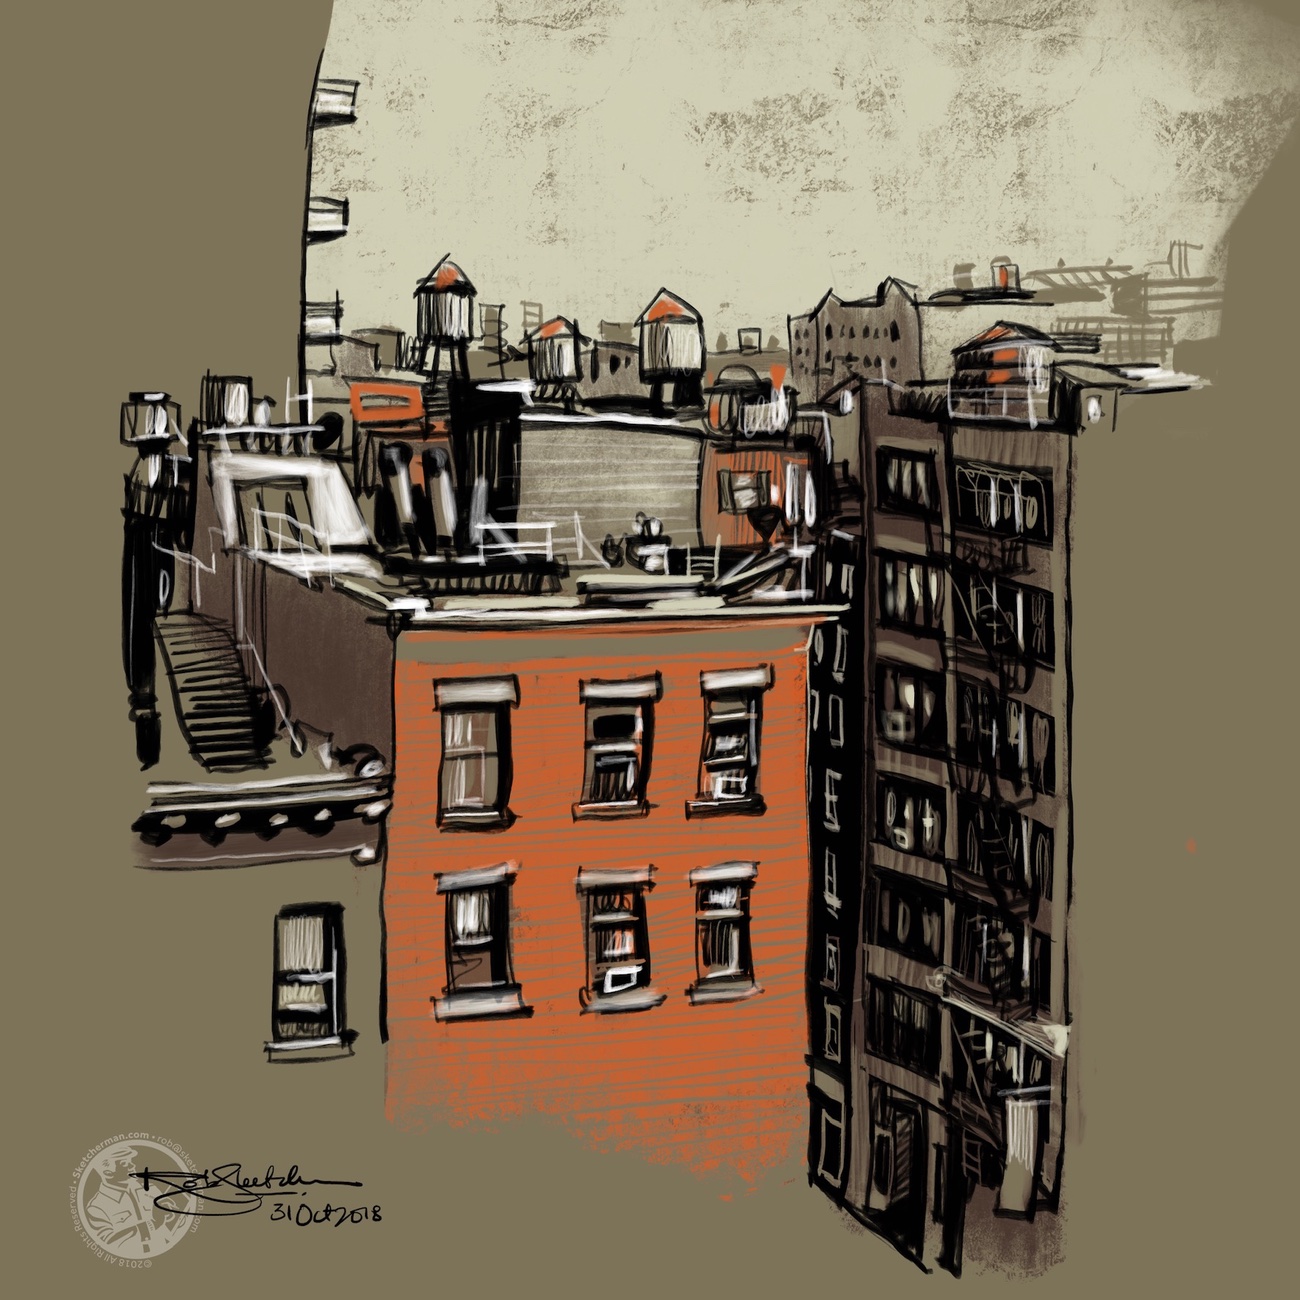
After that giddy high of unboxing all my new gear (like my birthday and Christmas had a baby), did several drawings in my hotel room; my first original Cronut, and a couple of quintessentially New York views. I mean, when you open the curtains and can see both the Empire State Building and Chrysler building in the distance, it’s a pretty awesome thing. Especially for a first-time visitor to the city!

Always a major treat when traveling is also the opportunity to meet and hang out with local urban sketchers, many of whom I’ve come to know and consider part of my global sketcher family. Being able to attend a local sketchwalk is also a top priority for me. I never tire of chatting with people and discovering the various ways we’ve all stumbled onto the passion that unites us. This time was no different, and made all the more special because I knew 2 local sketchers pretty well.

When in New York, you’ve gotta have a bagel, and we did, many times. Topped with good thick layer of cream cheese and lox is one of my fav ways to do it!

On the day of arrival, I met Ronnie Lawlor and her husband Neil, very briefly for a bowl of soup, while Louisa continued to chat with them over dinner. Ronnie has been on the faculty of many Urban Sketcher Symposia, and her amazing illustrations and reportage work is a huge inspiration to many.

Later, I also got to hang out with more urban sketchers from NYC.

Mark Liebowitz, who manages the NYC Urban Sketchers group, met the Missus and I one day for breakfast, then very generously proceeded to spend the whole day showing us the city he obviously loves. I wanted to stop at almost every corner to sketch and draw, but there was so much to see, and for once, our trip was short. So it was a day of highlights - we breezed past pumpkin piled high at Rockefeller Center, then did a whirlwind visit through MOMA, where Mark very kindly used his pass to get us in. We also sat and sketched quickly at the Sculpture Garden before heading out on the streets again.

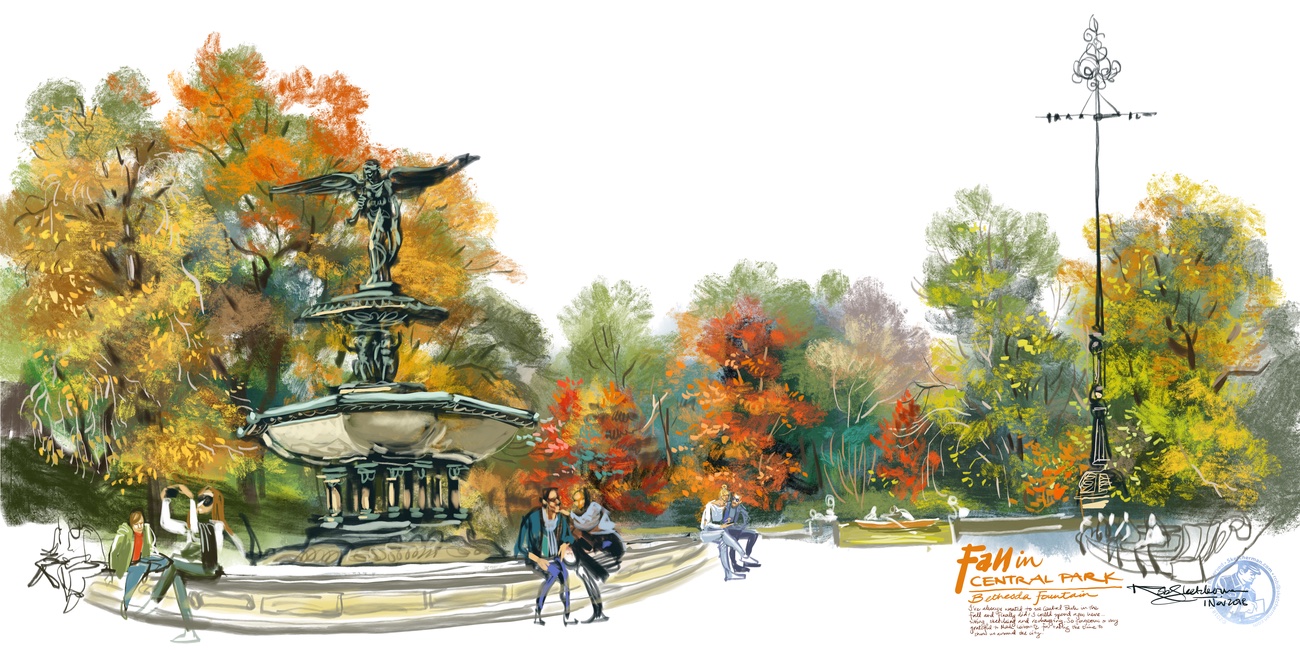
Seeing Central Park has always been on my bucket list. Bonus when seen in the fall. Ding! Ding! All points scored this time. Mark told us that we were lucky - that its’ usually much colder at this time of the year, but the due to a long hot summer and late onset of autumn, many trees were still turning.

After exploring various corners, oohing and aching at foliage of blazing yellows and oranges, mottled with red here and there, we stopped at Bethesda Fountain to sketch. On our way to find a seat, we bumped into a little group of students and their teacher, who was showing them the value of learning to draw on location.

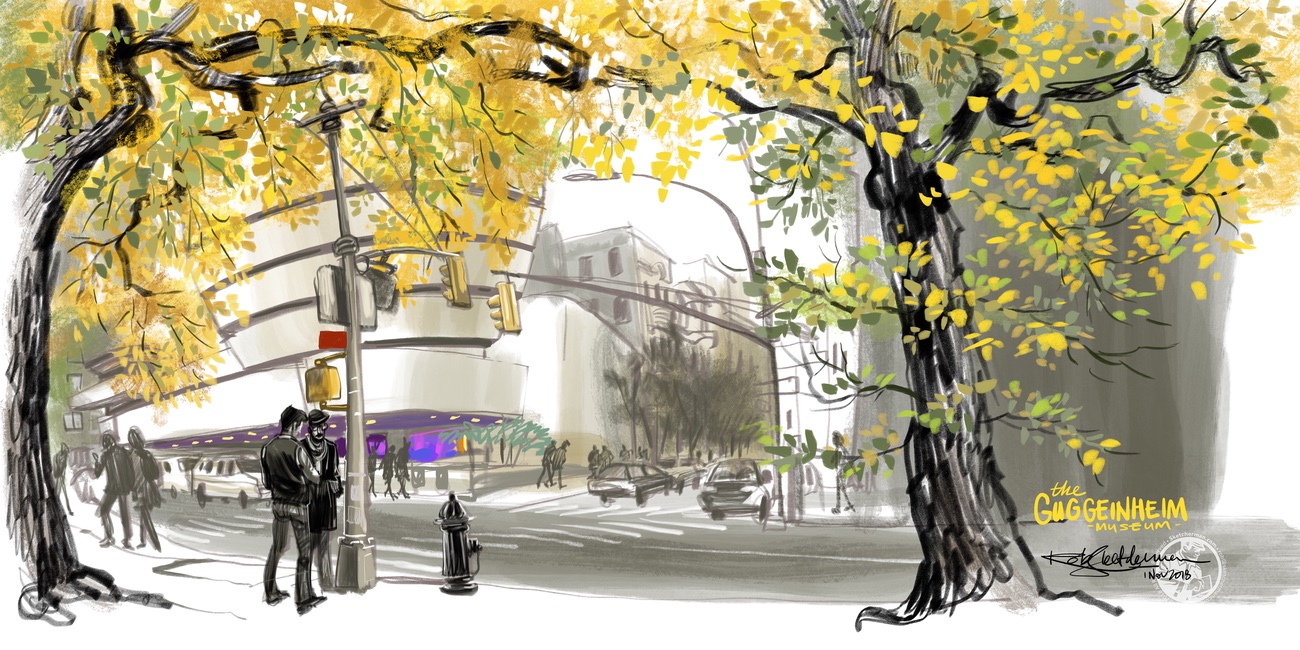
Lunch was at a lovely little lot close to the pond, and then we headed on to explore and see more. I began to realize how ginormous the Park was! We stopped again to have a quick look and sketch at the Guggenheim, which was closed. I did a sketch, but found myself more drawn to the foliage framing the building.

As it began to darken, my Missus peeled off to continue getting through her shopping list, and Mark and I resumed wandering the streets. We capped the sketching in front of the fountain at the Lincoln Center, before Mark showed me how to ride New York’s subway.

I clocked 21,316 steps that day, traipsing 13.51km and feeling like I had successfully burned all calories from the famous NYC bagels we’d been trying since arriving.

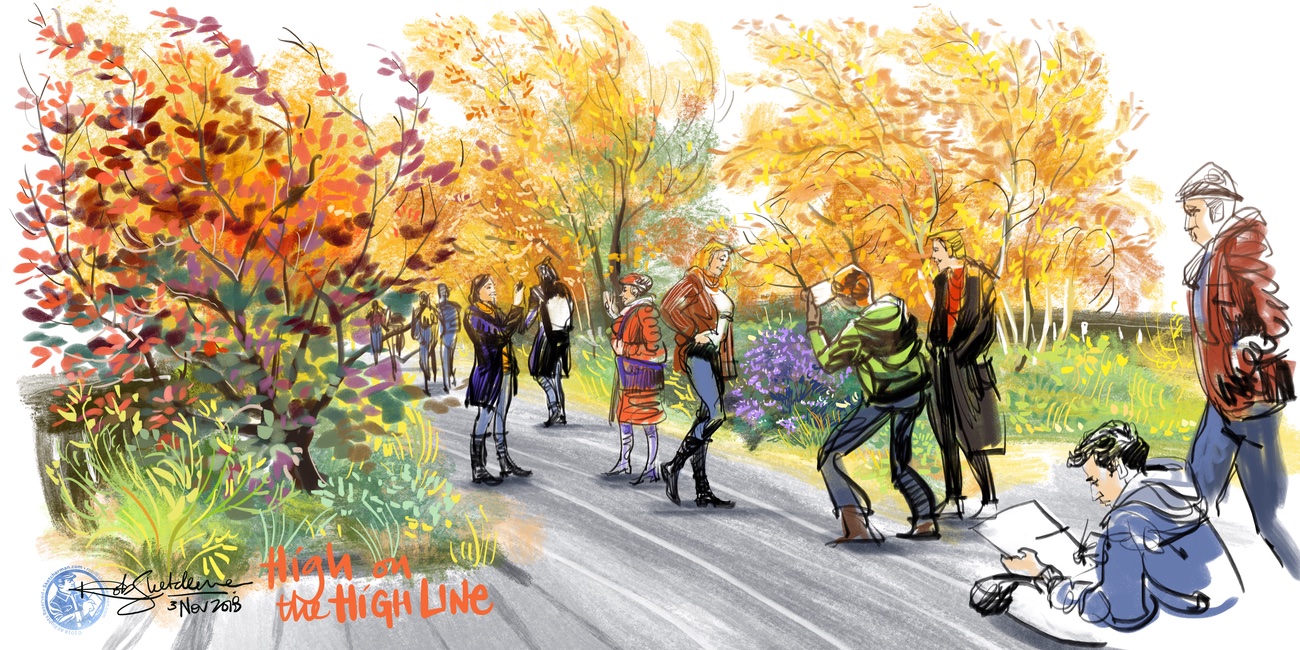
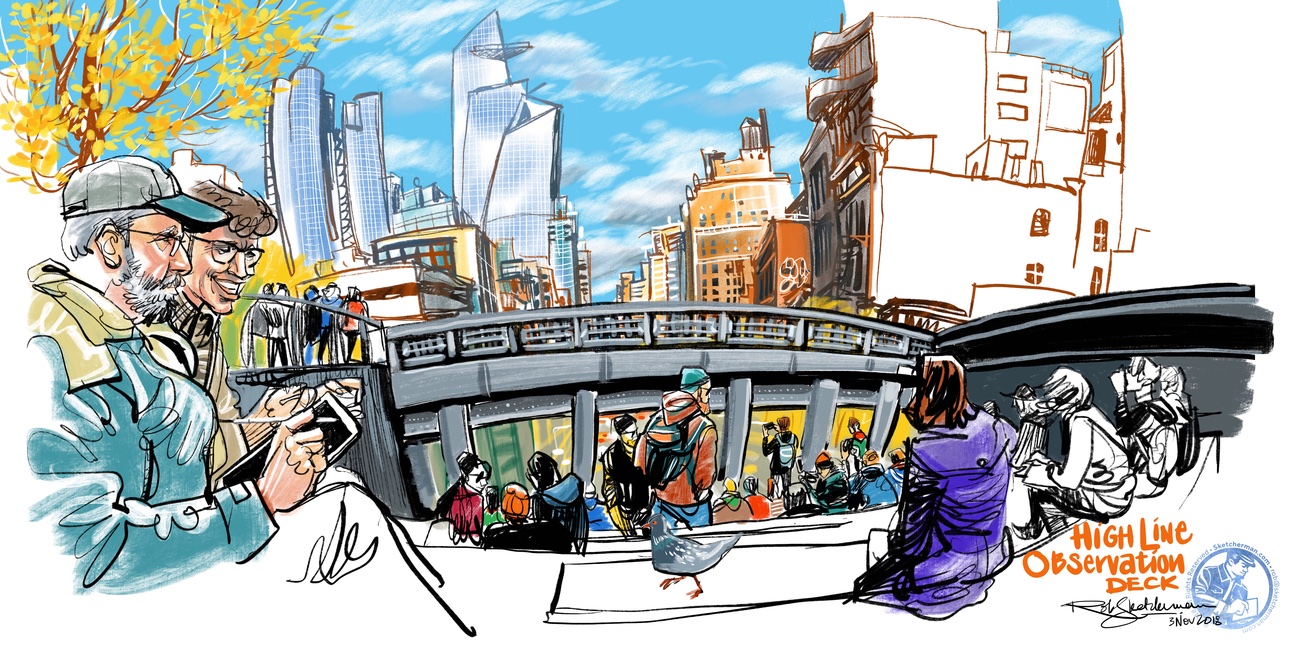
We also had a chance to attend a sketchwalk with NYC Urban Sketchers that Saturday, where we headed to the High Line, something else I’d been wanting very much to see and draw ever since watching a documentary on this gorgeous, ingenious urban park. And oh my! the explosion of color, just a few feet over the traffic below, was absolutely incredible!

It was also pretty darned cold, and plenty of wind was in the forecast. Branches waved, leaves fluttered and flew, like nature saying “Look at me! Look at me!” With a flourish before shedding its garments to herald the change of seasons.

Sketchers blew on their hands to warm up, and I felt very thankful that I had packed an extra scarf and touchscreen gloves, which enabled me to work fairly unhindered. Unless you count occasional bits of uncontrollable shuddering as a particularly strong gust blew through my many layers.

About 15 of us had lunch together at a lovely restaurant close to that spot at the High Line that looks like a sunken auditorium above the street. We chatted, exchanged sketchbooks, discussed techniques and after a bit, my iPad Pro made an appearance after I realized many people had not ever tried sketching with an Apple Pencil. This was my 2017 machine though, as I wasn’t ready to use my new baby on the streets quite yet.

Another familiar smiling face from several Symposiums I’d attended showed up to join us - Jason Das, former president of the Urban Sketcher movement. Hair perfectly tousled, and transformer biker helmet in hand, he joined us for lunch, and sketching as we headed back to the High Line for part 2.

The sky had shed its grumpy grey, turning a bright blue, which took the bite out of the winds, or at least made us more forgiving as the colors everywhere popped even more. By now, huge crowds were also admiring the views, the colors, and this glorious fall day on the High Line. Amidst much conversation, we got some more sketching done before wrapping at 3pm and heading to the third venue of the day.

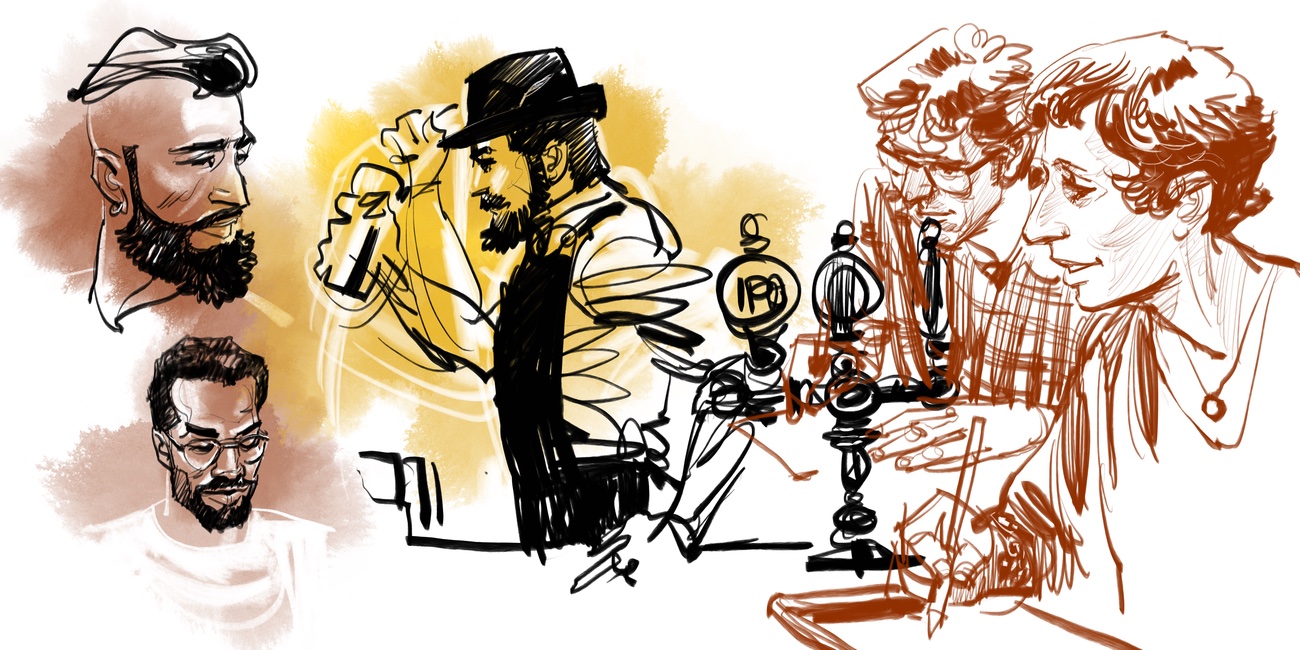
I love it when sketchwalks end with food and drinks. The social part of urban sketching is hugely important. We get a chance to meet people, chat, and get to know one another much better. France van Stone, a.k.a. @wagonized met us at the fascinatingly eccentric Oscar Wilde pub for drinks, adding yet another highlight to an already remarkable day. it’s always such a treat to meet people who we only know by online handles.

Several sketchbooks made the rounds, passed between fistfuls of beer and ale. I was very happy to be able to participate for once. I had the foresight this time to print some of my work on thick, textured A4 sheets, and have them spiral-bound into books before the trip.

I can’t think of a better last painting to knock out before leaving NYC.

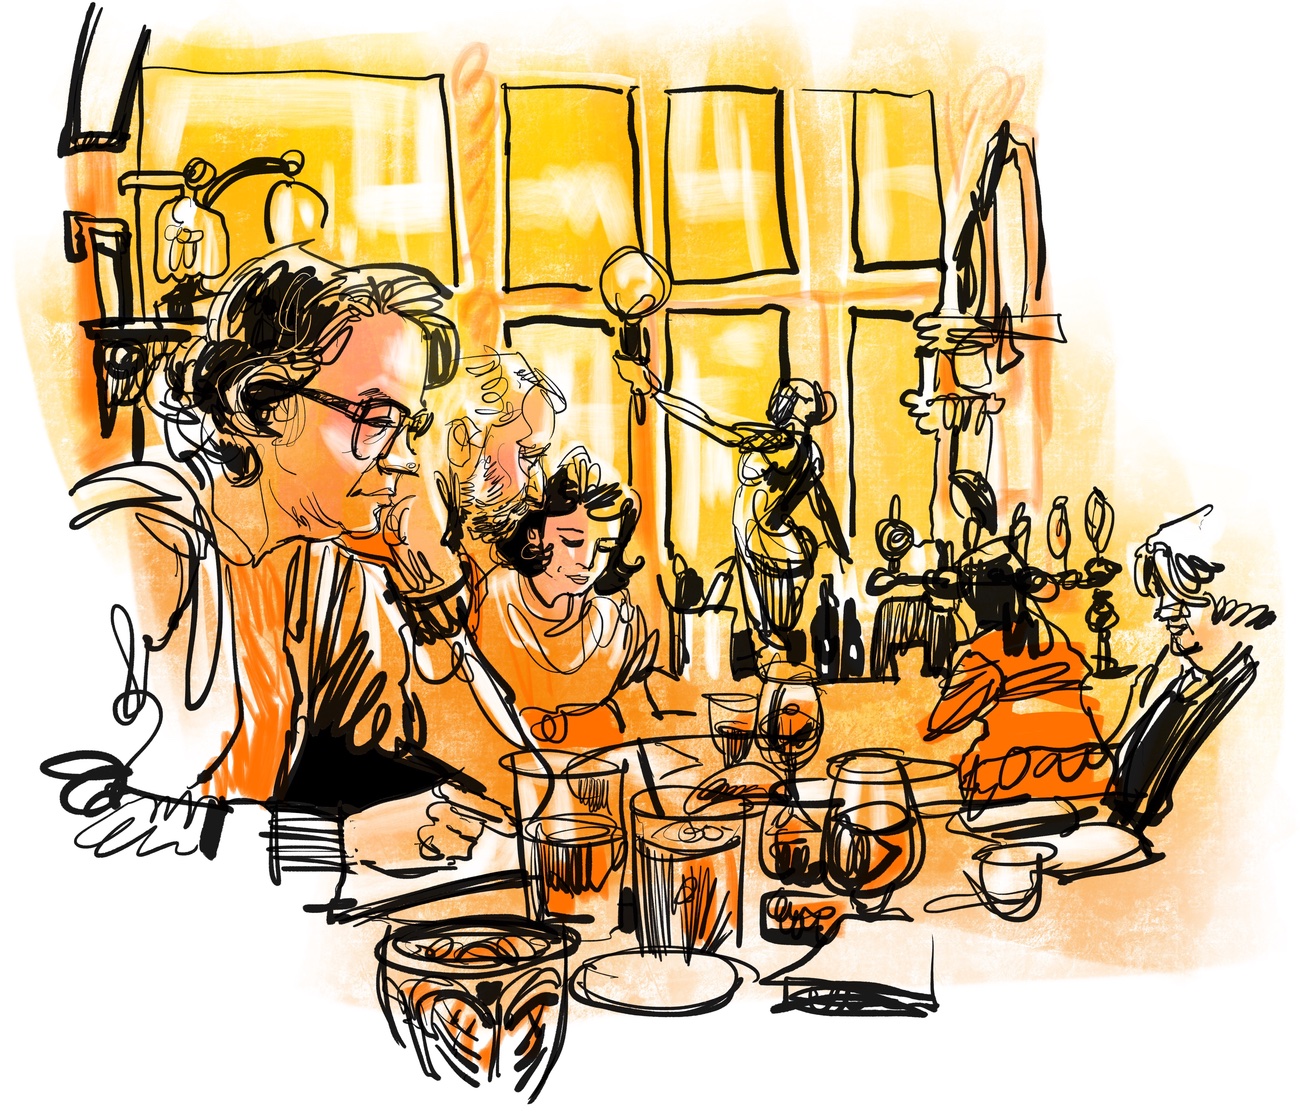
At one point, I looked up and saw 3 iPads glowing in the dim, amber light of the pub, and thought wow- how far we’d come! 5 years ago, my iPad Air was a novelty. iPad urban sketching is now an actual thing!

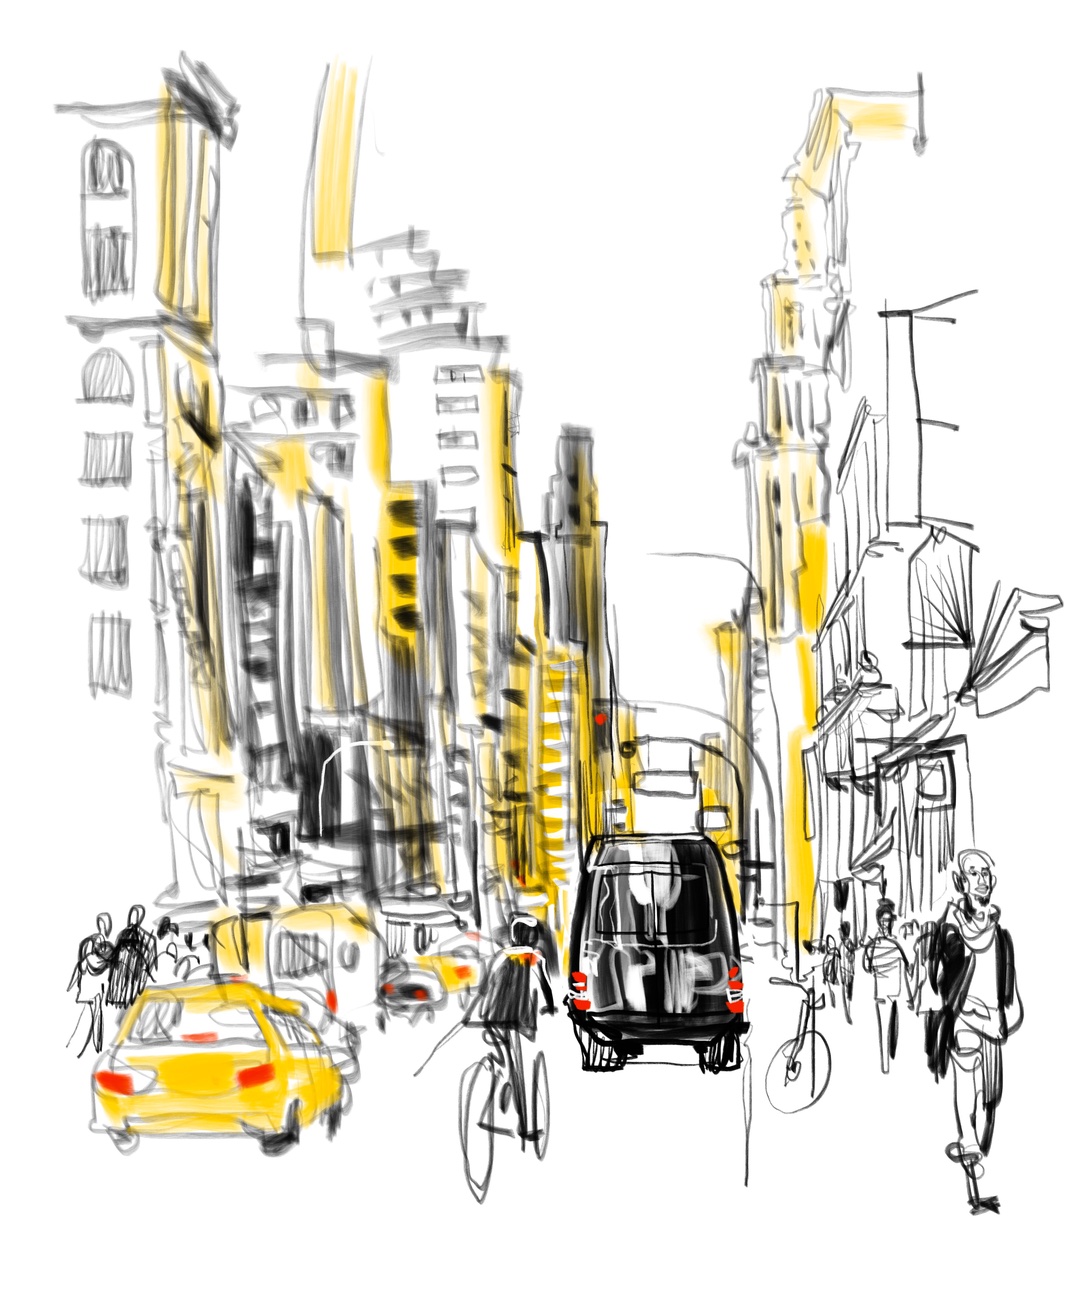
Our final day in NYC was a blur of food, sights and Uber shares to hit our last must-see spots, which include sketching the view from Dumbo, a visit and some shopping at that New York institution, B&H, and what better goodbye to the city than a sketch at Times Square!

Now I know why so many tourists wear those dinky I heart NY tees. I feel the same, and we’ll be back.

Sketching the 100th Anniversary Celebrations at Fátima, Portugal

Sketching the 100th Anniversary Celebrations at Fátima, Portugal

For a few days in mid-May 2017, I was a part of Sketch Tour Portugal, assigned with 3 other sketchers to document through sketch reportage, the 100th Anniversary celebrations at Fátima during the visit of Pope Francis.

The Best iPad Sketching Accessories for iPad Artists: My 2016 Gear List Pt.2

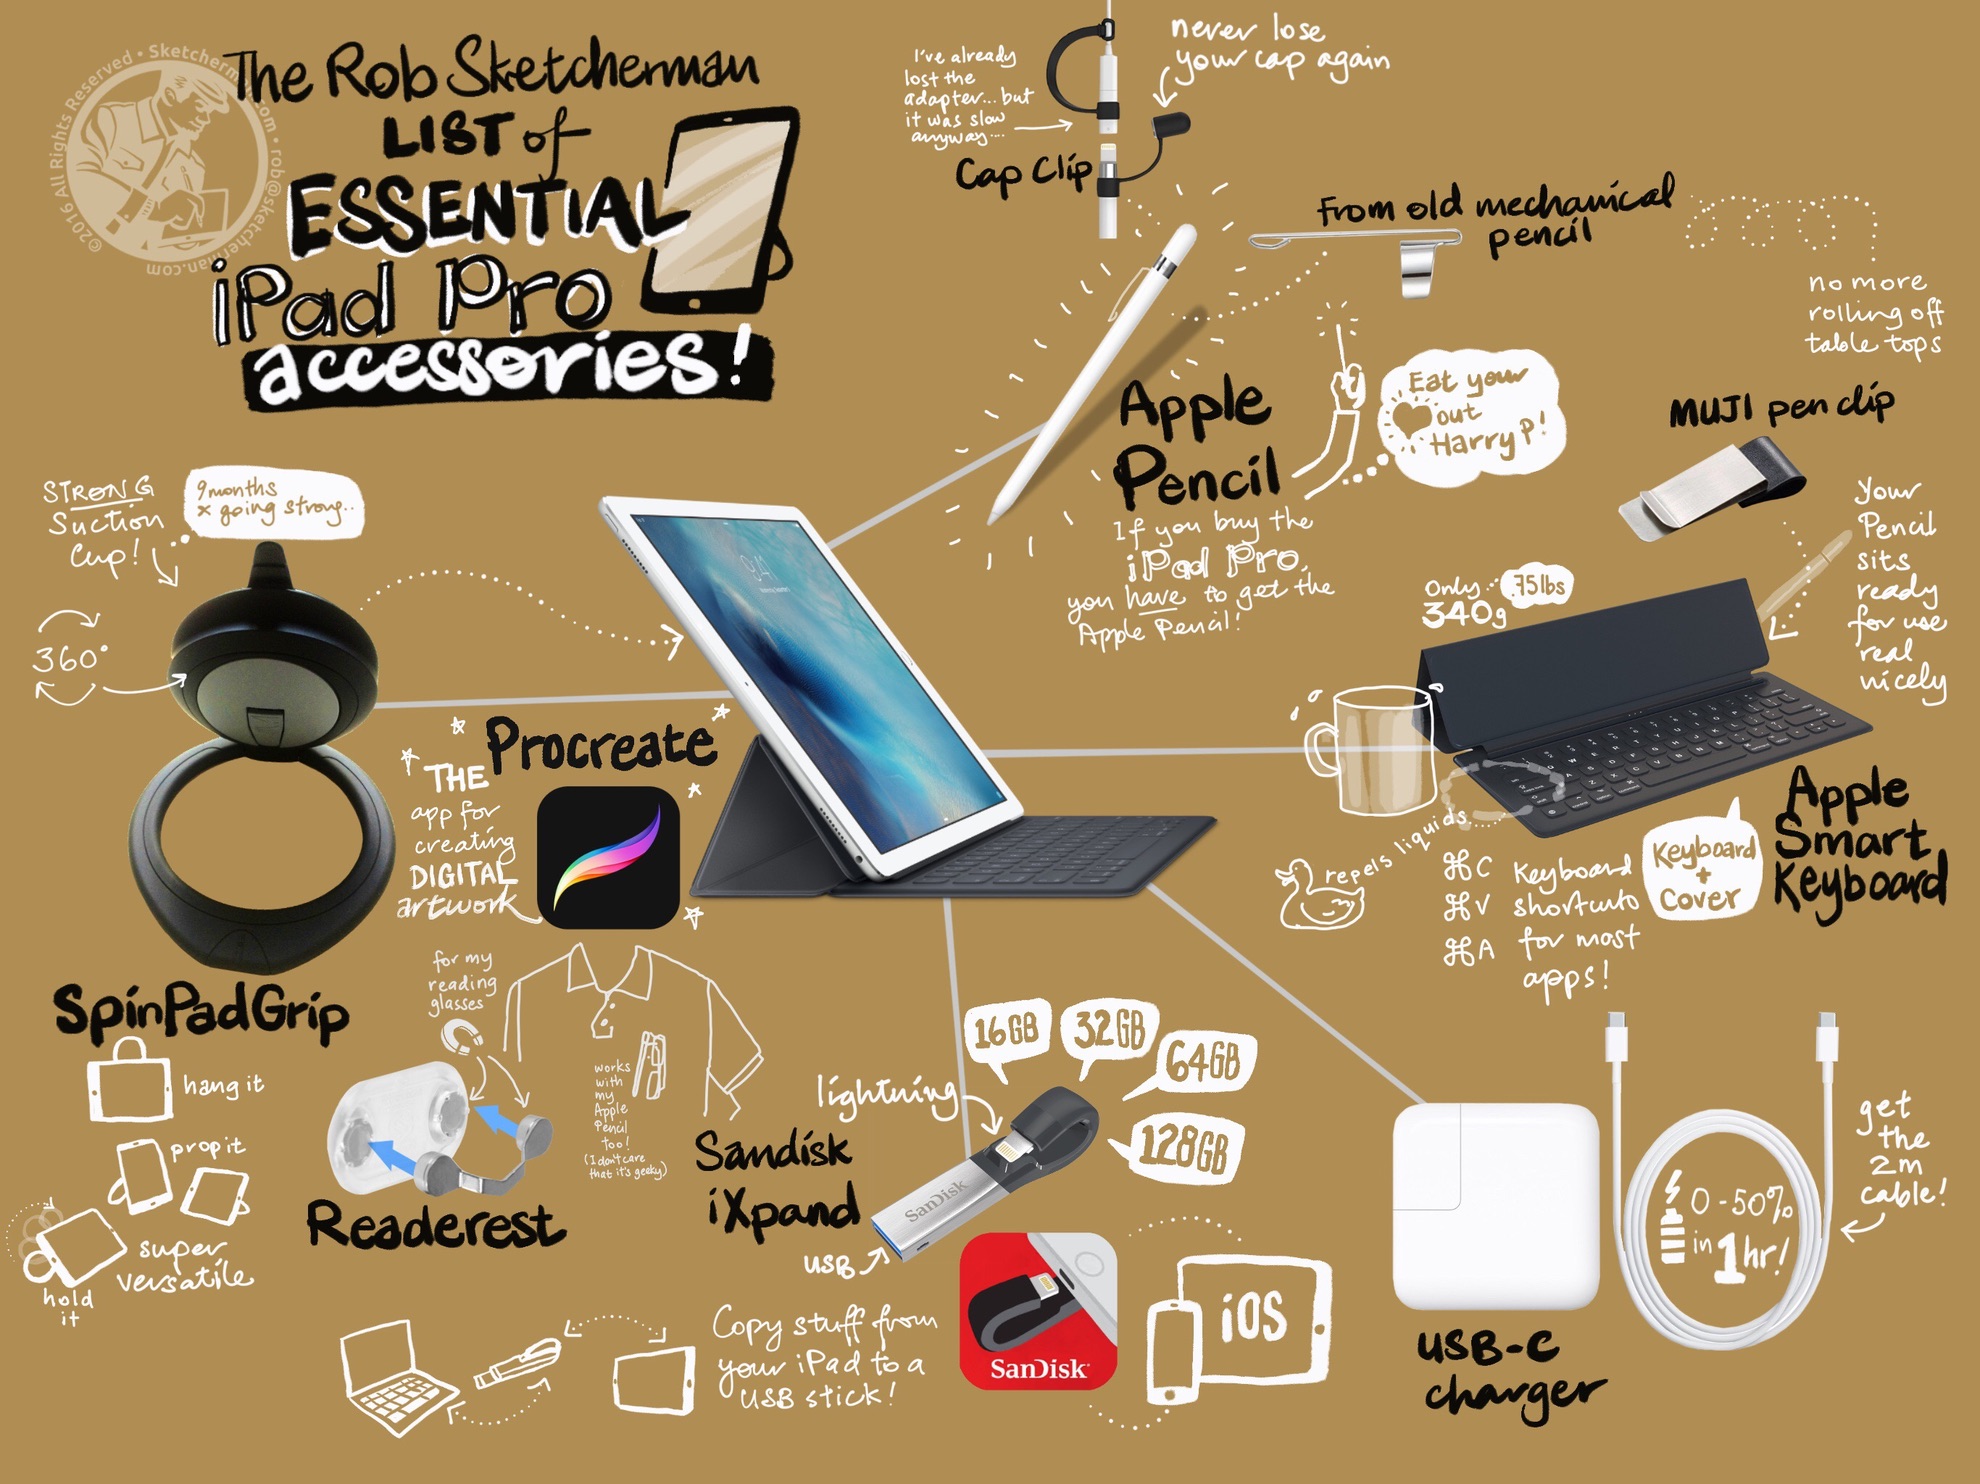
I made this chart in Procreate for a recent workshop on iPad Pro Creative Workflows, which lists all the gear I use daily with my iPad Pro. Details below!

I made this chart in Procreate for a recent workshop on iPad Pro Creative Workflows, which lists all the gear I use daily with my iPad Pro. Details below!

I talked about tablet holders recently and today, will discuss other gear I've discovered and consider essential. This is what I have with me when I'm out with my Jumbo Pro. Some items are really simple, and you probably already have options lying around your home, like the clip I use for my Apple Pencil. My most recent discovery on the other hand, has been in the market for a couple years, and I am so glad I finally stumbled across it!

Full disclosure: I have Amazon affiliate links in this post. (...and thank you if you support me through the links!)

Right! Let's jump straight into things then...

Keep your Apple Pencil from rolling away

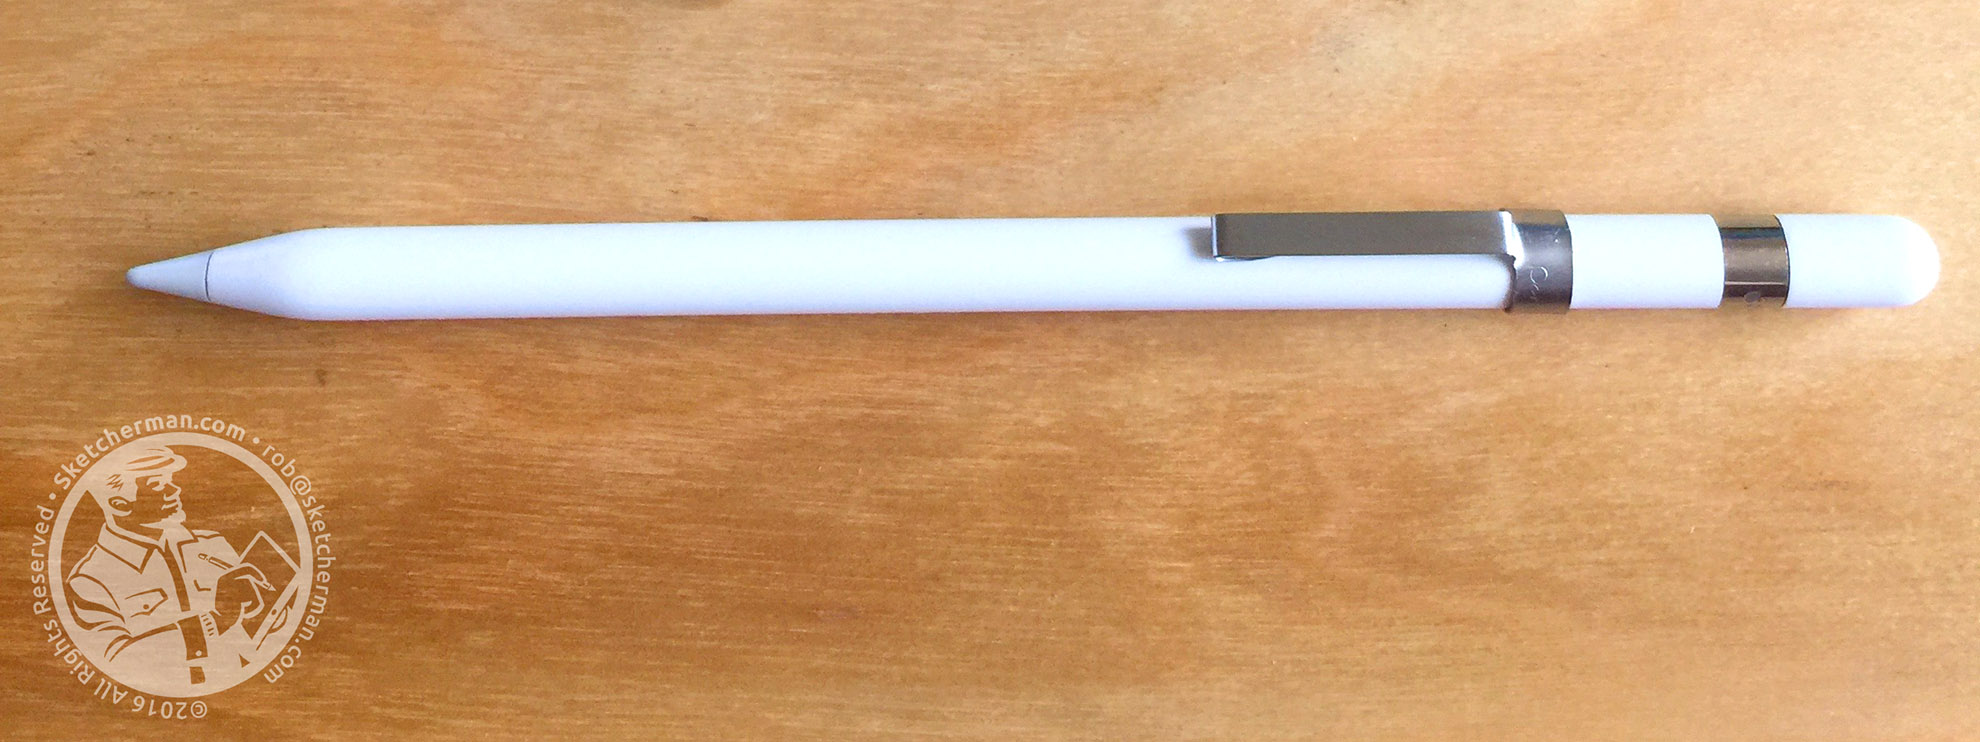
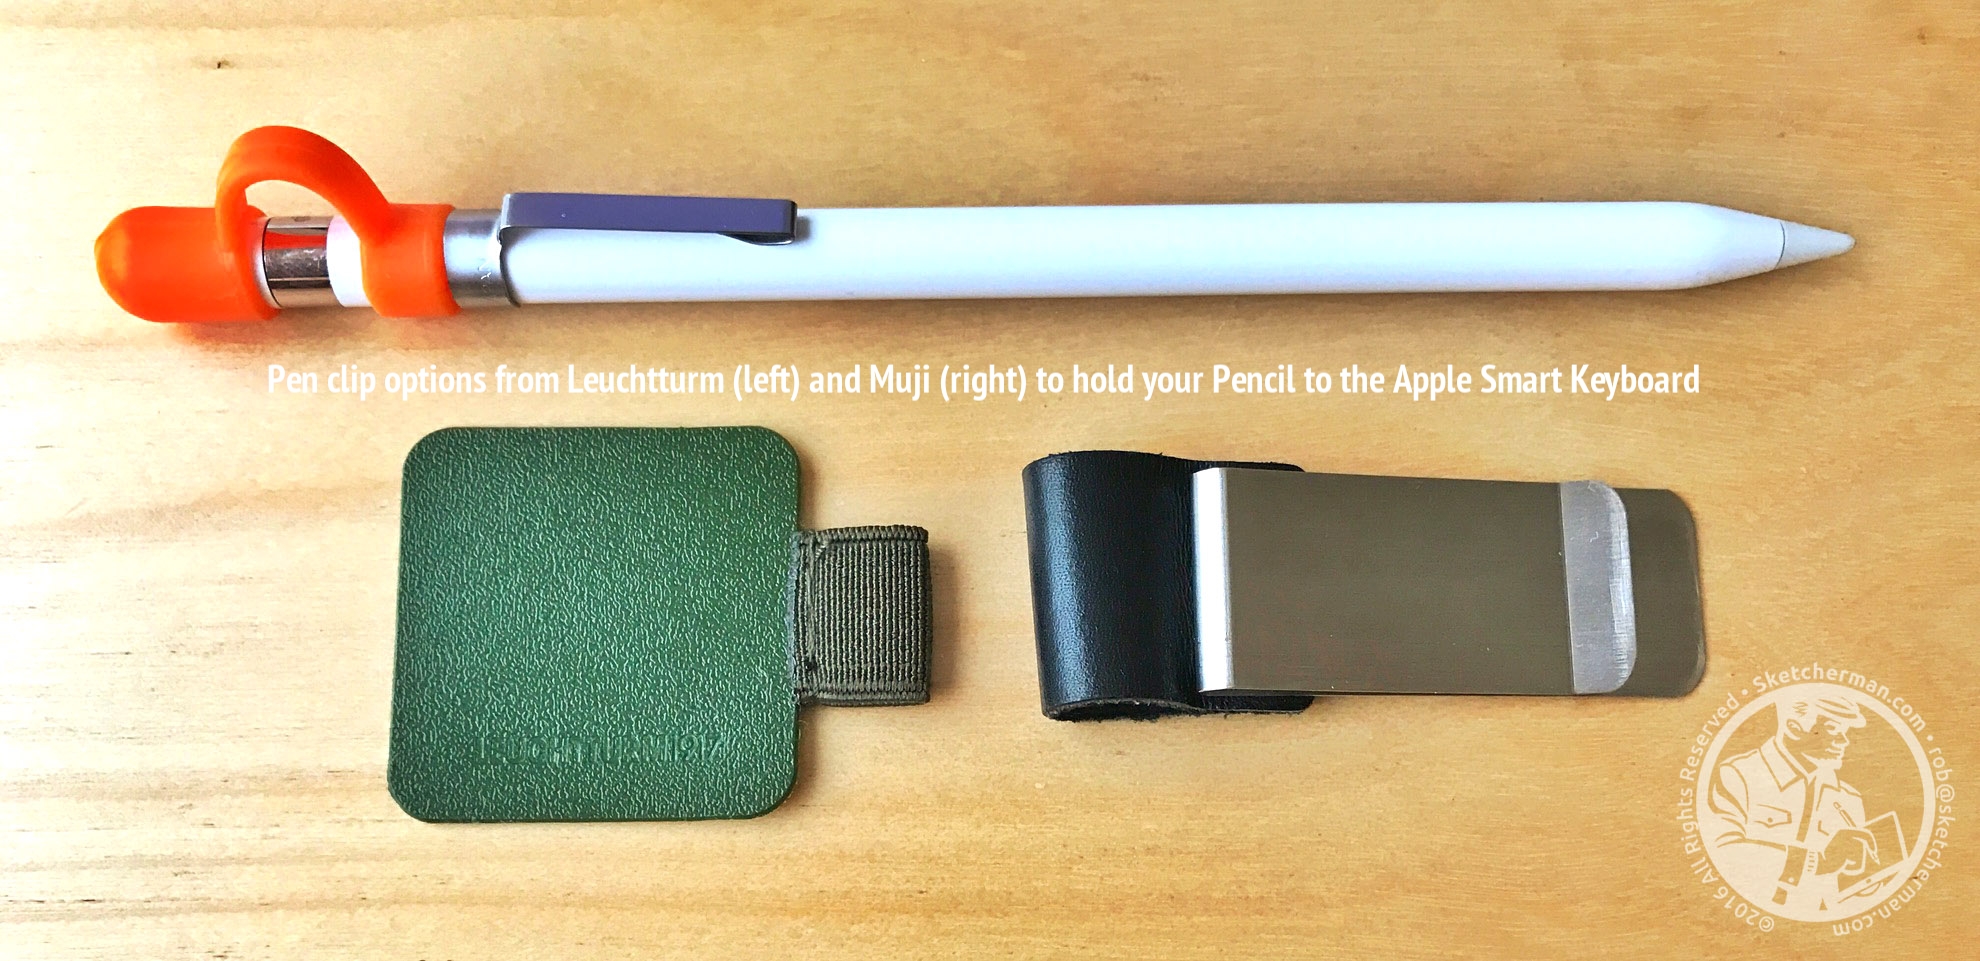
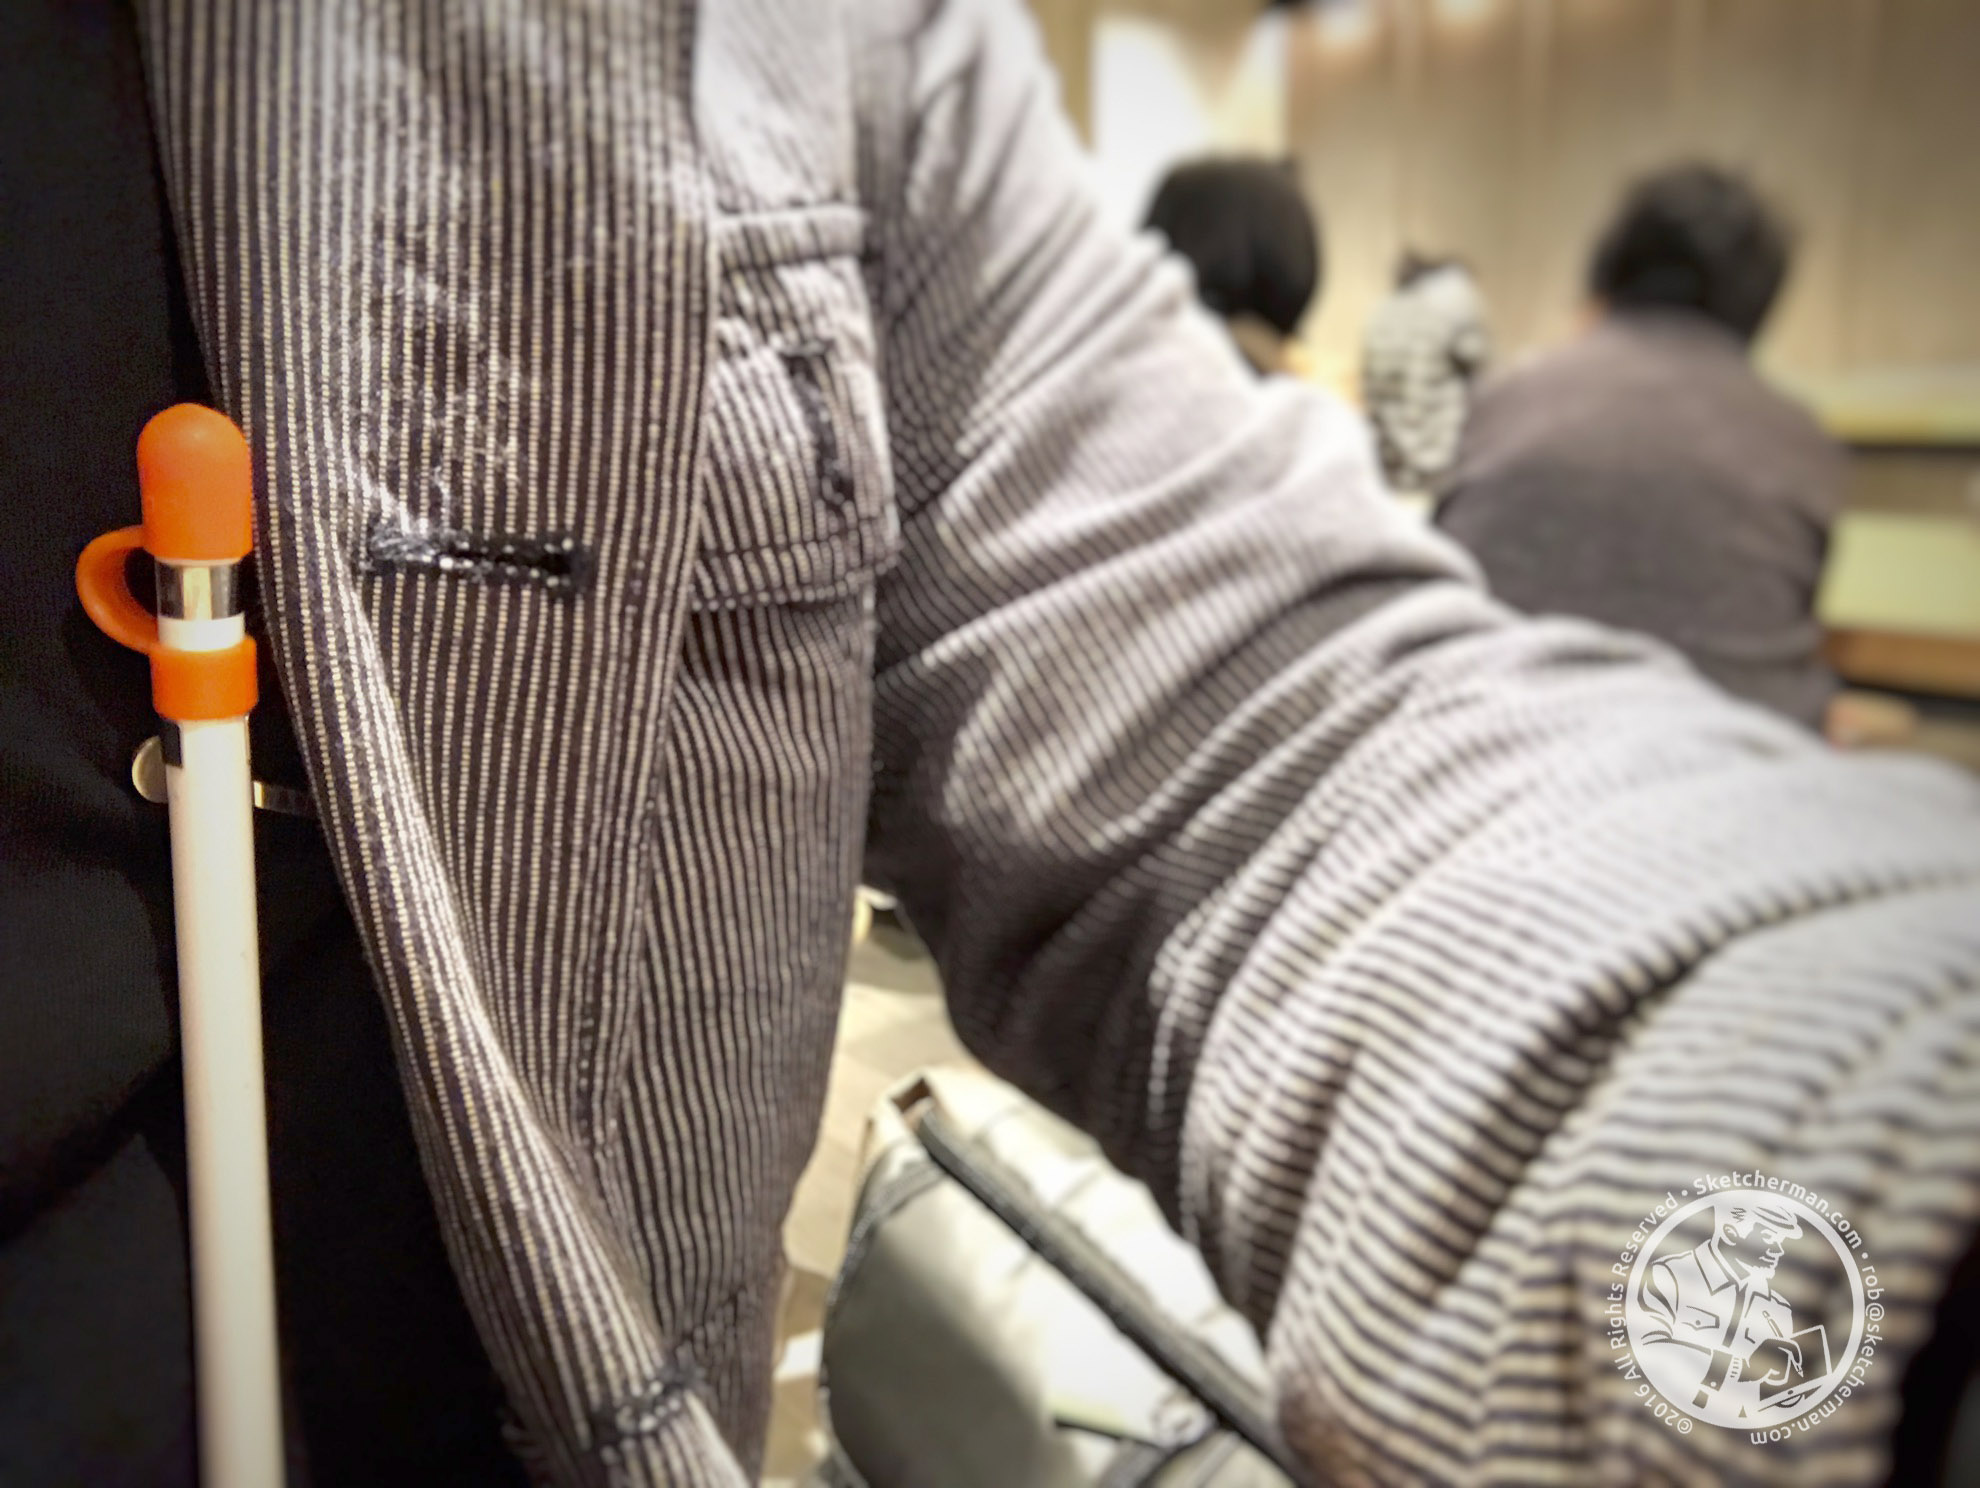
The Apple Pencil is a wonderful stylus but I got tired of it threatening to roll off every surface. Here's my cheap, low-tech solution. First thing I recommend you do is see if you have an old mechanical pencil hidden in a drawer somewhere. Found one? Great. Remove the pen clip that comes with it and stick it on your Apple Pencil. I also found this handy for clipping my Pencil to the inner pocket of my jacket when I'm out and about. 

Keep your Pencil within easy reach

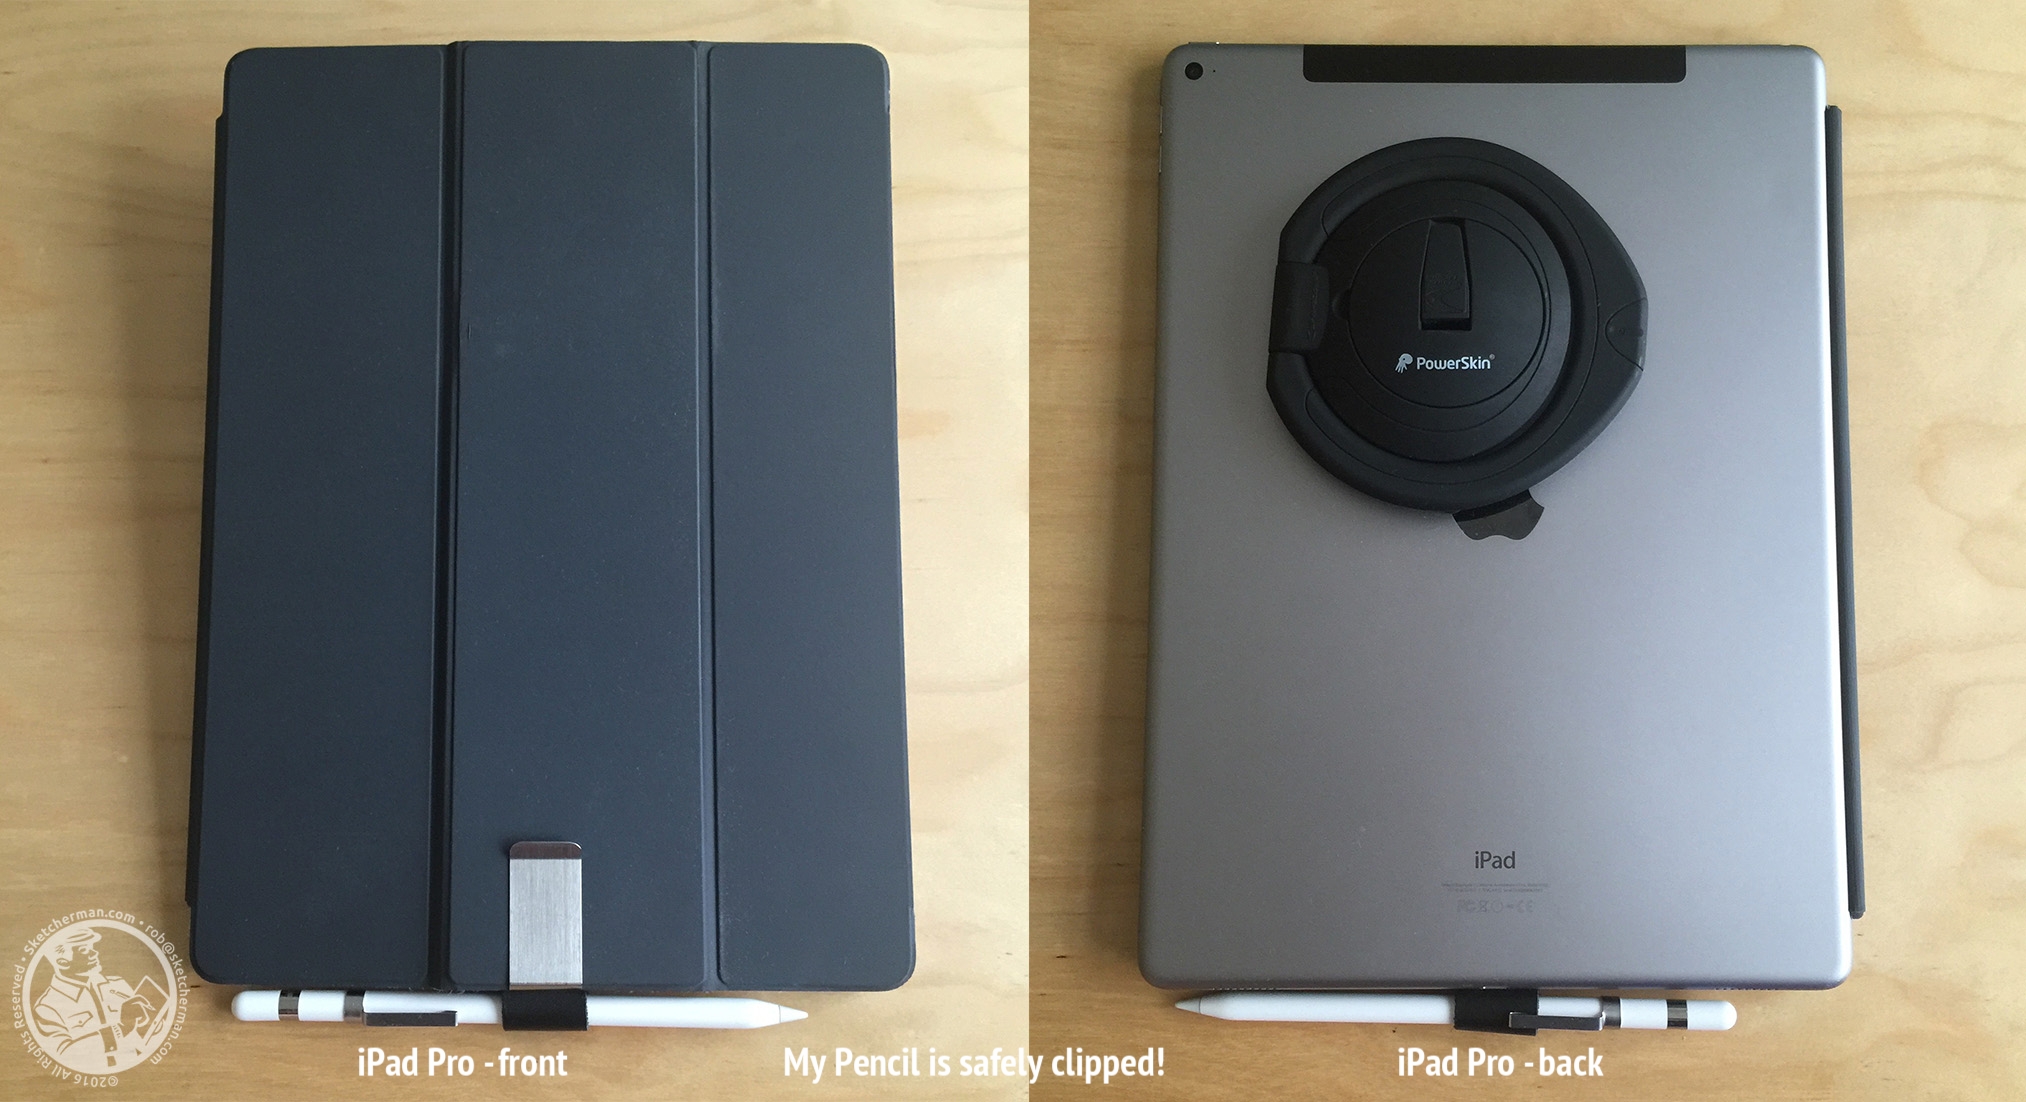
The Muji MoMA pen clip I use to clip my Pencil to my Smart Keyboard

The Muji MoMA pen clip I use to clip my Pencil to my Smart Keyboard

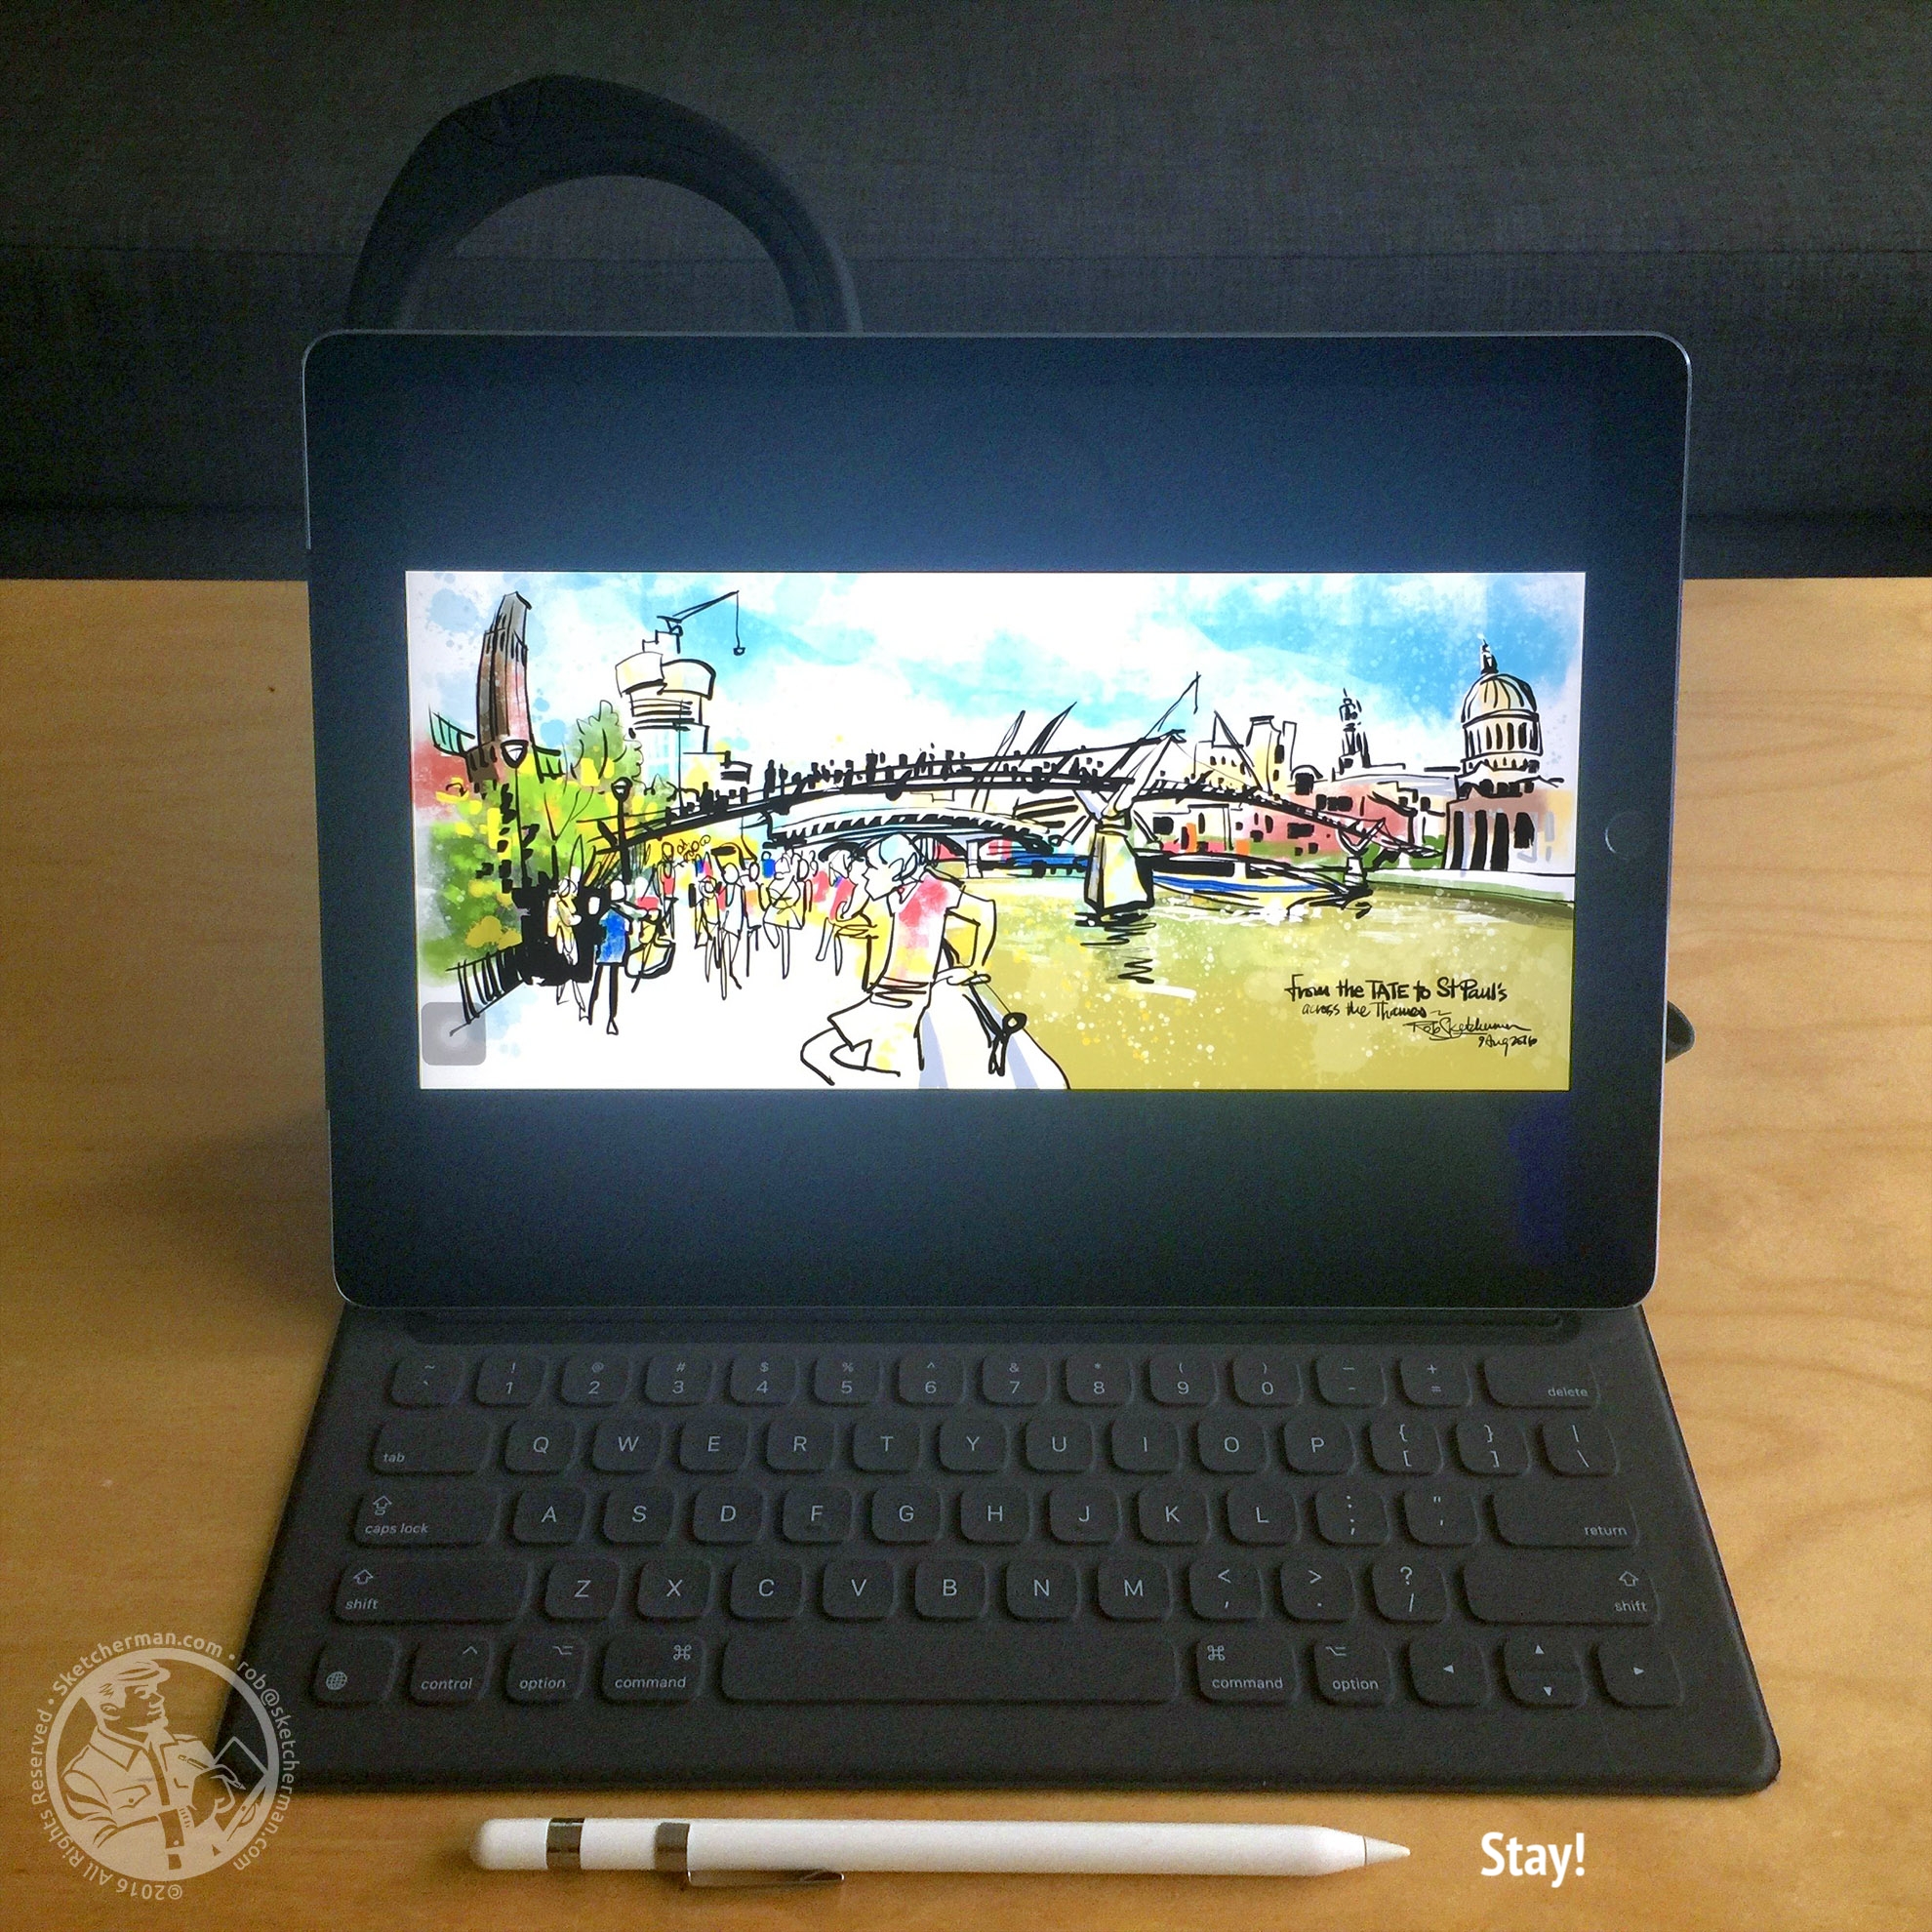
As I pieced my gear together over months, I also found I wanted a way to easily attach my Apple Pencil to my kit when walking around. The Smart Keyboard serves double duty as keyboard and good screen protection. When walking around, I would slip my hand into the loop of the SpinPadGrip so my grip on my Jumbo is secure. I began testing ways for my Apple Pencil to fit my kit. One day, I saw a sketcher using a pen clip to attach brushes to her sketchbook cover, and that inspired me to look for something similar. 

If you know the clean lines of the Muji brand, you'll know that they also have very practical, non-branded stationery items. I got 2 pen clips from the store and tested both to see which would work better. The Muji MoMA pen clip, with a faux-leather strap, is the one that has endured, primarily because it's kinder to my keyboard and iPad. (The other clip I found was all-metal)

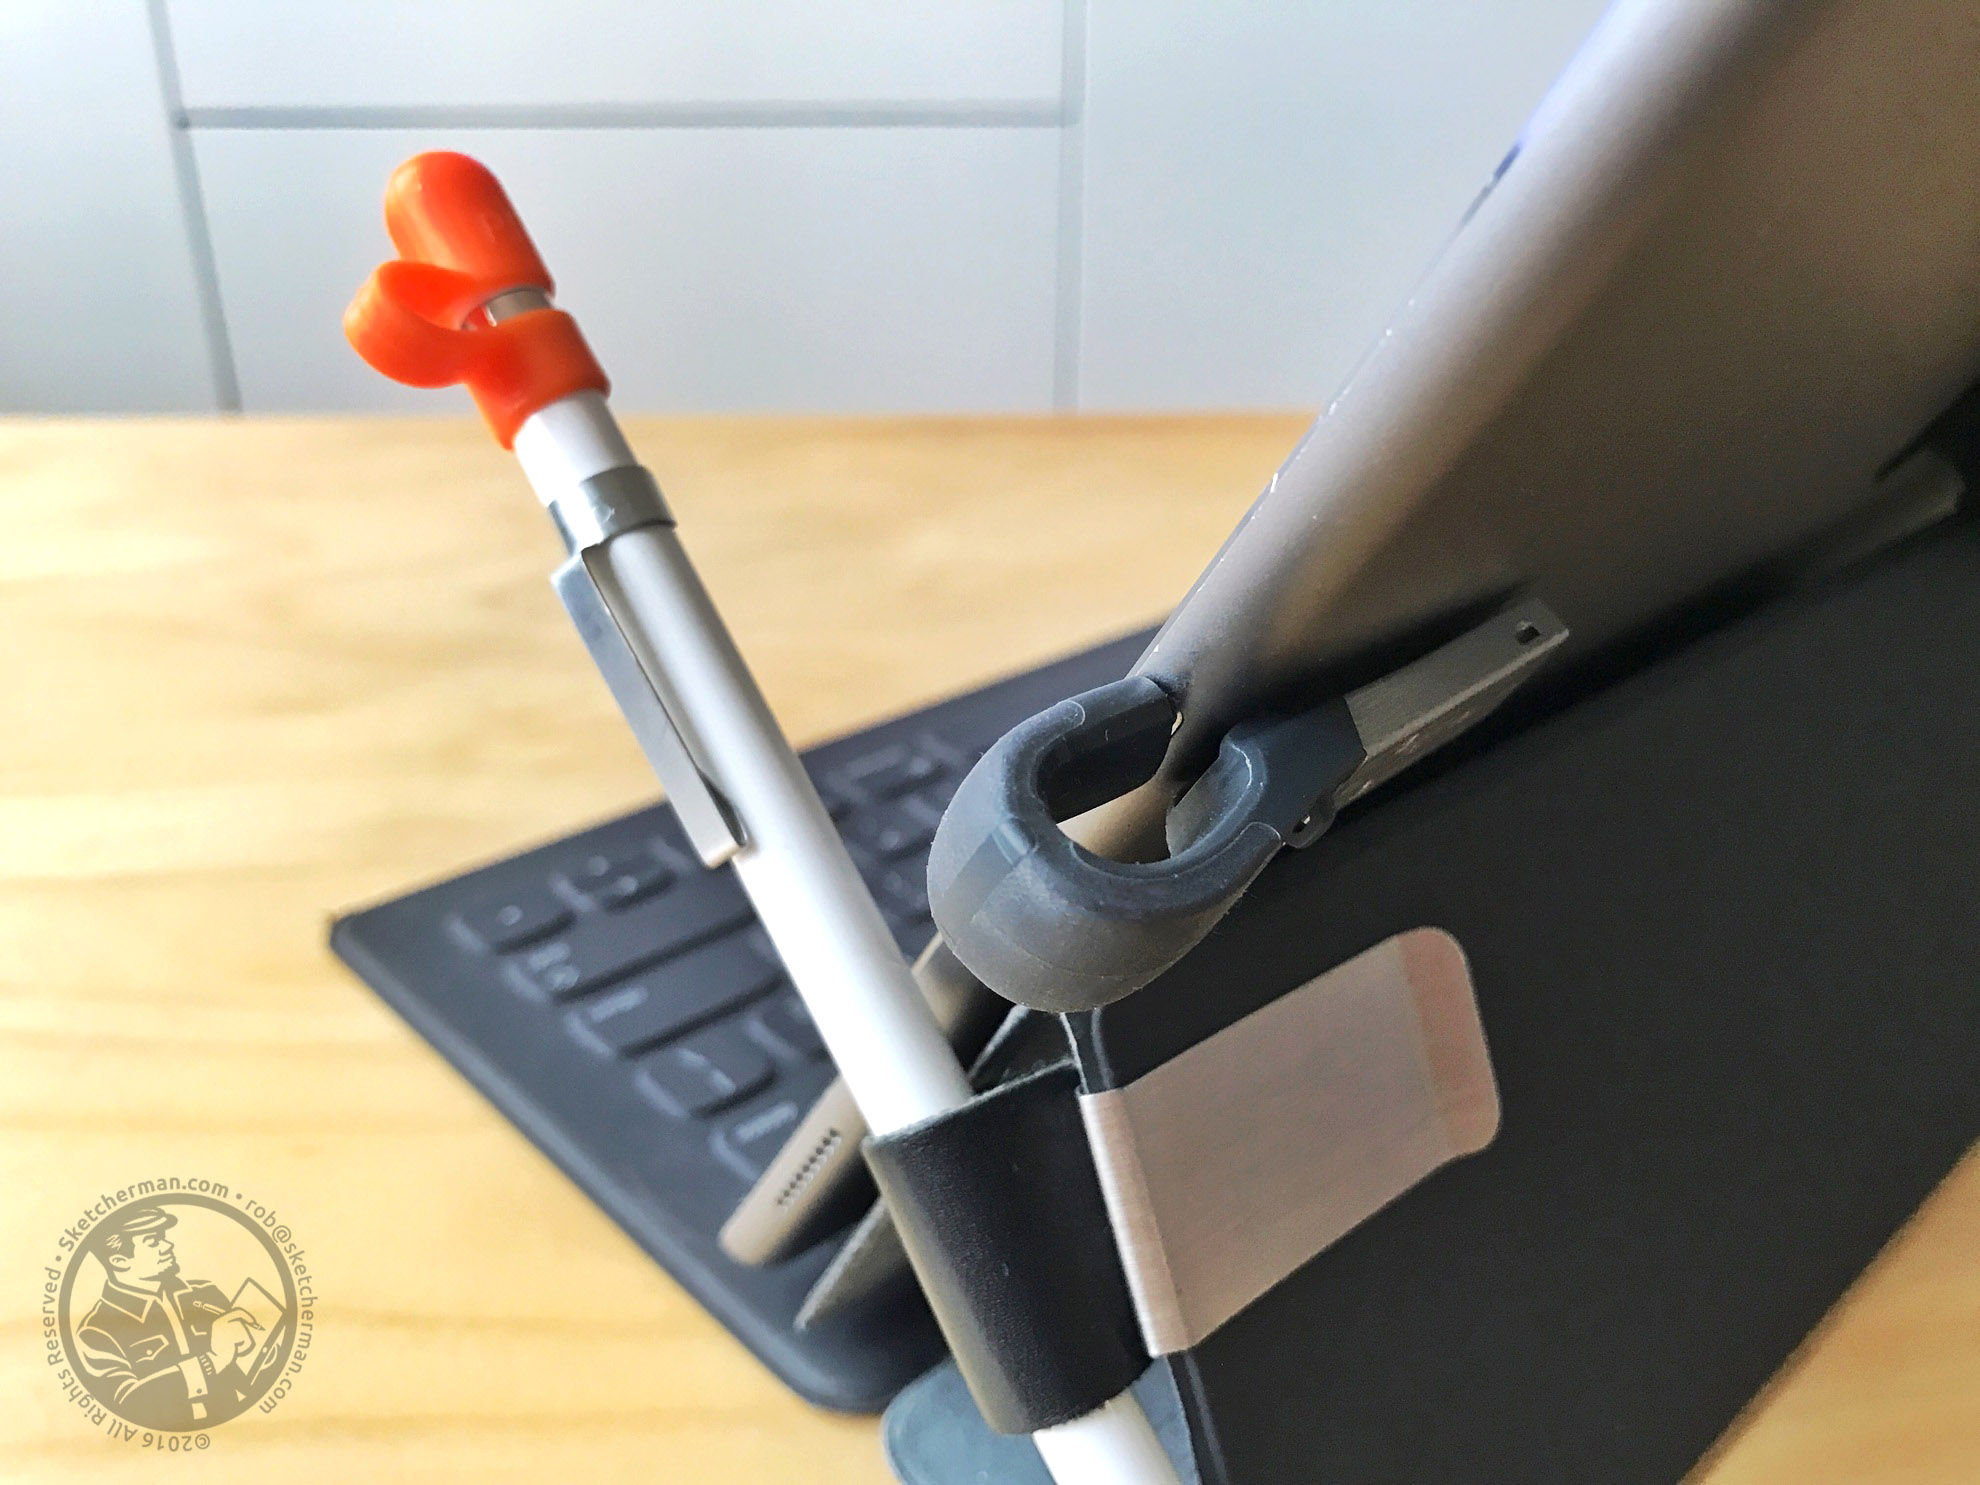
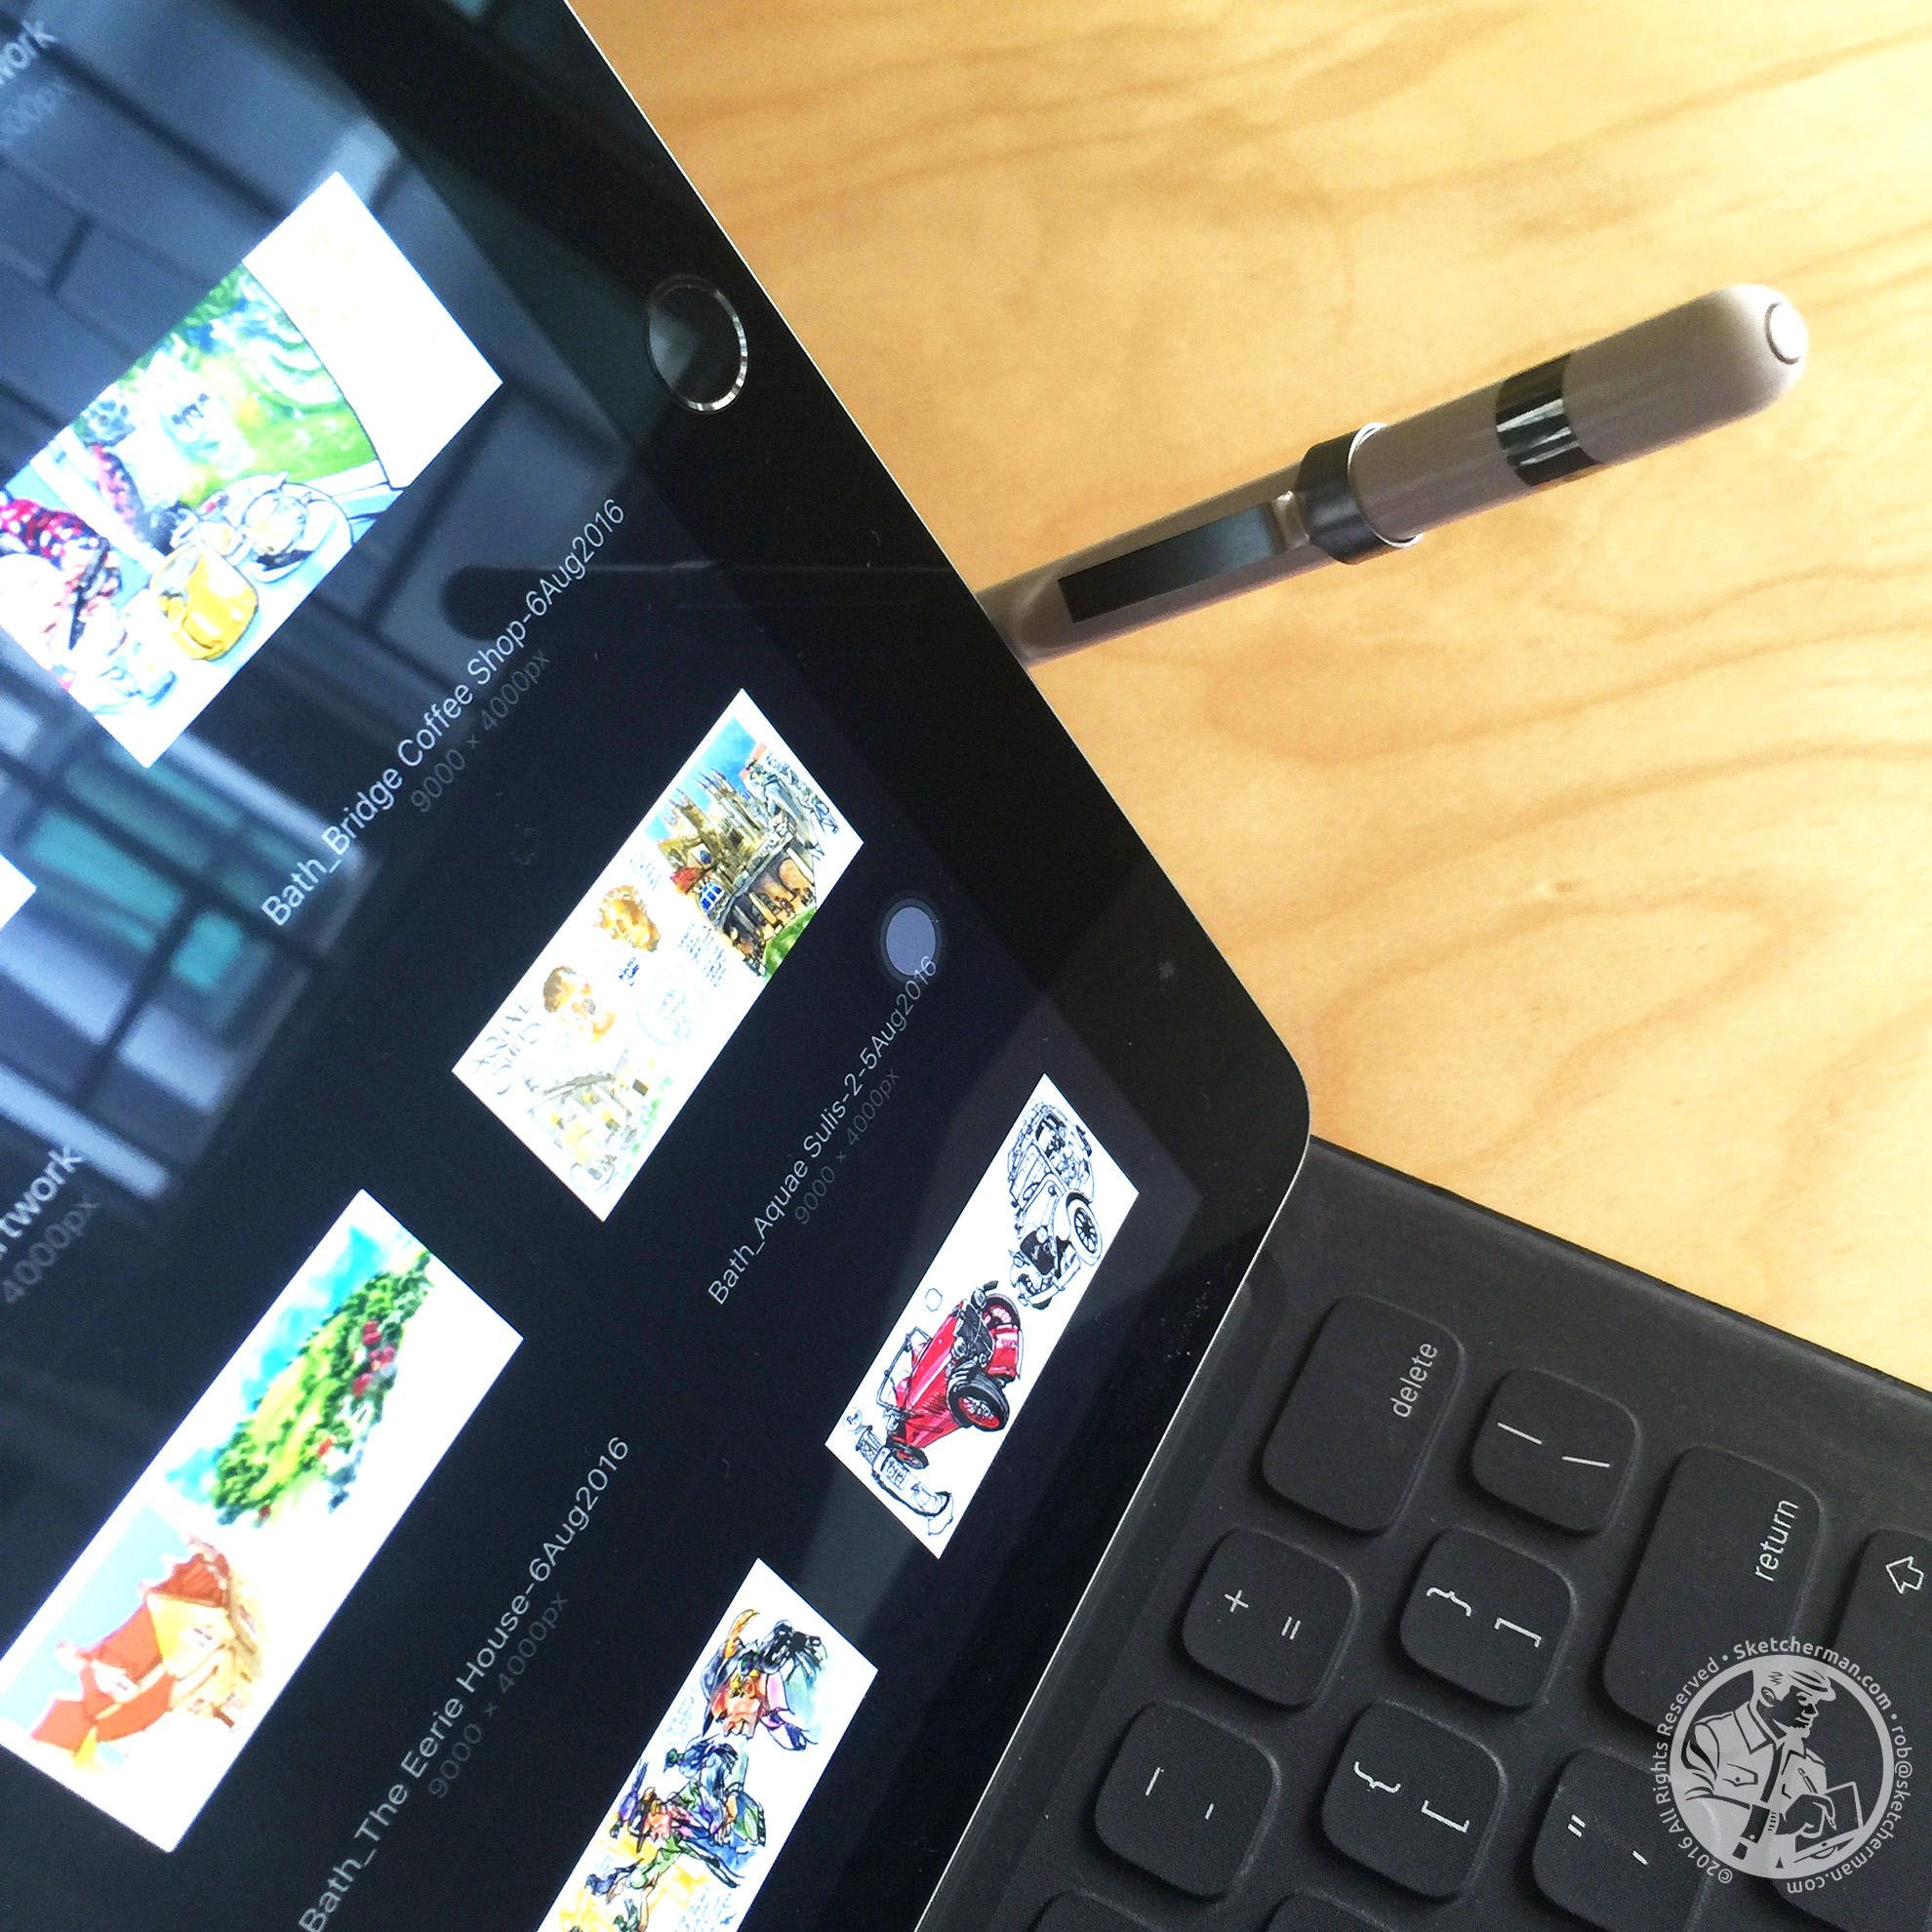
The MoMA clip slips onto a section of my Smart Keyboard, where the metal bit will not scratch my screen. The clip is nestled conveniently in the folds of the keyboard during transportation. The bonus is that this solution makes a perfect Pencil rest for when I'm typing, making it a cinch to use my Pencil or stick it back in its holder when not needed. I'm sure you can easily find something similar in a stationery store near you. 

In case you're wondering, yes, I was also curious about magnetic solutions that snap Pencil to iPad Pro like those offered by Moxiware. Someone actually gave me a Moxiware sleeve, but after testing it, I found that I did not like the bulge of the magnet. More importantly, I found that the Pencil would only stick to certain parts of the iPad Pro/keyboard cover, occasionally sliding off if you got placement wrong. Too much hassle and risk. 

Apple Pencil Cap protection

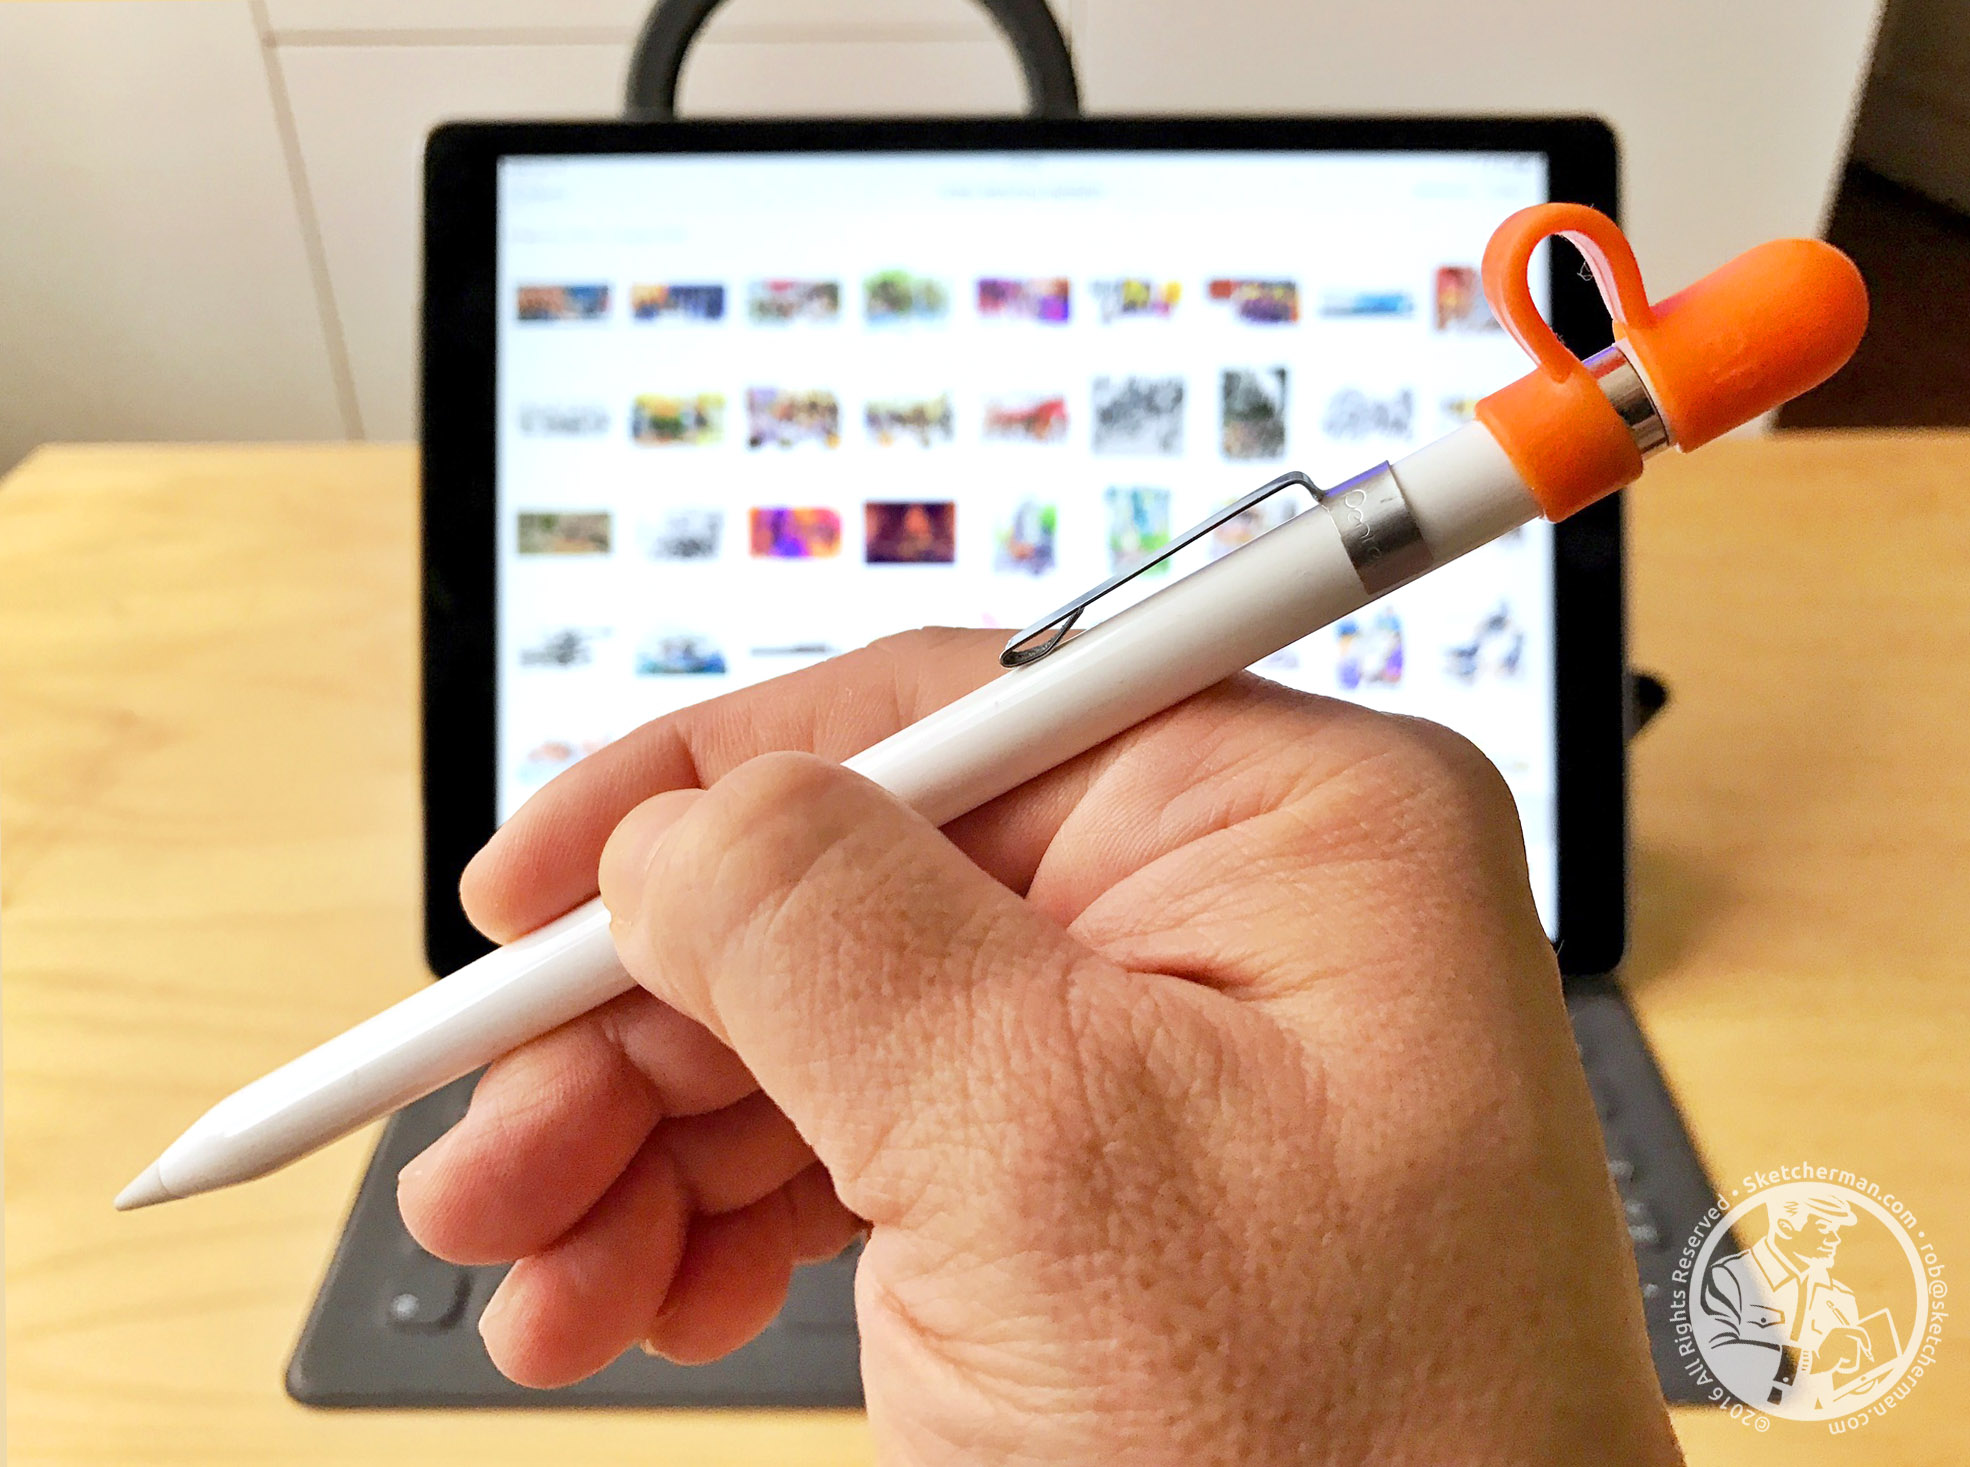
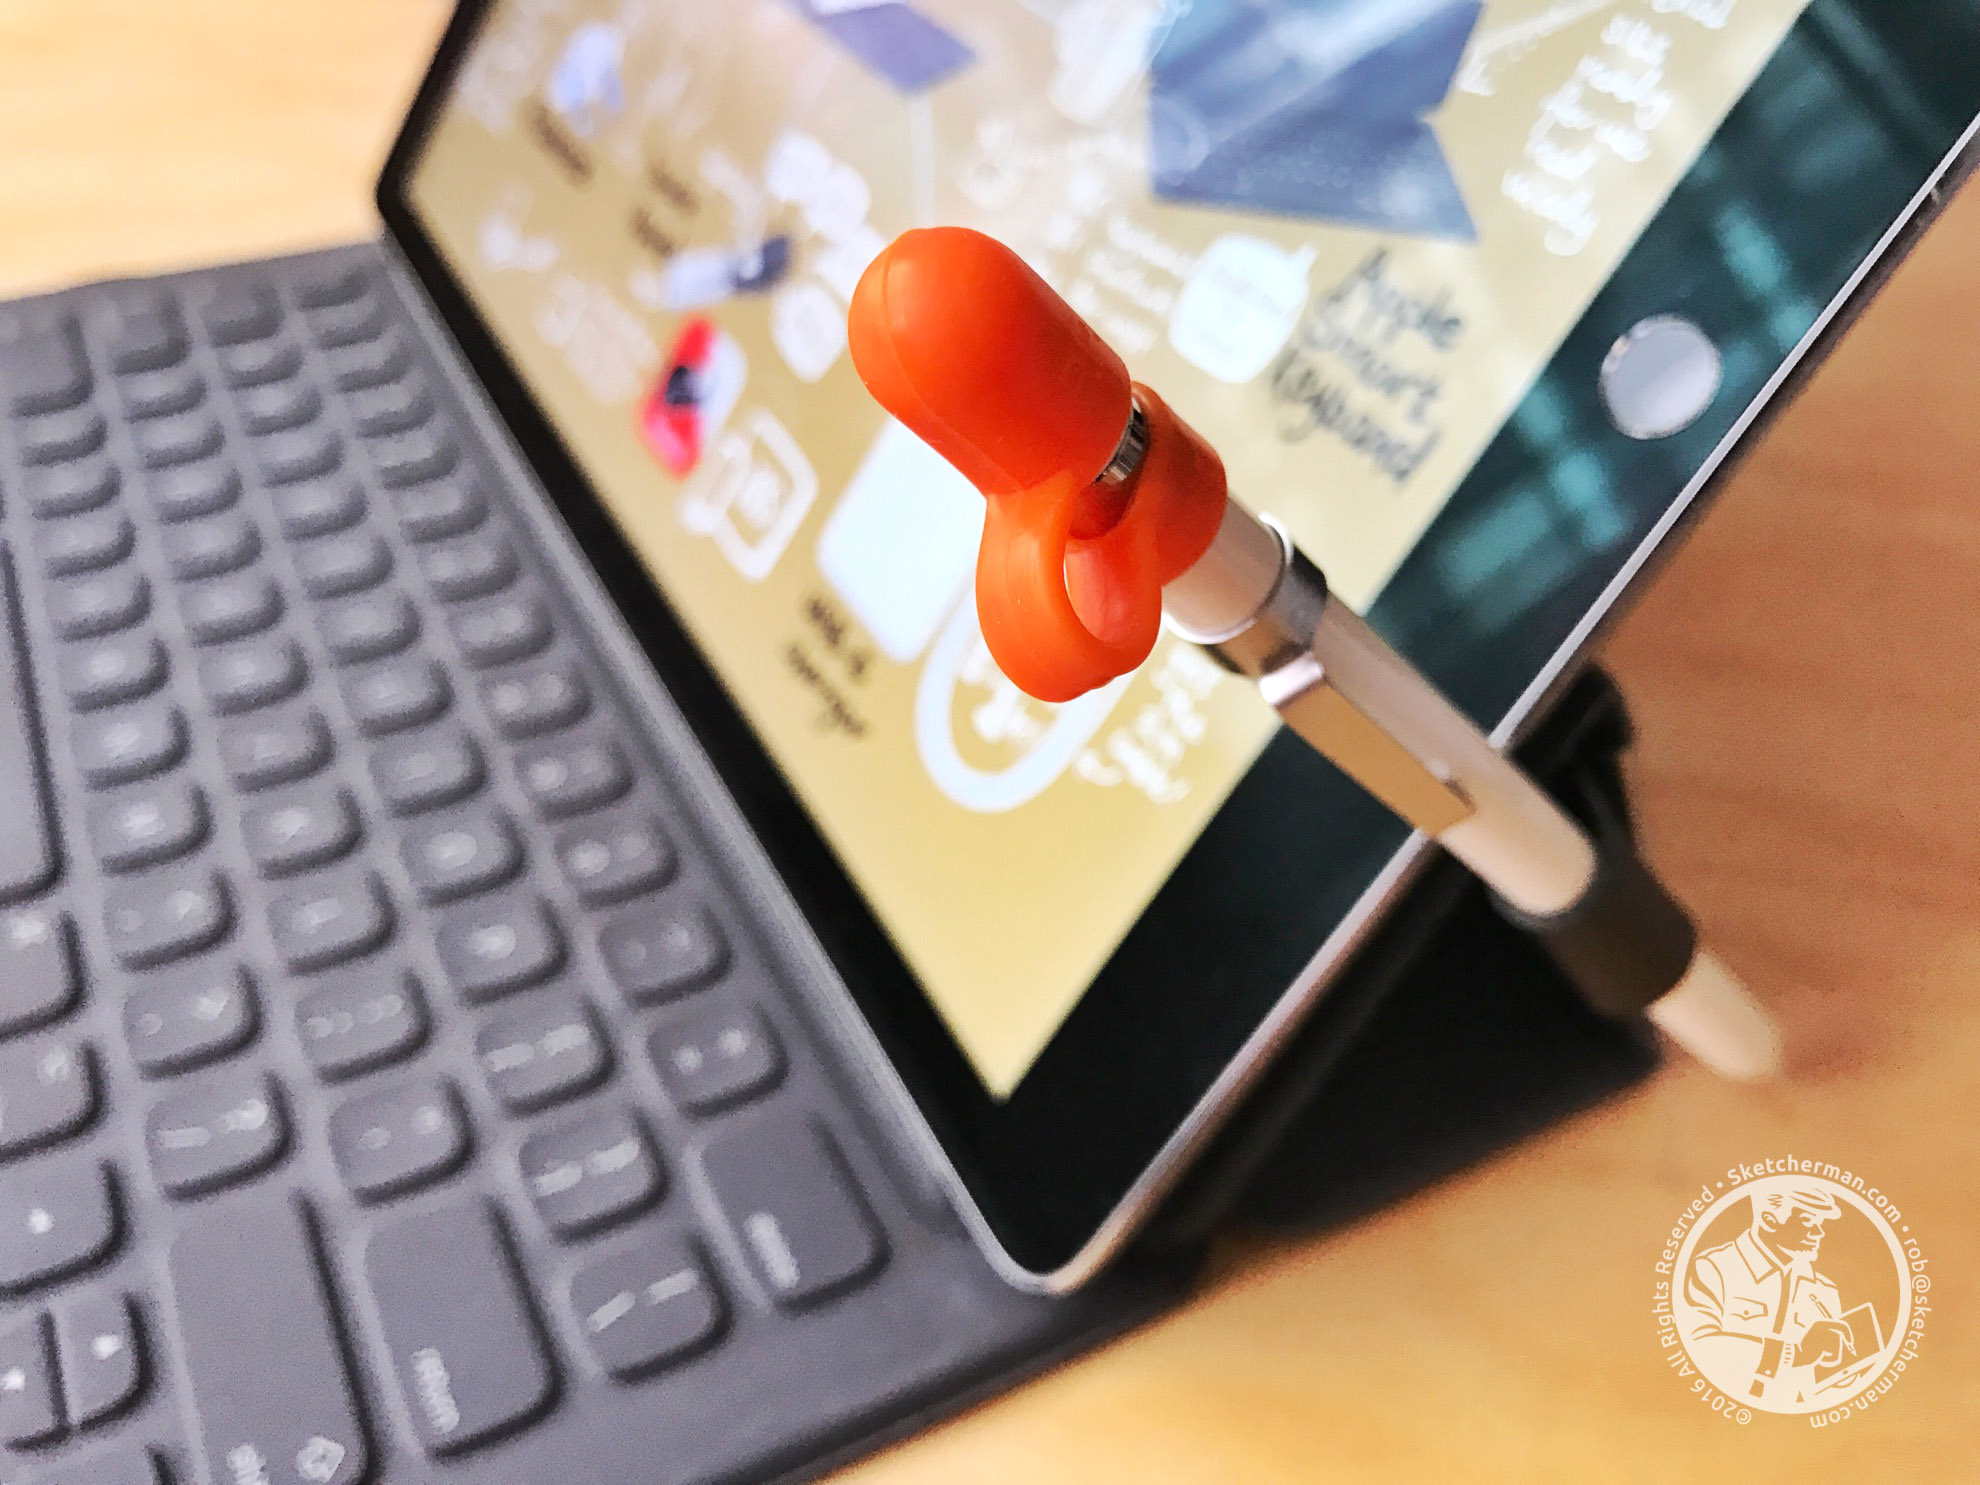
The other issue is the cap at the end of the Apple Pencil. When you charge the Pencil, the cap has to be detached, and the chance of loss can be pretty high if you're clumsy like I am. I've dropped my Pencil a few times and seen the cap fly under cabinets, bouncing and rolling off into all kinds of yucky dark corners. (Fortunately, I've been able to retrieve the cap each time, and my Pencil seems absolutely fine.)

During one of my workshops at the Urban Sketchers Symposium, I saw Mike Daikubara with one of these cap holders on his Apple Pencil, and thought, "Ha! What a clever idea!" Cheap, effective and no more flying Pencil caps. You see what I mean in the images below. You can also see how my Muji clip fits on the Smart keyboard.

Get the Apple Pencil Cap: Amazon.com | Amazon.co.uk | Amazon.ca | Amazon.de | Amazon.fr

Secure your Glasses...or Apple Pencil!

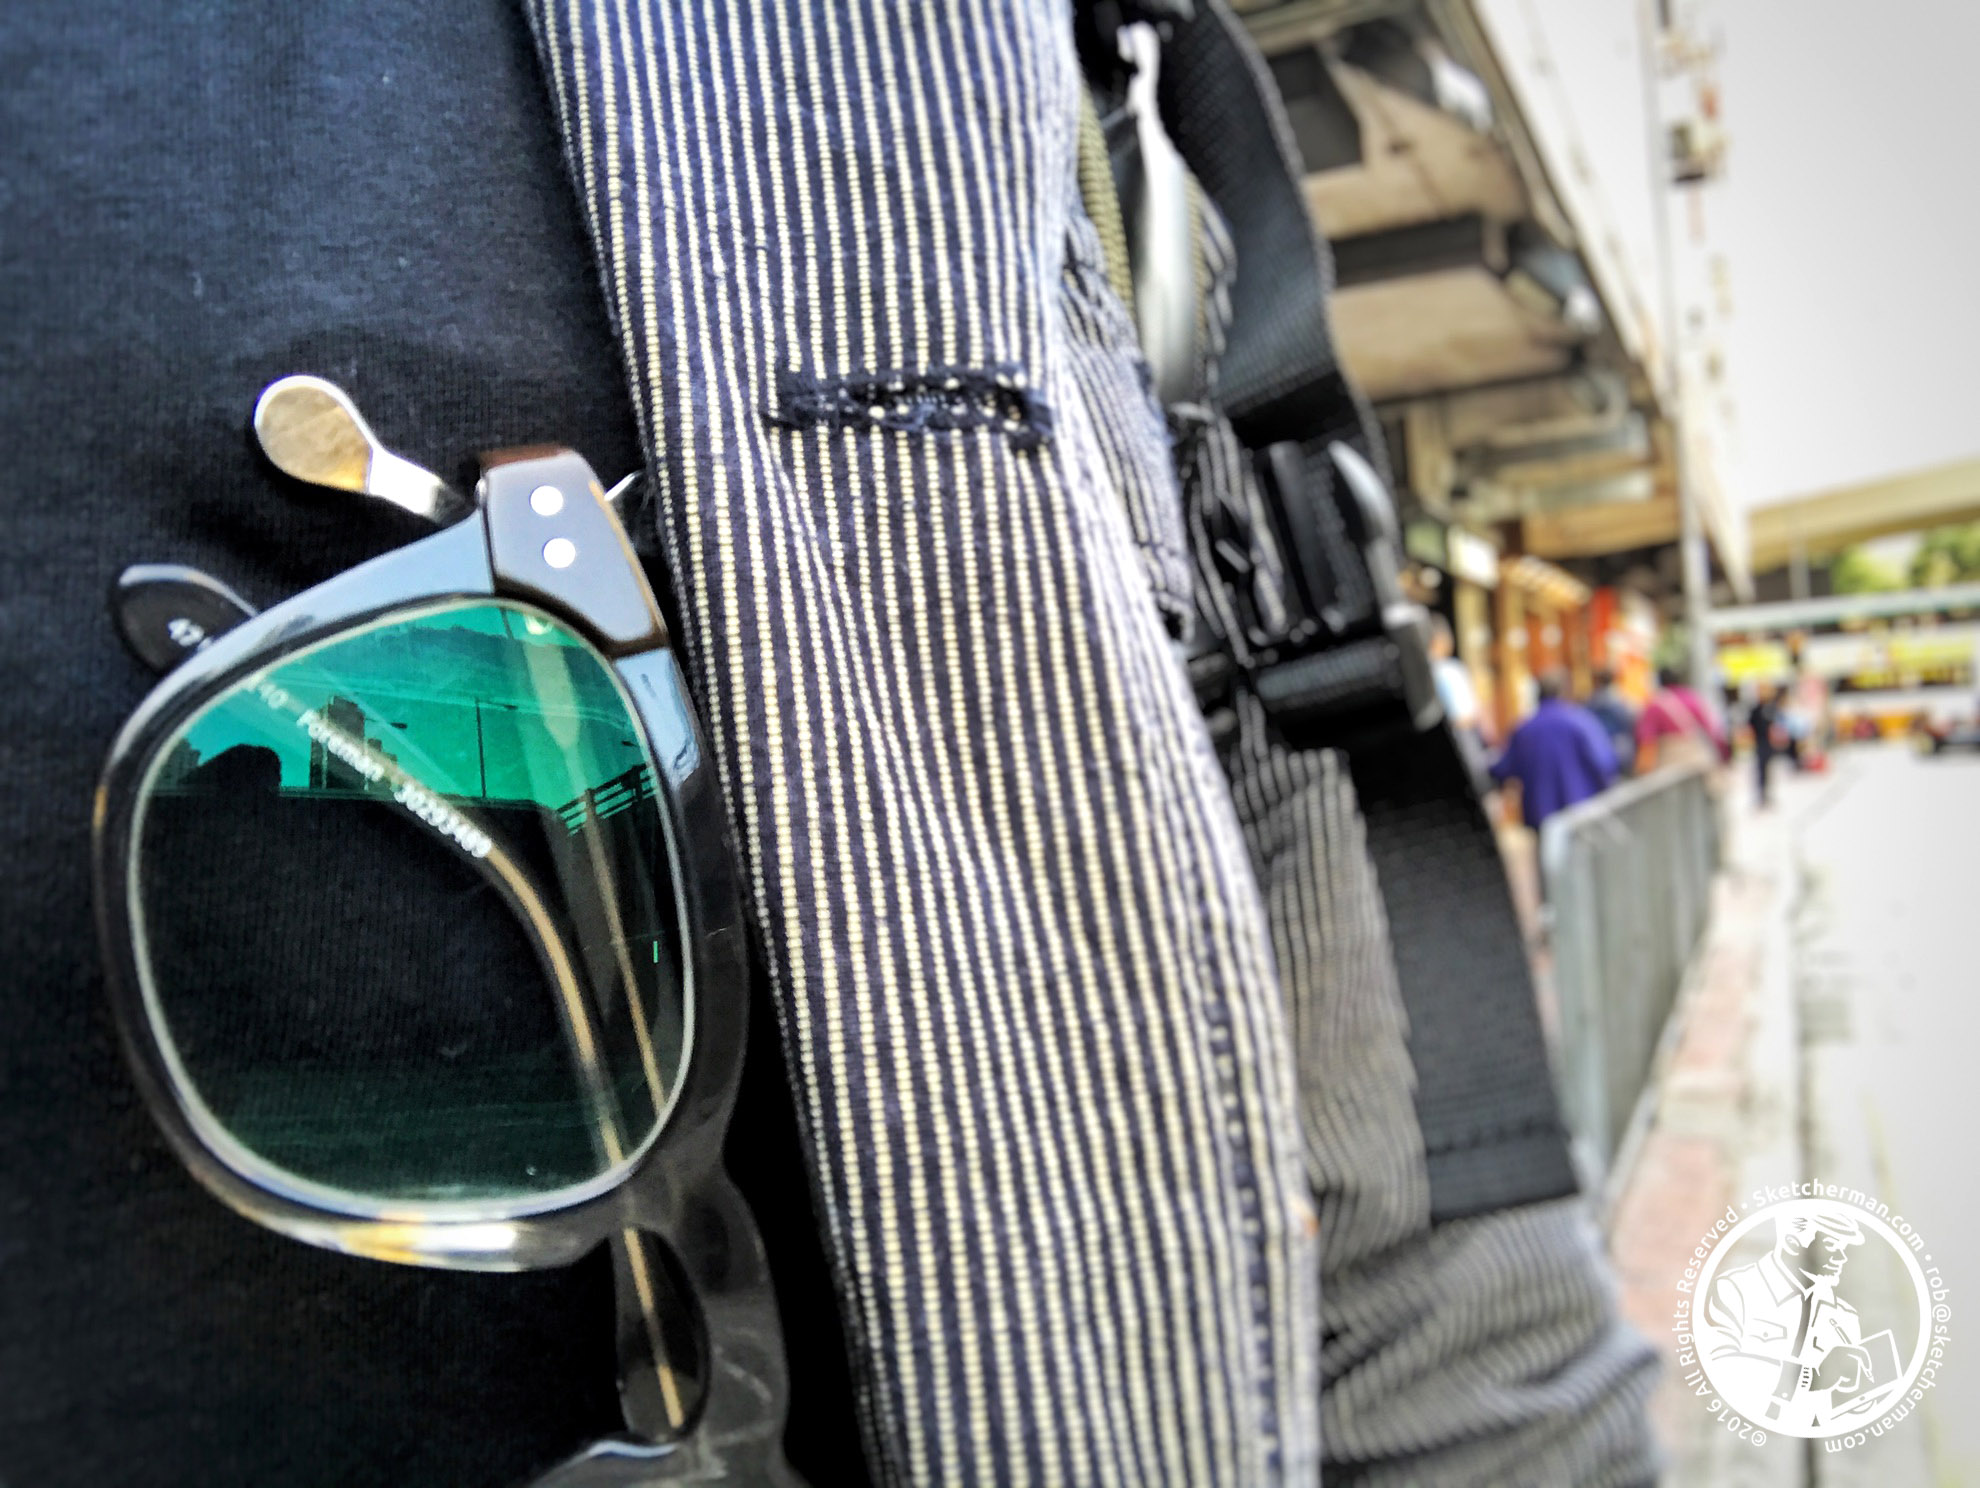
I need reading glasses. In fact, I'm one of those guys who'd constantly buy cheap drug store pairs because he'd misplace/break them all the time. A couple years ago, I discovered the Readerest. (Yes, I'm a Shark Tank fan.) This is a clever magnet device that clips onto any clothing, and you hang your glasses on them when not in use. The design is so clever that even when you bend over, the glasses stay in place! I've had many questions about them and can highly recommend these. Much better than coping with glasses flying out of pockets at inopportune moments. Just remember to take them off before doing the laundry!

An accidental happy discovery is that my Readerest is also a convenient temporary parking spot for my Pencil. When trying to clip my Pencil to my pocket one day, it stuck to my Readerest, and I was actually annoyed by the effort needed to pull it off the magnet when a light suddenly went off in my head. So... as I work now, I often stick the Pencil to the Readerest that's always on my shirt. When commuting, it stays safely in a dedicated slot in my backpack. Although I'm a self-confessed geek, having my Pencil constantly dangling off the front of my shirt as I walk around is a bit much, even for me!

Get a Readerest: Amazon.com | Amazon.co.uk | Amazon.ca | Amazon.de | Amazon.fr

Power for the Pro on the Go

The iPad Pro at full brightness pulls power from the battery really quickly. On my first sketchcrawl with my Jumbo Pro, I went from 100% to 13% in only 5 hours. I was sketching under direct sun, which causes iPads to jack brightness to the max. Pair that with a data-enabled iPad, the Jumbo's size and processing power, and you have a recipe for battery drain.

There 2 main ways to conserve battery power:

  • Work in airplane mode. When I know I'll be out all day, that's my default and makes a big difference in battery life. (That same 5-hour span would still leave me with between 50-75% battery life, depending on location and complexity of work.)
  • Turn off unnecessary notifications. Even if you're on occasional data or wifi, the iPad talking to all kinds of services on the internet still draws power.

Once I realized this, I began looking for a power bank that would be powerful enough to charge my Pro quickly. My criteria for purchase: the iPad Pro's battery level had to go up even during use, which didn't seem much to ask. Hunting high and low, I saw eager confidence die in many a salesman's eye. No luck anywhere. A year later, I now know that even the iPad Pro's bundled 12W charger can't charge my Jumbo up while in use, let alone power banks (even those I tested ones in the 20,000+ mAh range).

Enter Apple's 29W USB-C charger (and the separately sold USB-C to lightning cable). It was made for charging the latest MacBooks, and released March 2016. This is now essential equipment for me and takes my iPad Pro battery from 0-50% in a little under an hour, which means that I can take a break for a bite while juicing my Pro up enough for many more hours of sketching. Bonus: the adapter + cable are a lighter than a brick of a power bank!

I'll admit though - it's not cheap to add these to your gear, as both adapter and cable are sold separately. BUT if you already have an iPad Pro, use it primarily and are often on the move, I'd say it's an essential investment. And you might as well shell out the extra for the 2m cable - it's much handier.

Get a USB-C Charger:  Amazon.com | Amazon.co.uk | Amazon.ca | Amazon.de | Amazon.fr

Get a USB-C Cable: Amazon.com | Amazon.co.uk | Amazon.ca | Amazon.de | Amazon.fr

Various generations of pressure-sensitive styli I've used over the last 4 years. Top down: Apple Pencil, Adonit Pixel Pressure Sensitive, Adonit Jot Touch with Pixelpoint, Wacom Intuos Creative Stylus (1st gen, with modified Jaja teflon tip)

Various generations of pressure-sensitive styli I've used over the last 4 years. Top down: Apple Pencil, Adonit Pixel Pressure Sensitive, Adonit Jot Touch with Pixelpoint, Wacom Intuos Creative Stylus (1st gen, with modified Jaja teflon tip)

Styli for older iPads

If you're serious about trying digital sketching, I highly recommend testing your iPad with Procreate and a pressure-sensitive stylus. If you don't, you won't get what the fuss is about. Yes, there are iPad artists who are perfectly happy using their fingers. Whatever Steve Jobs said, I hated that experience. Don't know about you, but my hand blocks the screen when I try, and it's tiring to hover over any screen for hours.

Click the chart to enlarge and zoom in

One of the wonders of using a pressure-sensitive stylus is the joy of playing with lines of varying width. I never get enough of being able to start with really fine lines, then transitioning to bold juicy ones by applying just a touch more pressure. Working this way also requires a lot less effort than the traditional media equivalent, which means ergonomic advantages that I can certainly attest to. (And I never have to buy ink nor clean a pen ever again!)

Do note however, that to enjoy pressure sensitivity, your iPad has to be 3rd generation and newer, or released from 2012. You might be squinting or frowning right now trying to remember when you got that iPad that has been lying around. The chart on the left might help. Turn your iPad over and check its model number (those tiny numbers below the word 'iPad') against the chart to see which iPad model you own. If you see a tick, you're in!

BUT...you should also be aware that while your iPad can talk to newer pressure-sensitive styli, it might not run the latest apps very well. The difference in power and performance between the first iPad and the latest is HUGH; day and night difference, really. As developers take advantage of all the power available to them, older iPads may stutter and faint from the effort of trying to keep up. I'll venture to say your digital sketching experience could be frustrating on anything older than the first iPad Air.

I can't talk about styli for older iPads without a quick mention of the one I used, loved and took everywhere for 3 years; my (modified) 1st gen Wacom Intuos Creative Stylus which I used with an iPad Air. I've written extensively here about the hows and whys of adding a teflon tip to the rubber end, but cannot recommend this solution any longer as those teflon tips are no longer being sold. And no matter how cheap, do not buy the Wacom ICS2. It's a real lemon. (Impossible to draw decent diagonal lines or circles slowly.)

Adonit's pressure-sensitive styli and their USB charging dongles. The latest Pixel Pressure Sensitive (top) and older Jot Touch with Pixelpoint (below). Be sure to take the charging dongle with you so you're not stuck with a dead stylus!

Adonit's pressure-sensitive styli and their USB charging dongles. The latest Pixel Pressure Sensitive (top) and older Jot Touch with Pixelpoint (below). Be sure to take the charging dongle with you so you're not stuck with a dead stylus!

With that out of the way, if you have want a pressure-sensitive stylus for that older iPad, these are what I now recommend: 

I bought the Adonit Jot Touch with Pixelpoint when it was released but found it just okay... the tip was very hard and didn't feel good against the screen. A couple months ago, I picked up the latest iteration from Adonit, the Adonit Pixel Pressure Sensitive, which is quite an improvement over its predecessor.

Adonit obviously put a fair bit of thought into the Pixel Pressure Sensitive. It's longer, slimmer, a little lighter, and feels better balanced to me. Most significantly, the tip is finer, has a little give, and feels much more natural gliding across the screen. They've also added a touch of resistance which almost makes it feel like you're drawing on paper (unlike the unyielding weirdness with their earlier iteration). 

Some things to keep in mind about both Adonit's pressure-sensitive styli:

  • Adonit pressure-sensitive styli only work with certain apps. You'll have to refer to Adonit's site for which ones, so please check before you buy. [Note: This is not Adonit's fault. Apple provided a way for third-party styli manufacturers to work with iPads, but it's a software solution, not hardware like Pencil to Pro. Styli manufacturers provide SDK (software development kits) which allow their styli to be integrated into apps. App developers then have to make the effort of adding the SDK, testing styli, killing bugs etc. Good developers and their apps support the most popular styli, which is my first litmus test when buying creative apps.]
  • Getting the stylus to work requires Bluetooth pairing with individual apps, one by one, usually in the app's preference settings. Make sure Bluetooth is turned on!
  • The styli are rechargeable via the little USB dongle-like accessory that's provided.
  • Take the dongle with you when you're out and about, should you need to charge on the fly. And keep it safe! It's small and easy to misplace.
  • There's no way to easily check battery status, so top up your charge every now and then to be sure. (Some apps, like Procreate, allow you to check stylus battery level, usually in the app's settings.)
  • If the battery is flat, the stylus is pretty useless and won't even function as a dumb stylus (those rubber-tipped ones with no pressure sensitivity).
  • A full charge takes 1-1.5hours.
  • You'll get between 15-20 hours of use with each charge

Get the Adonit PPS: Amazon.com | Amazon.co.uk | Amazon.ca | Amazon.de | Amazon.fr

The USB stick for iPads and iPhones

A couple of weeks ago, I had a graphic recording commission (aka sketchnoting/making visual notes). I was to sketch on my iPad Pro and hand off animations and images quickly to the waiting video team, who would then project my work on the livestream or on displays around the conference area. Before the event, we went over many options to do this efficiently. I first thought "Airdrop!", but the tech team said they find it occasionally unreliable. I then said, "How about using cloud services? Google Drive? Dropbox?" Email? The videos were all under 10MB anyway. But tech said they weren't sure of wifi speed and wanted a fail-proof solution. I thought I'd have to bring my Macbook Pro just in case I needed to transfer and copy files.

"Can your iPad just copy files to a USB stick?" I was asked, leaving me somewhat flustered for a bit, because as fas as I knew, the answer was "No". Or not reliably, in my experience, as I've seen and tested so-called USB sticks for iPhones and iPads and have been so appalled at results I never looked again. Or had to. Until now.

A quick Google search brought up a brand I recognized and trusted: Sandisk! And they've been making a great solution for the past 2-3 years! I admit - I felt embarrassed at being ignorant about such a crucial answer to 2 problems every iPhone and iPad user must have come across at some point or other: offline, untethered file transfer and emergency shortage of space.

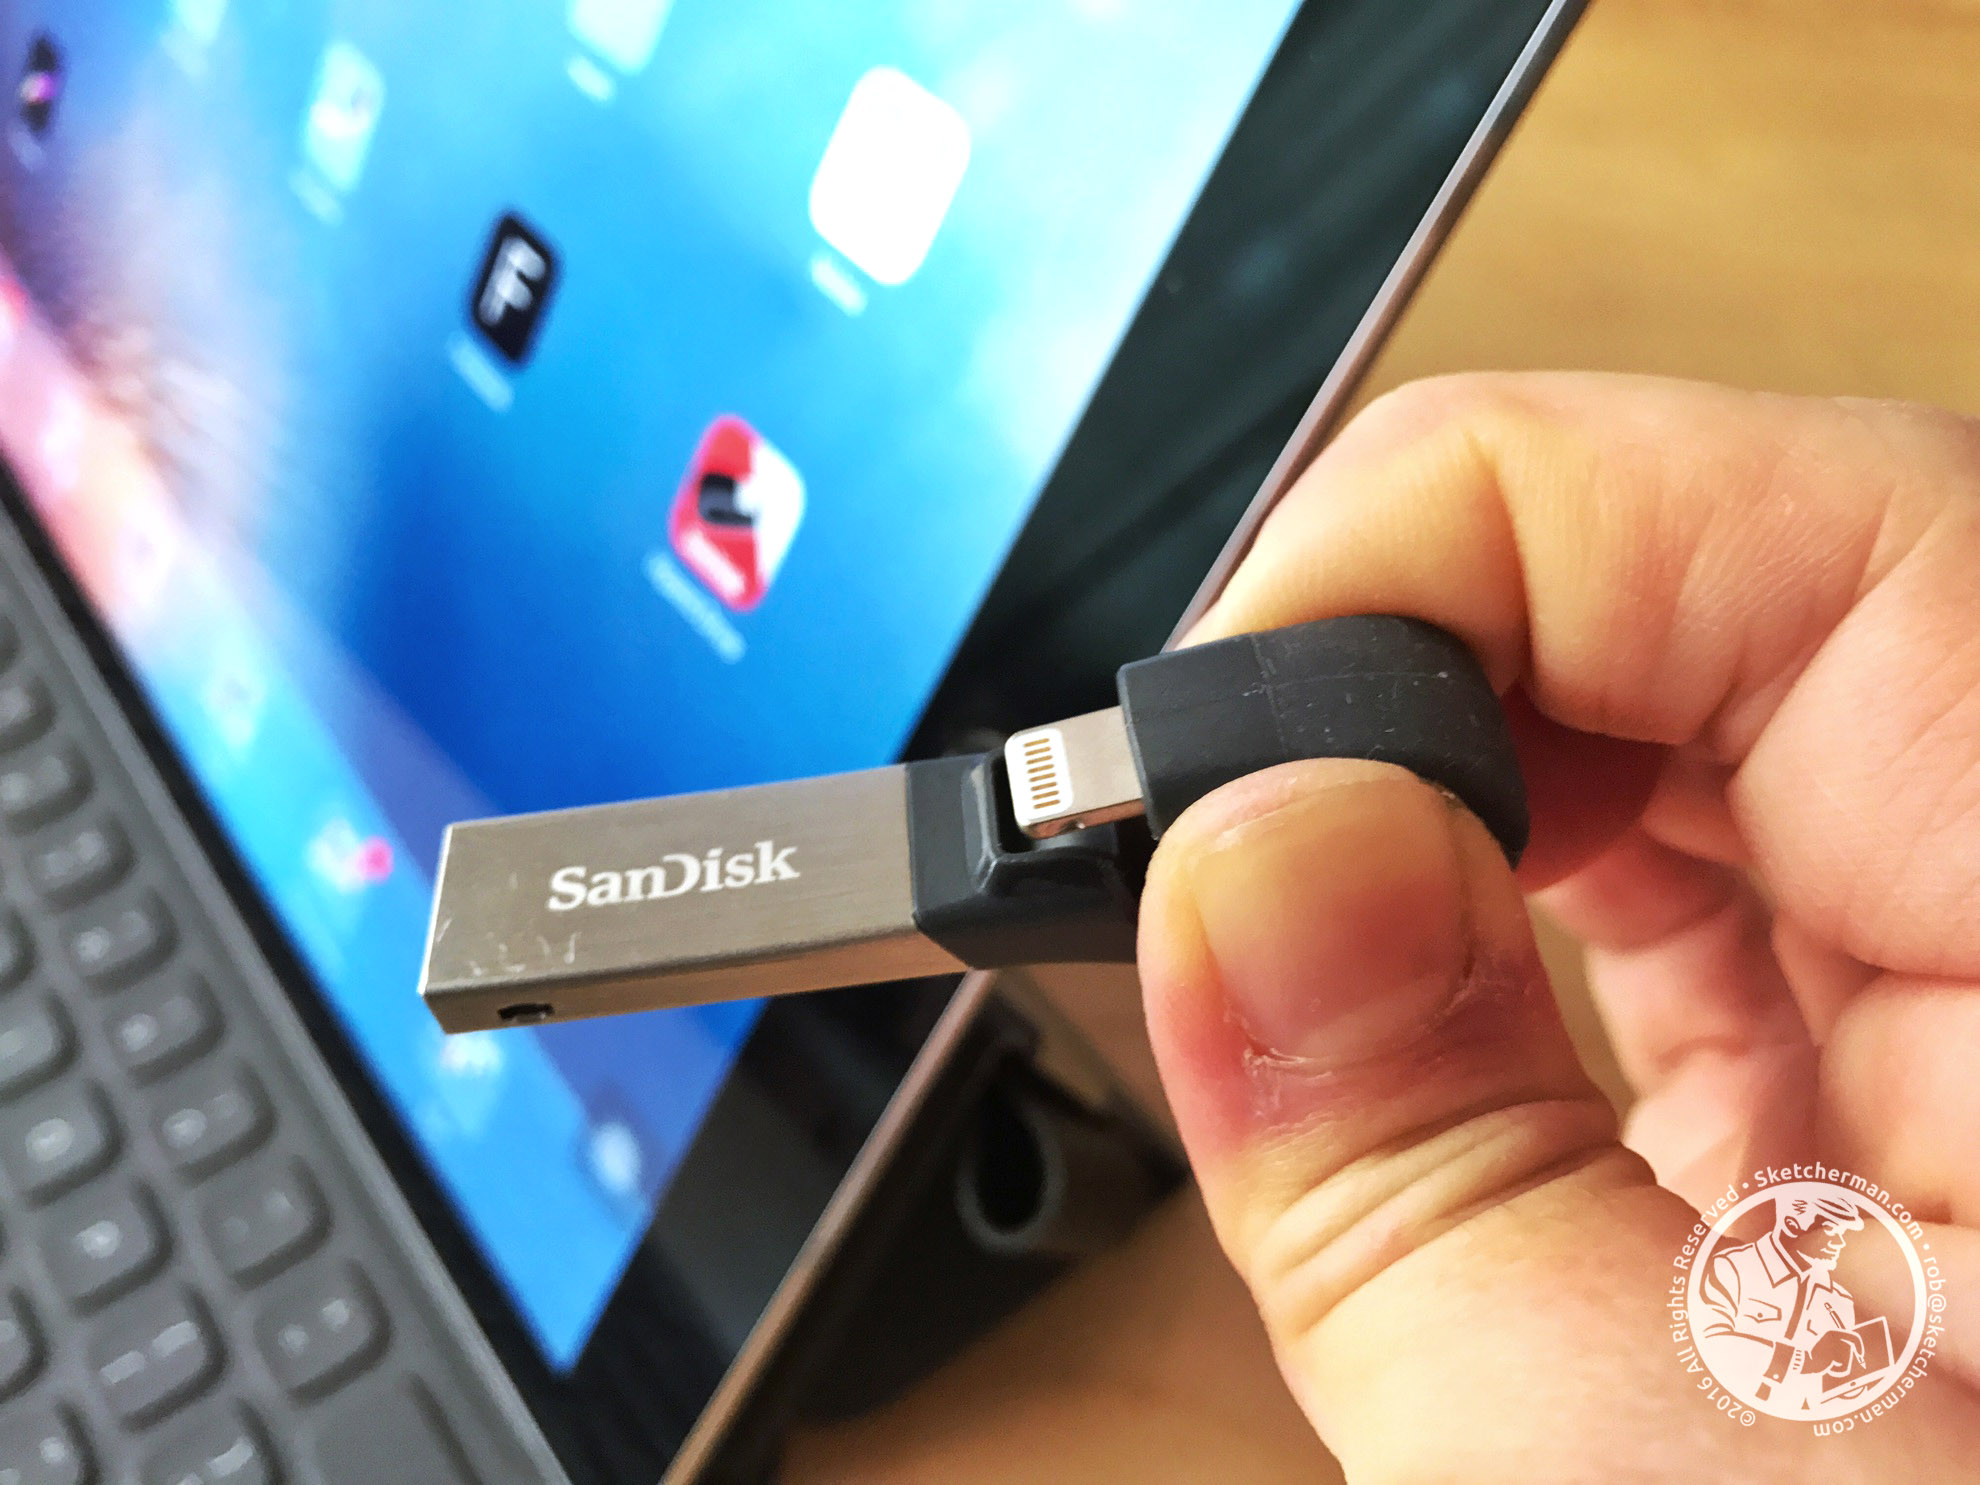
So dear readers, if you haven't already heard of it, I am so pleased to be able to introduce you to the Sandisk iXpand. Forget the wonky- name knock offs online. I tried them and they were cheaper, yes, but total duds and a waste of time and money. If getting data off your iPhone / iPad without wifi or a data connection is important to you, so is a reliable, dependable way to do this, and after pushing the iXpand hard over the last few weeks, I give it a huge thumbs-up. It now travels in my mobile kit everywhere because you just never know.

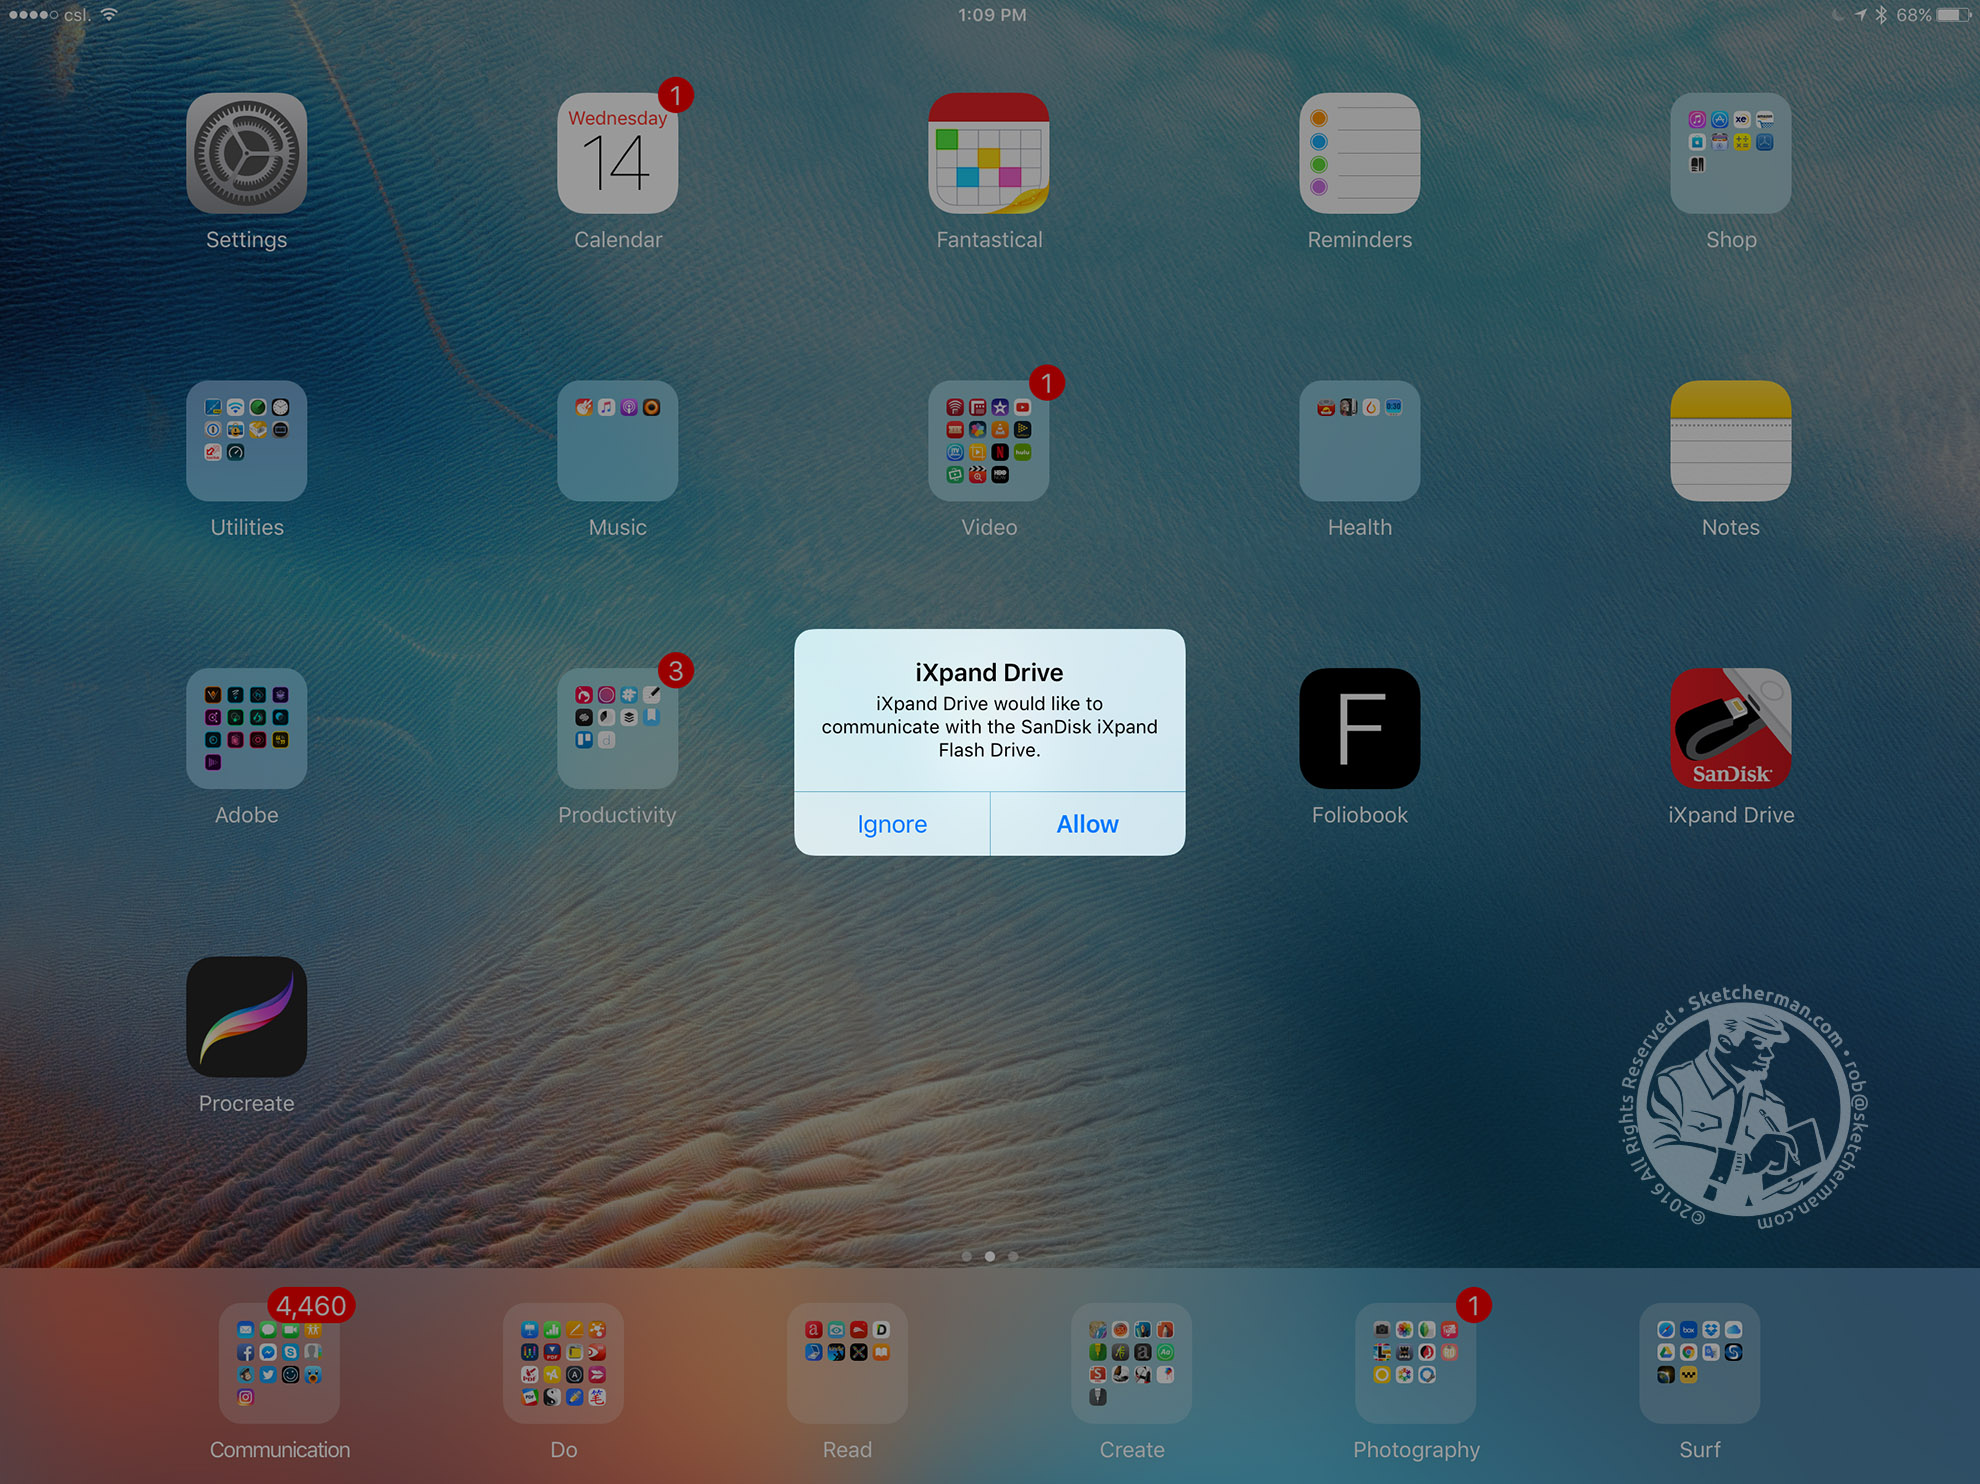
The dark curved part ends in a lightning plug that plugs right into you iPad. When the correct app is installed, it will recognize your iXpand drive and ask fro permission to access it. Follow the prompts from there to view files on you drive or copy files from iPad to iXpand. I thought the design a little odd until I plugged the iXpand in. The curve hugs your iPad with the USB end curling around the back of your device. This also means you don't have a fragile bit sticking out of your lightning port (yes, I'm looking at you, Apple Pencil). Clever!

Between meetings one day, I was able to easily back up all my original Procreate files and clear 10GB off my iPad Pro hard disk; no more wondering what to delete in a pinch! If you get the larger capacity iXpand drive, it might also be a handy back-up on vacations when your iPhone fills with photos and videos. I got the 128GB version so I can back up files from both iPhone and iPad Pro if needed.

Do note: the iXpand I recommend is the latest version, which uses USB 3 transfer speeds for supported iPads (at this point, Pros only). There is an older iXpand, which uses USB 2 speeds. the image below shows the different versions.

Get the SanDisk iXpand USB stick:  Amazon.com | Amazon.co.uk | Amazon.ca | Amazon.de | Amazon.fr

Old SanDisk iXpand on the left and the latest iXpand on the right.

The iXpand app has earned its place on my home screen. Make sure you download the right app!

The iXpand app has earned its place on my home screen. Make sure you download the right app!

More on the SanDisk iXpand:

  • The Sandisk iXpand comes in 4 sizes: 16GB/ 32GB / 64GB / 128GB.
  • USB 3 transfer speeds for devices that support it! (iPad Pros support USB 3. Older devices default to USB 2 speeds)
  • You need to download the free Sandisk iXpand app for iOS for file transfer. Be careful - Sandisk makes a few apps for various USB stick models. The old and new iXpand drives use different apps. Make sure you download the right one and test it before you need to rely on it for an important event!
  • Originally made to only copy and back-up photos and videos from your device's Camera Roll, recent iOS updates now allow you to enable the iXpand app extension, allowing you to copy and back up files from any app (all apps I tested anyway, including original Procreate file formats, PDFs, 4K video files from the Documents app).
  • You can even rename files once they've been copied to the iXpand. Seems trivial, but I have hunted a long time for the ability to change image names from my Camera Roll before handing them off to a client.
  • It's small, light, and a little weird-looking. Some people complain that there's no cap for the ends, but I haven't yet found that to be a problem.

Should I Upgrade My iPad?

Finally, we come to the question I am often asked : do I upgrade or not?

I talked about this at length with participants from various workshops I've run, and will state this again here for those who are toying with the idea. This may come as a surprise, but I do not simply urge "Upgrade!" for everyone with an older iPad. Needs vary, and forking out for an iPad Pro is a major investment for many, requiring thought and planning before arriving at a decision.

I've made a list of considerations which may help you decide.

You probably don't need to upgrade your iPad if

  • You're a light user of your current iPad (email, web surfing and reading only)
  • You have an iPad Air (original, or Air 2)
  • You're not sure if you want to sketch digitally, but are a little curious.

I then suggest playing around with what you've got to see if digital sketching works for you before plunking money down for the latest and greatest. Maybe invest or borrow a compatible pressure-sensitive stylus, dabble with Procreate and see how the whole experience feels for you.

Consider upgrading your iPad if

  • Your iPad is 2nd generation and older (released 2011 or earlier) or lately, e..v..e..r..y..t..h..i..n..g... feels painfully slow with apps crashing a lot. (As hardware becomes more powerful, app developers make great stuff that take advantage of all the horsepower. Consequently, older iPad models struggle and apps quit unexpectedly every now and then from the workload.) 
  • You've tried it and are now serious about diving in digital sketching.
  • You're a heavy iPad user and feel like your current model is getting really slow, so Santa should probably bring a new one anyway.
  • You use an iPad a lot for work and want more processing power.
  • Money is no object and you really want a Pro!
  • BUT....unless you're in a super hurry, maybe hang onto your wallet a little longer until the announcement of new models in Q1 2017! Rumor mills tout the release of 3 sizes, with a 10.5" version in the mix. (I don't know about you, but I hate spending a good chunk of money on something precious, only to find it's the latest and greatest for a few months. But that's just me.)

Whatever your case may be, at least borrow a more recent model for testing if you can. If possible, get your hands on an iPad Air (1 or 2) for a whirl. Those are still pretty good models and I still have mine. If you're considering an iPad Pro, please... pop into an Apple Store if you can to spend some time testing along with the Apple Pencil. If you do, expect to be very tempted to hand your wallet over, but seasonal sales might net you a deal that's worth the purchase!

Ok - that's my list! If there's something handy you use that I didn't talk about, I'd love to hear about it!

Get a 9.7" iPad Pro:  Amazon.com | Amazon.co.uk | Amazon.ca | Amazon.de | Amazon.fr

The Best iPad Case / Holder / Support for iPad Artists: My 2016 Sketching Gear List Pt.1

Demo Time during the Urban Sketcher Symposium 2016 in Manchester over the summer! 

Demo Time during the Urban Sketcher Symposium 2016 in Manchester over the summer! 

Over the summer, I had a fantastic time in the UK, the main focus being the delivery of my workshop, Sketching on iPads with Procreate at the Urban Sketcher Symposium in Manchester. In particular, I wanted to list the equipment I use, discuss and recommend all the time.

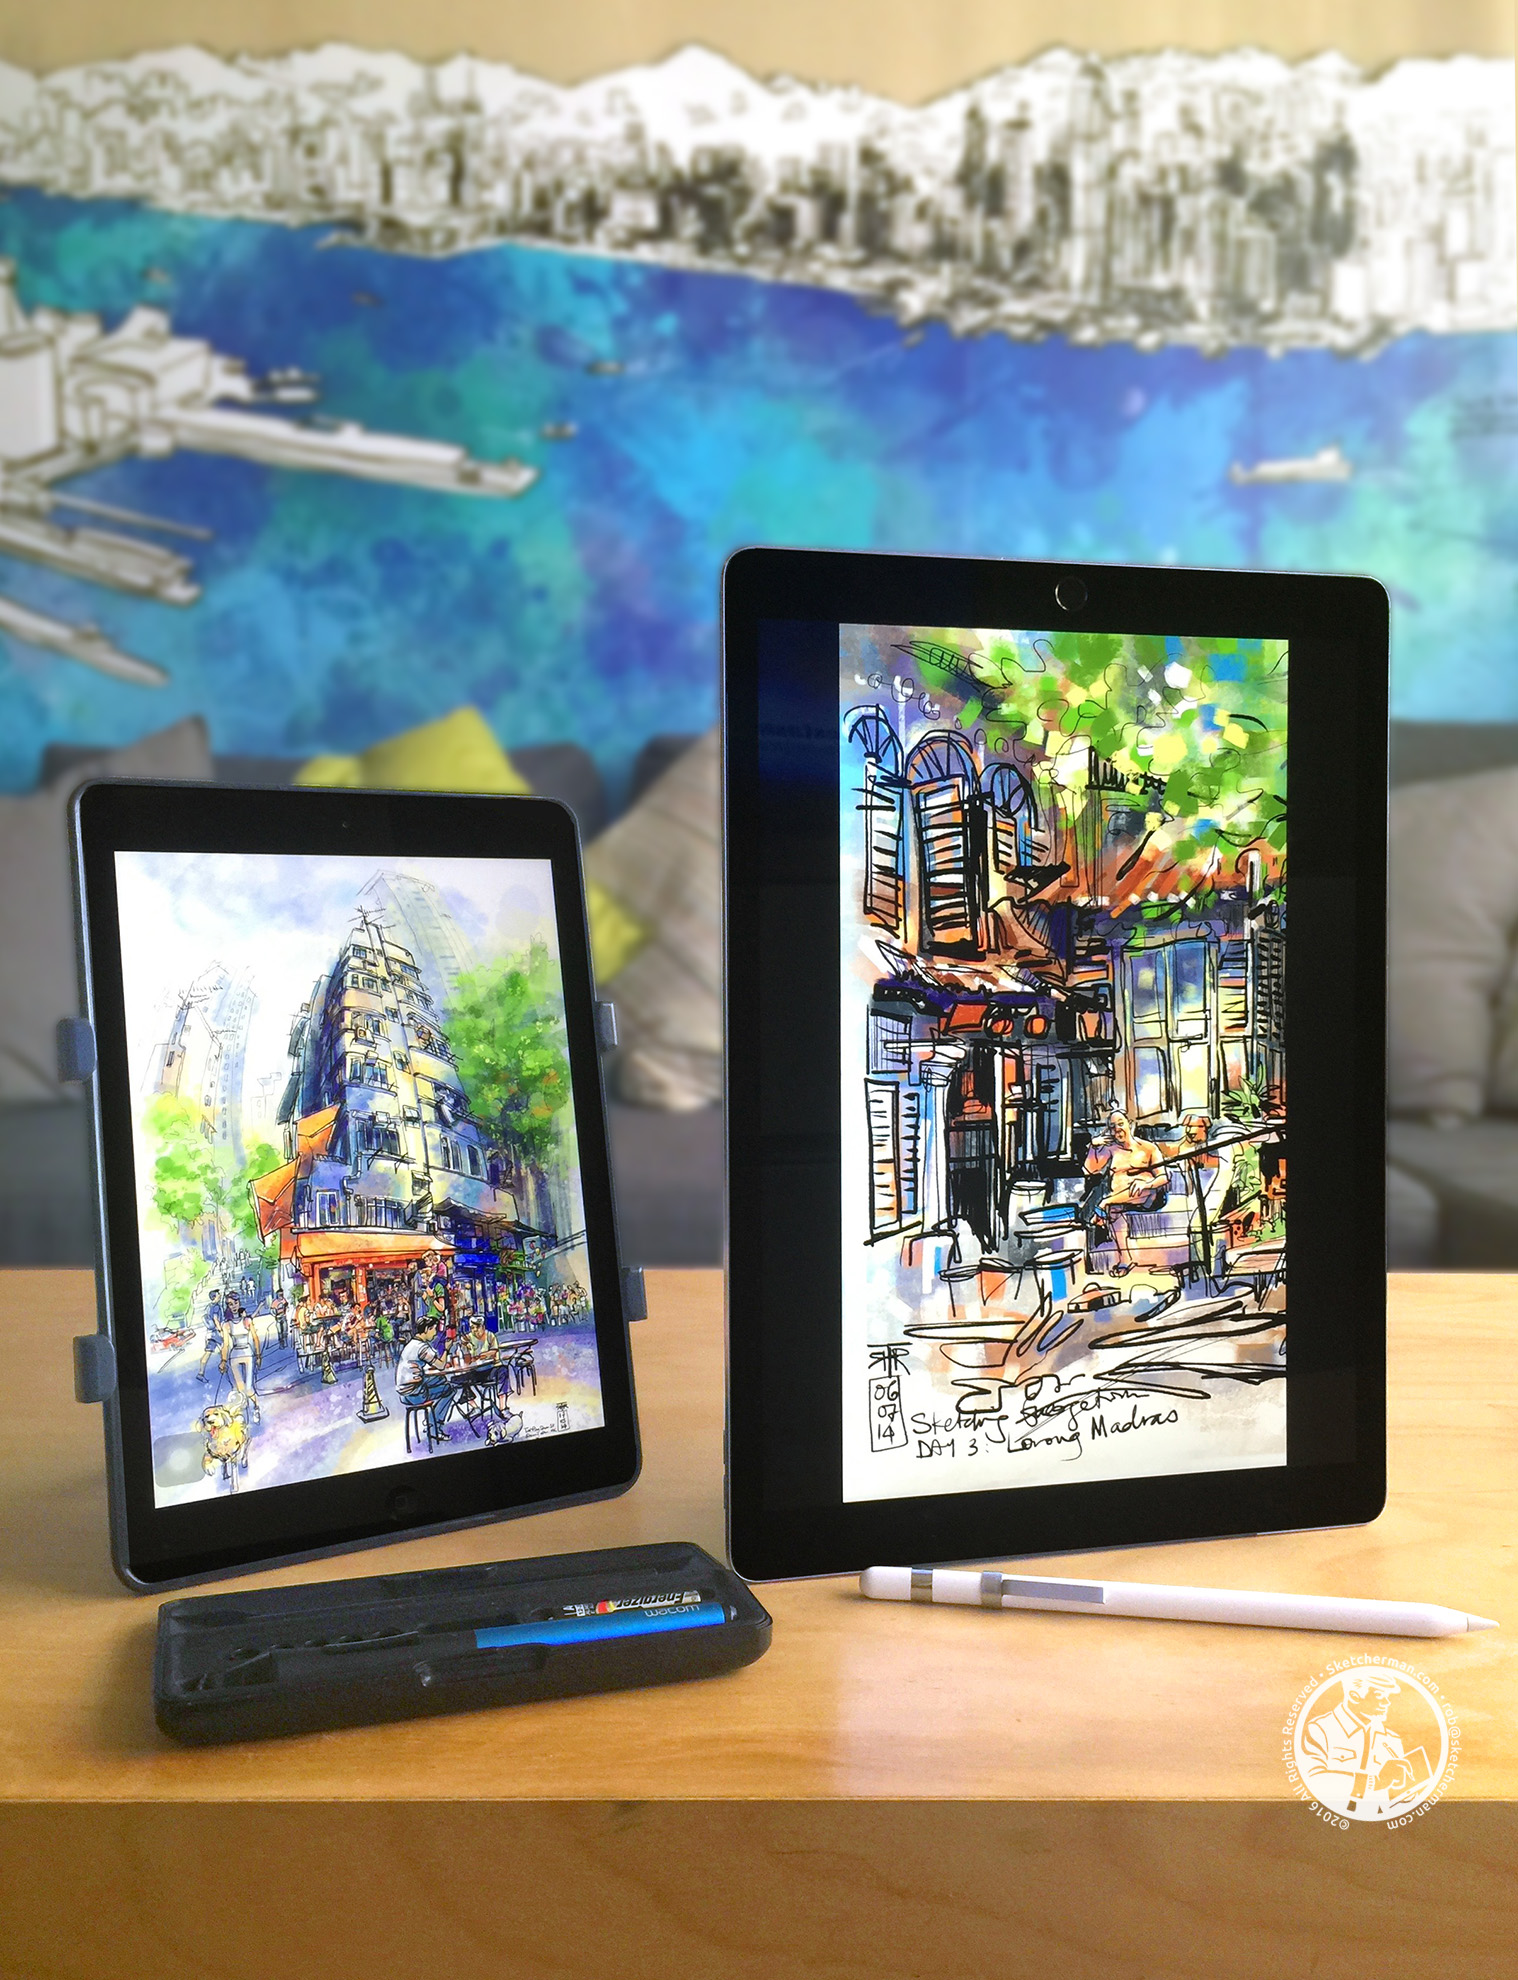
After having used the iPad Pro (12.9") and Apple Pencil from Day One of their release (about a year now!), I can say first, that I absolutely love both, and second, certain accessories make the total experience so much better, especially when urban sketching. Illustrators who use iPads and iPad artists who want to be mobile might also find my list useful.

Apart from the stylus that makes every iPad Pro magical, there is another must-have accessory that has drawn a lot of curiosity whenever it's been spotted with me. Everywhere I go, people want to know about the 'handle' I use with my iPad Pro. Ever since I got what I occasionally (affectionately) call my Jumbo Pro, I've been on the hunt for the perfect case/holder/support. If you've read my previous posts, you'll know I loved my Twist360 with my iPad Air, (and I still highly recommend it for anyone using 9.7" iPads, be they Pro or not). 

As soon as I got my iPad Pro, I emailed Bracketron, the company that makes the Twist360, to see if they planned on making a bigger Twist360 for larger tablets, and was most disappointed when they said they had no such plans. With a grimace, off I went to look for something that could take its place.

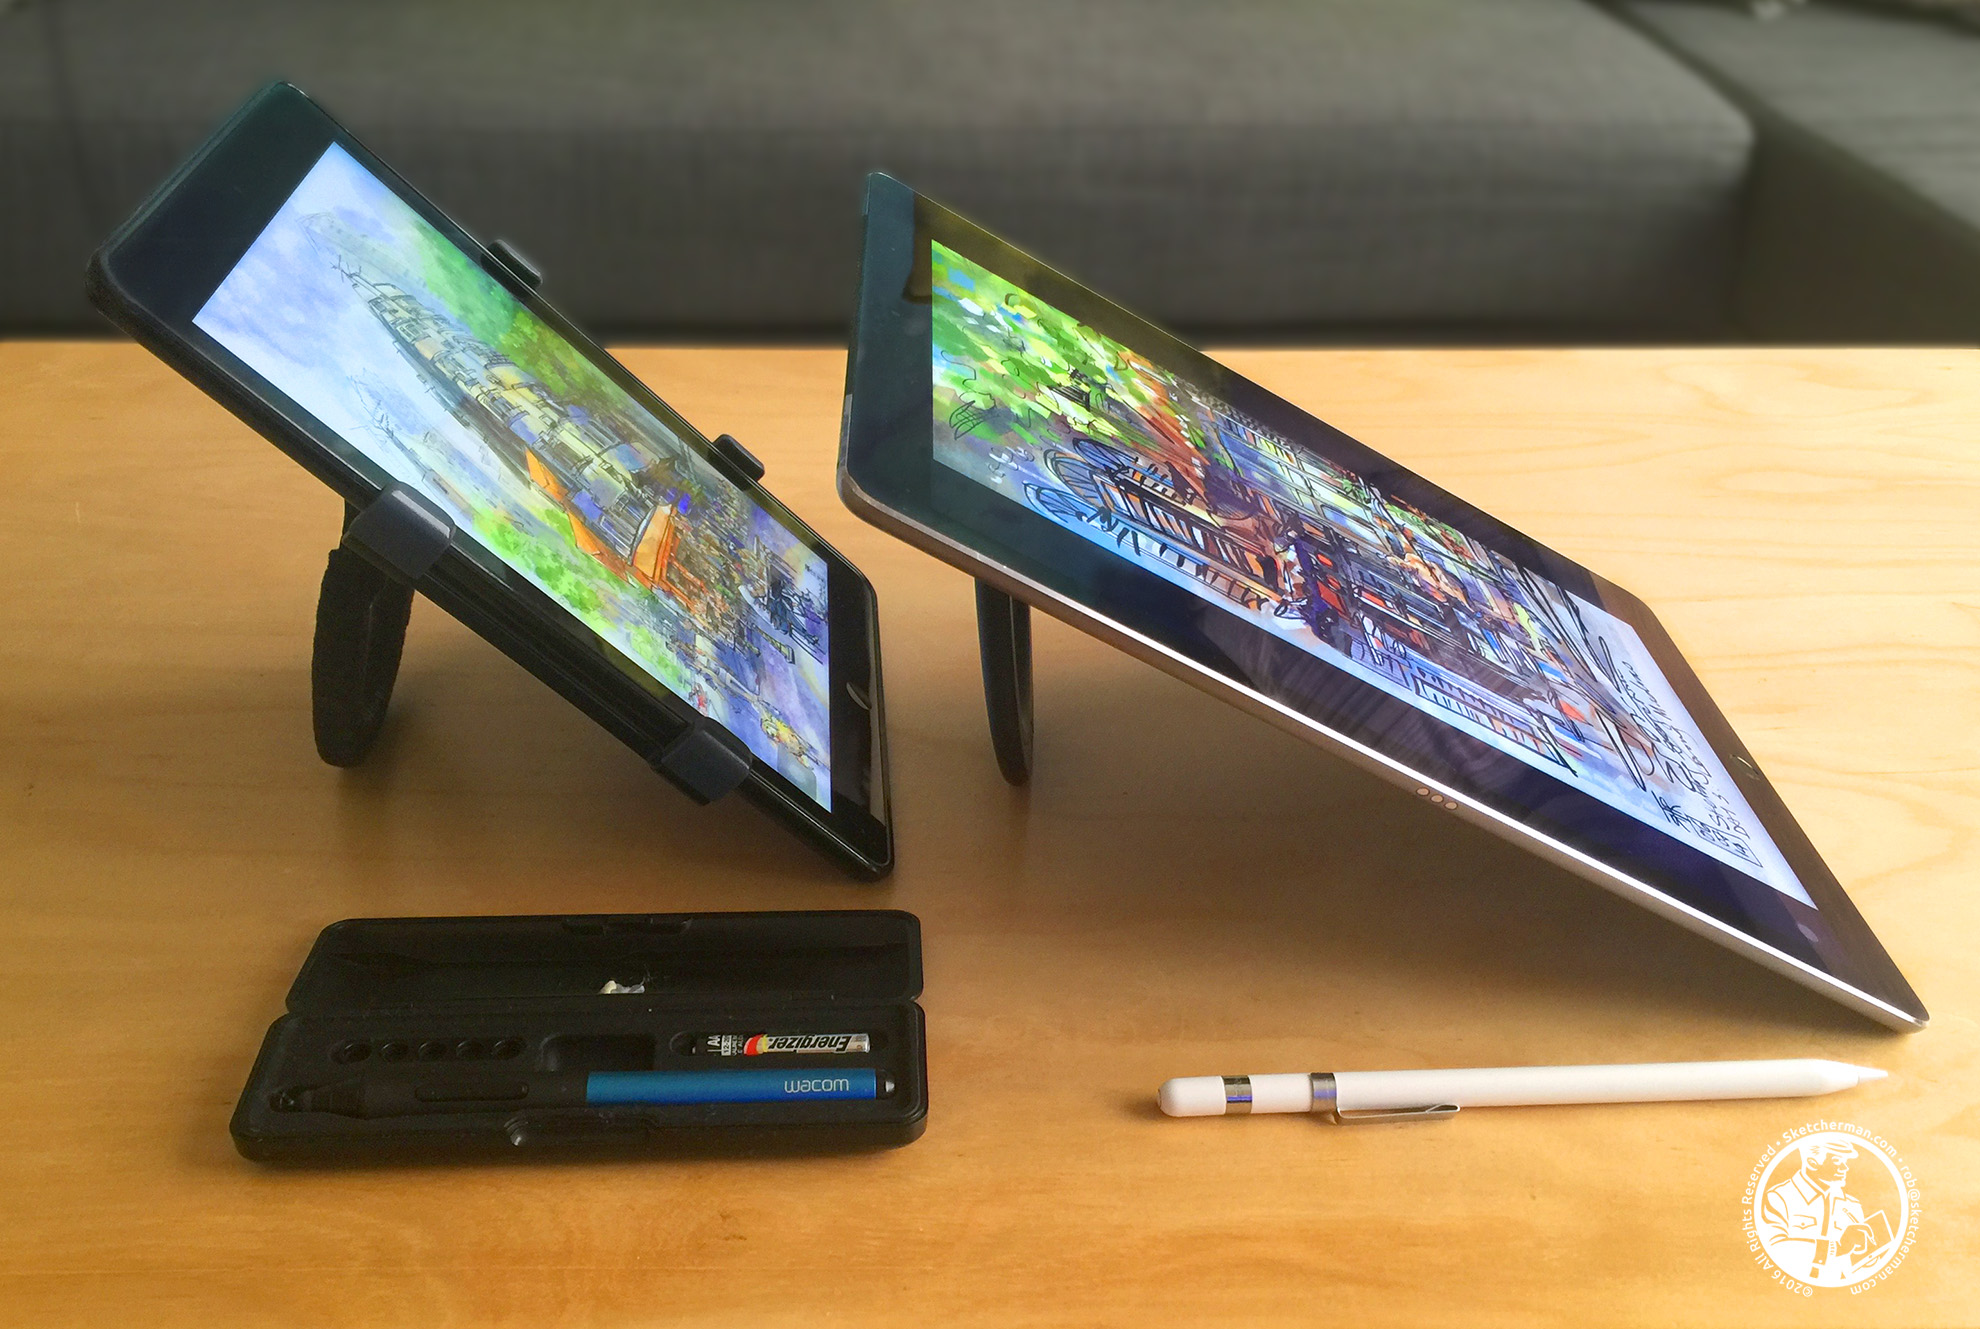
How many ways can you hold / place your iPad? With the SpinPadGrip- plenty! 

After extensive google searches and several iPad Pro case/holder/support tests later, I finally found my current favorite solution, and here it is...the SpinPadGrip! It's originally made by a French company and now sold under various names, depending where you look. The logo on the back of mine says PowerSpin, which explains why I couldn't find it again for a while. Finally tracked down the original manufacturer!

Now, I have to say that I'm not a big fan of the name. 'SpinPadGrip' doesn't quite roll off the tongue, does it? Although it says what it does, it's not a name that sticks in my head, and I've had to constantly hunt for the name to repeat it when people ask me where I got it. I’ve also found that it may not always be on Amazon, but seems to be more consistently sold now. I do love the product though, and for those interested, I've linked it for you. (Thanks for your support if you buy through my affiliate link!) Those of you not in the US can also purchase SpinPadGrip from its website.

Get the SpinPadGrip: Amazon.com | Amazon.co.uk | Amazon.de | Amazon.fr 

Technically, the SpinPadGrip is not a case. It's essentially a powerful suction cup with a rotating handle attached to it. This can be used on any smooth-backed tablet, which makes it generation-proof! I'm always a fan of not having to change case/handle options with every upgrade -especially when I love the current solution and manufacturers haven't updated it for the latest hardware! 

Most importantly, I love that the SpinPadGrip has the same functionality I loved in my old Twist360.

Likes:

  • the ability to stand your iPad up at almost any angle
  • a handle for carrying, and most importantly, sketching on the go
  • allows you to hang your iPad onto a hook to watch from or refer to 
  • tilt the screen at any angle for easy presenting 
  • reading comfort, especially in bed
  • no need for a front cover / screen protector (I’ll elaborate on that later)

Dislikes:

  • I'm reluctant to disengage suction to reposition the handle when I've got it right. It's not hard to do, but I don't want to risk it.
  • Can't use any kind of back cover with it (but it looks like I don't need one).
  • For sketching comfort on the Jumbo Pro, I've placed the handle off-center… but that means it's lopsided when hung on a hook.
  • It's not possible to stand the iPad Pro completely vertically. The power button gets depressed, turning my Jumbo off. The solution for vertical viewing is to turn the iPad 180° so no buttons are in the way, with the SpinPadGrip positioned to provide lower viewing angles. Still, this is not a big deal. When I have to show something completely vertically, I just hold the iPad Pro up by the handy handle!
The handle of the SpinPadGrip at the back lets me easily pick my kit up, and my Pencil is always within easy reach, resting in the pen holder clip attached to my Apple keyboard-cover.

The handle of the SpinPadGrip at the back lets me easily pick my kit up, and my Pencil is always within easy reach, resting in the pen holder clip attached to my Apple keyboard-cover.

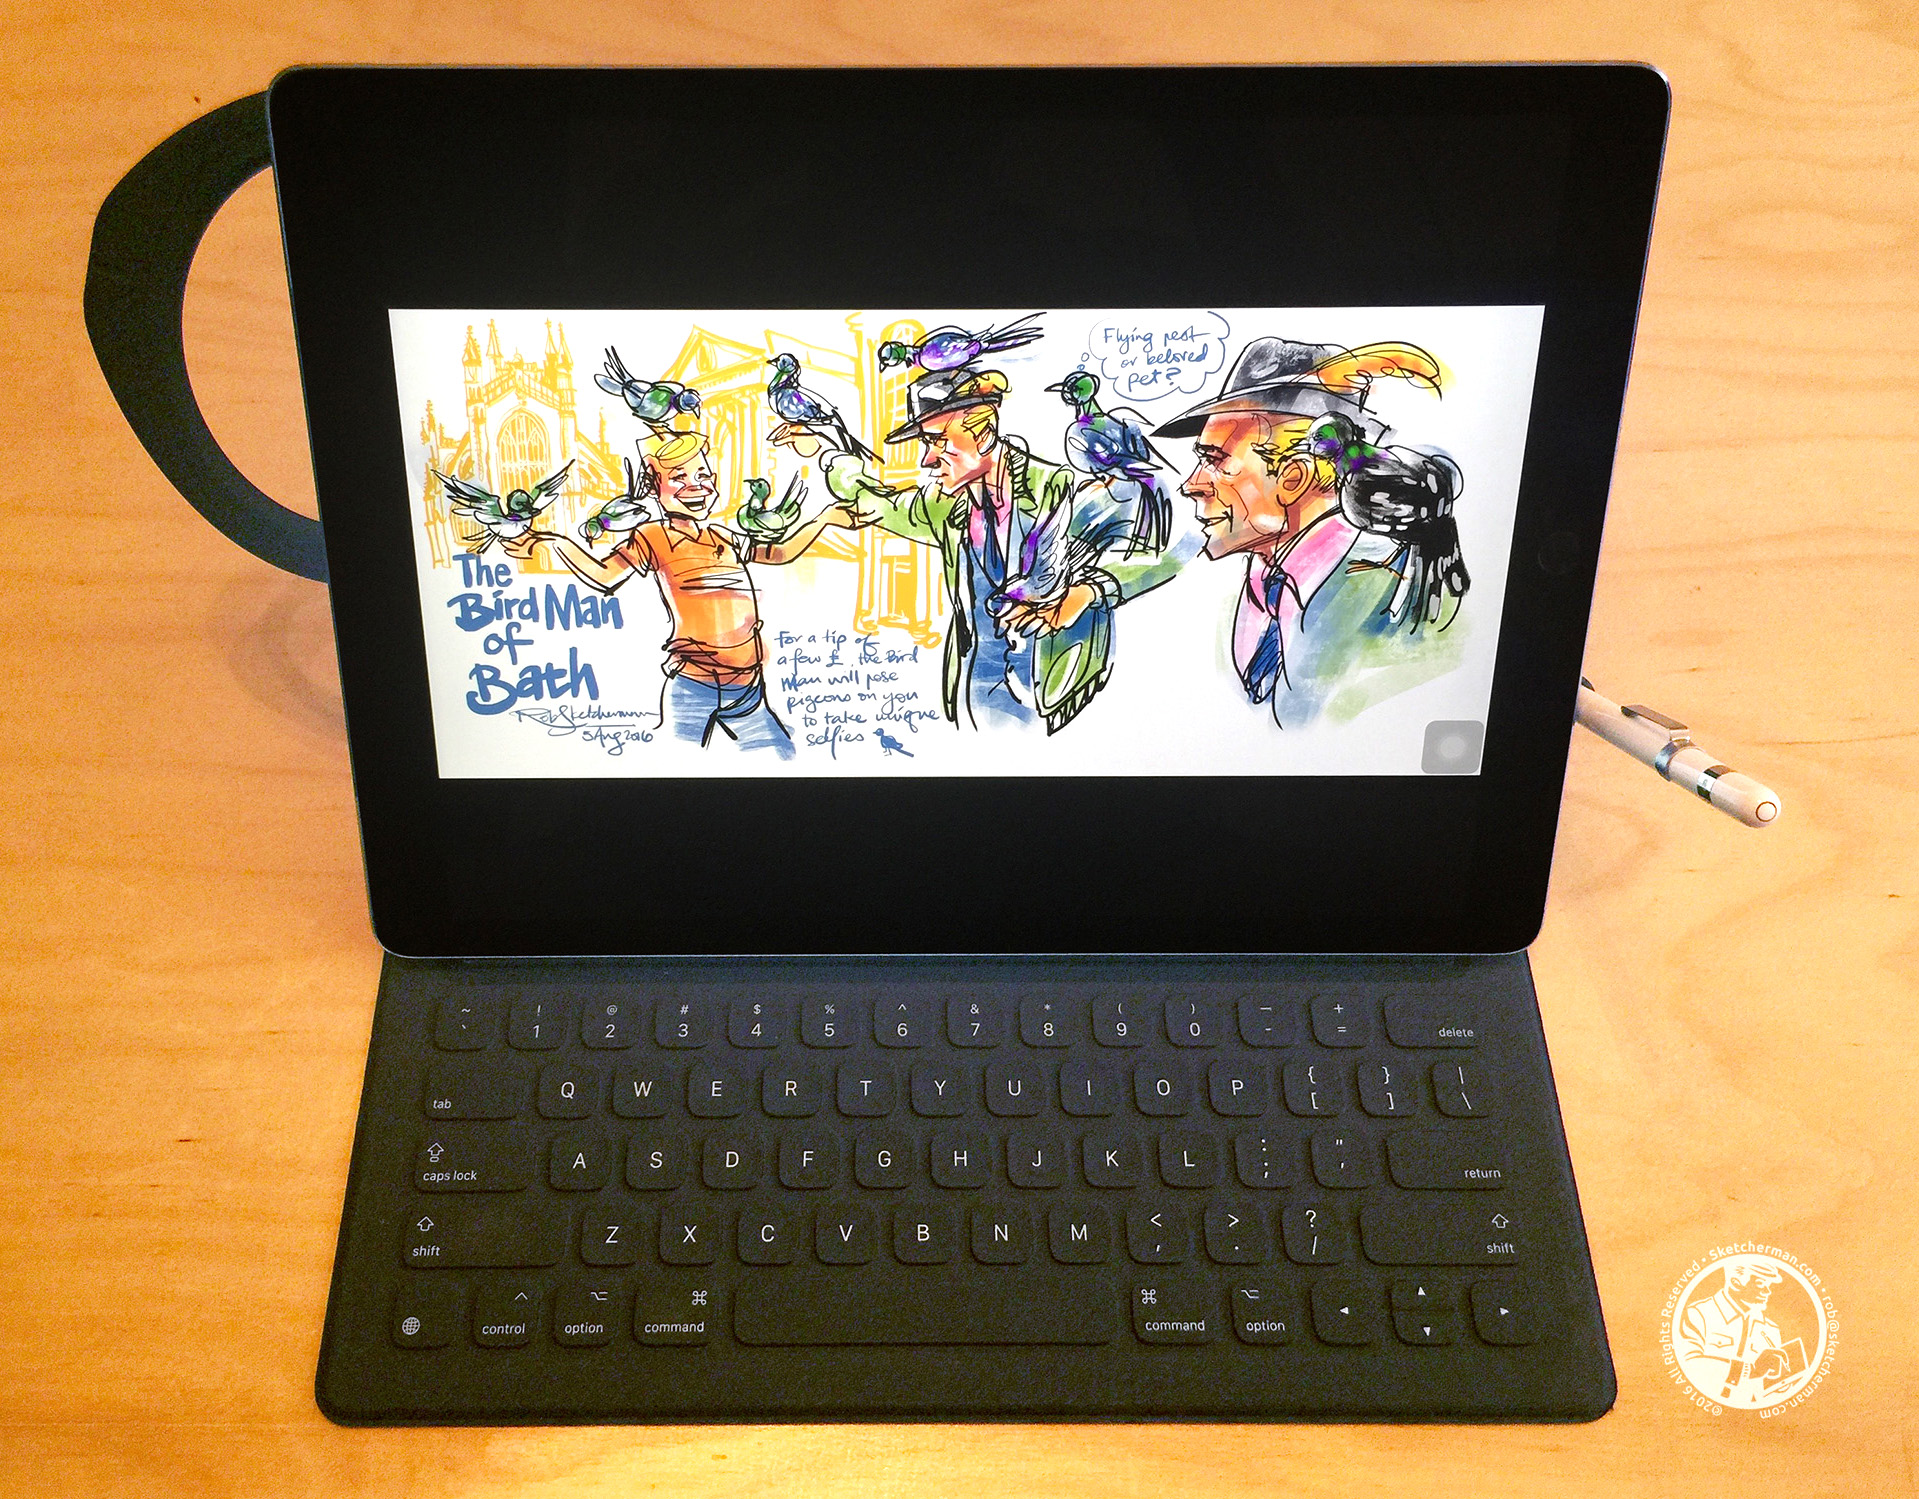
Photos will best describe how I use my gear, so here are some. This is my standard configuration. My Apple Keyboard for iPad Pro snaps onto the front to protect my Jumbo's screen. The SpinPadGrip is always attached, and I've found no need for either a back cover/case nor a screen protector, as my iPad Pro travels in a nice padded compartment of my backpack when I'm out and about.

Get the Smart Keyboard: Amazon.com | Amazon.ca | Amazon.co.ukAmazon.de | Amazon.fr

I sense raised eyebrows among you, and saw many more when showing my kit… and I'll tell you, I admit - I was very concerned and skeptical when first testing the SpinPadGrip. We've all had hairy experiences with stuff attached to bathroom walls on suction cups falling unexpectedly, and the idea of a pricey device crashing to the floor is a heart attack no one wants to contemplate. 

When I first tried the SpinPadGrip, I held my iPad about a foot over the sofa and felt my heart lurch as the suction lost its grip a few times. I should add that I initially tried attaching the cup to the basic, smooth case I was then using, but it refused to stick to plastic or silicone. I was about to throw the SpinPadGrip away, then thought I'd try again, this time removing the case and wetting the bare back of my iPad just a little, like you'd do for any suction cup to make it stick better. That, along with following all enclosed instructions to the letter, did the trick. Suctioning the handle directly onto the back of the iPad Pro is really a great solution and now, 9 months later, I can happily declare that the SpinPadGrip has handled every situation I've used it in with aplomb, and most importantly, has not budged at all. That being said, if you get it, please test throughly to ensure that you've attached the SpinPadGrip correctly before using, especially before taking it and your iPad out into the wild. (A note to the adventurous: I do advise against flinging/swinging your iPad freely by the Handle. The suction will probably hold, but that's just unnecessary risk.) 

For those who do use 9.7” iPads, the following are your best handle/support options.

An oldie but goodie, my Bracketron Twist 360 is 4 years old, has survived a lot of abuse and is still going strong. Best for 8-10" tablets.

An oldie but goodie, my Bracketron Twist 360 is 4 years old, has survived a lot of abuse and is still going strong. Best for 8-10" tablets.

Click image to buy from Amazon.uk

Click image to buy from Amazon.uk

The Bracketron Twist360 was what I used for my iPad Air, and is a great, versatile tablet holder for all generations of 9.7" iPads. Its spring-loaded grip allows it to expand, and Bracketron says it "works with most tablets between 7-10". (Note: Mine was too big for my wife's old iPad Mini, and people with 10.1" Android tablets said it was too small.) Some people find it bulky, and yes, if you look at how sleek an iPad is, this seems bulky by comparison, but I got it for practical reasons, not because it was particularly pretty. For mobile digital artists, hey - you don't have to carry a lot of kit anymore. What's a case that adds a bit of bulk but gives you lots of versatile functionality?

Get a Twist360: Amazon.ca | Amazon.co.uk | Amazon.de | Amazon.fr

Likes:

  • Comfortable handle design that improves leverage
  • Great build (mine has lasted 4 years)
  • Very affordable
  • Handle rotates 360° and holds firmly at all angles (Knock-off versions may only lock at 6-8 angles)
  • Spring-loaded jaws hold iPad securely
  • Can be used with slimmer back cases

Dislikes:

  • It only fits variations of 9.7" iPads, not the Mini or the Jumbo Pro (I don't know the Android universe. Some tablets will fit, but few of its users would be reading this post!)
  • The rubbery material on the loop handle gets sticky after some time in a humid environment. (I eventually wrapped mine in fabric for a better feel)
  • A little bulky
For those on a budget, here's an option for the 7-10" tablet category. (A little bulky though!)

For those on a budget, here's an option for the 7-10" tablet category. (A little bulky though!)

This tablet holder by Aduro is a nifty, cheaper option, and one I got for my wife's iPad Mini. The manufacturer says it can accommodate tablets up to 10", but I don't have anything that size to test.

Likes:

  • Wider grip range than the Twist360.
  • Fits 9.7" and Mini iPads (but not the Jumbo Pro).
  • Clever handle design with thumb grip hole that improves leverage.
  • Great value for money.
  • Can be used with slimmer back cases.

Dislikes:

  • If the silver button on top is accidentally depressed, the Aduro's grip can loosen with heart-stopping effect.
  • Handle clicks to lock at 45° (but that's not a big deal).
  • A little bulkier than the Twist360.

Last but not least, it’s not possible to sing the praises of the iPad Pro without mentioning the accessory you MUST absolutely get if you’re forking out for an iPad Pro. The Apple Pencil is the hands-down best stylus for the iPad Pro…and many of you already know that it only works with iPad Pros. With a groan and eye-roll, many generations of iPad users lament that fact. Sorry people - the price of progress. Please don't email me with Apple rants. I don't work for them.

Get the Aduro tablet holder: Amazon.com | Amazon.ca

Some Apple Pencil benefits to consider:

  • No pairing required. In supported apps, it just works. (Some apps have not optimized themselves to work with the Pencil, but any app worth its salt has done so.)
  • The battery lasts about 12-15 hours of usage.
  • A full charge from your iPad takes about 20min if your iPad Pro's battery is full. (Longer if not)
  • Delightfully intuitive pressure-sensitivity
  • Auto palm-rejection means you can rest your hand on your iPad as you work
  • Fun fact: It's faster to charge the Apple Pencil via your iPad Pro than plugged into the wall!

There are a few more accessories that I find super handy and highly recommended. I didn't want this post to be too long, so check back with me next week for the update! Thanks for reading and please share other essential iPad accessories in the comments :)

Get an Apple Pencil: Amazon.com | Amazon.ca | Amazon.co.uk | Amazon.de | Amazon.fr

Get an iPad Pro:  Amazon.com | Amazon.ca | Amazon.co.uk | Amazon.de | Amazon.fr